Builder gel can feel scary on short nails. It sounds thick, heavy and easy to overdo, and no one wants nails that look like little pillows. The good news is that builder gel can look slim and natural on short nails, if you use thin layers and keep the shape neat.
This guide shows how to use builder gel for short nails step by step, from prep to top coat, so you get strength without bulk. It is made for beginners, and it focuses on short, everyday nails.
What You Need
At a Glance
1. Wash and dry your hands
Start with clean hands. Wash with soap and water, then dry them well. Oils, lotion and dust can stop gel from sticking, so a clean start matters more than you think.
Do not use hand cream right before you start. It leaves a film on the nail that can cause lifting later. Save the cream for after you finish.
2. File every nail to one short length

File all your nails to one short, even length first. Use a fine file and work in one direction, not back and forth, so the free edge does not split.
Short does not mean stubby. Aim for a little white tip showing past the fingertip, so the nail still has a shape to work with. Even lengths help the gel look neat from the start.
3. Push back your cuticles
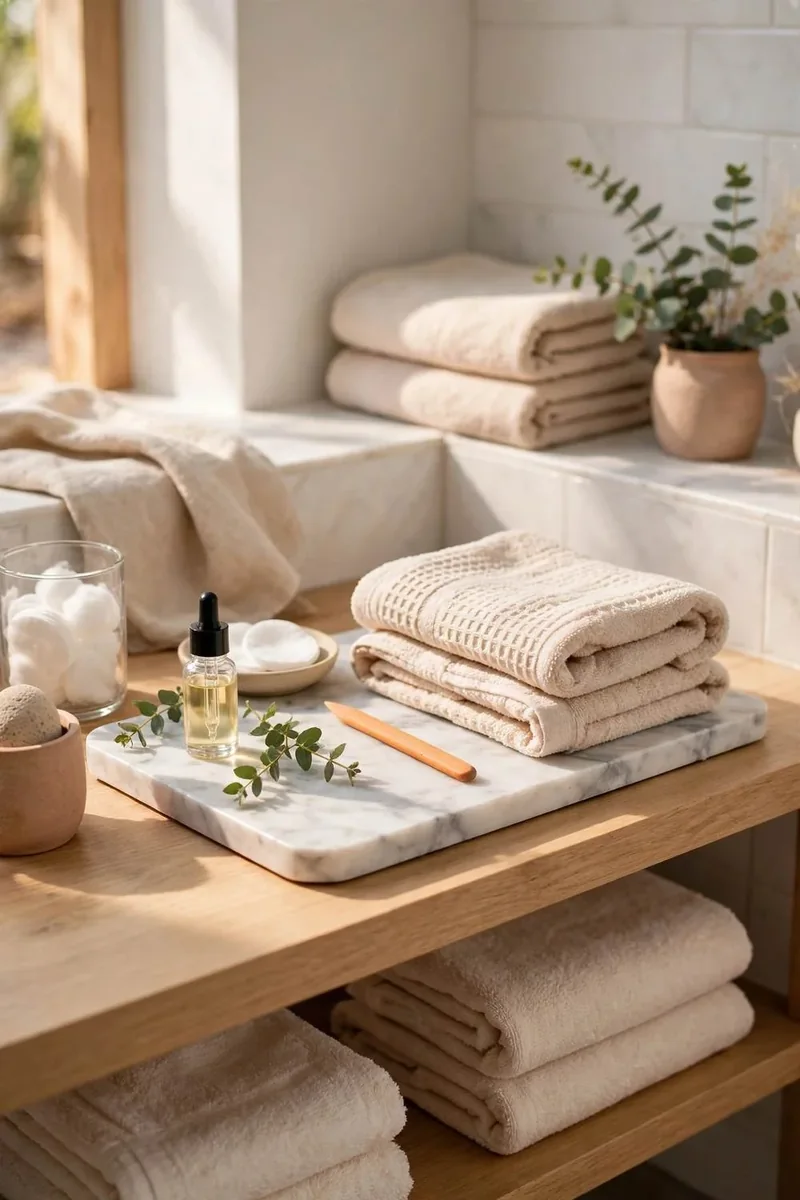
Gently push back your cuticles with a wooden stick or metal pusher. Do not cut them, as that can hurt and cause infection. You just want a clean nail plate with no skin over it.
If gel touches skin, it can lift and peel off. A clear cuticle area gives the gel room to stick to the nail only, which helps it last.
4. Buff the shine off each nail
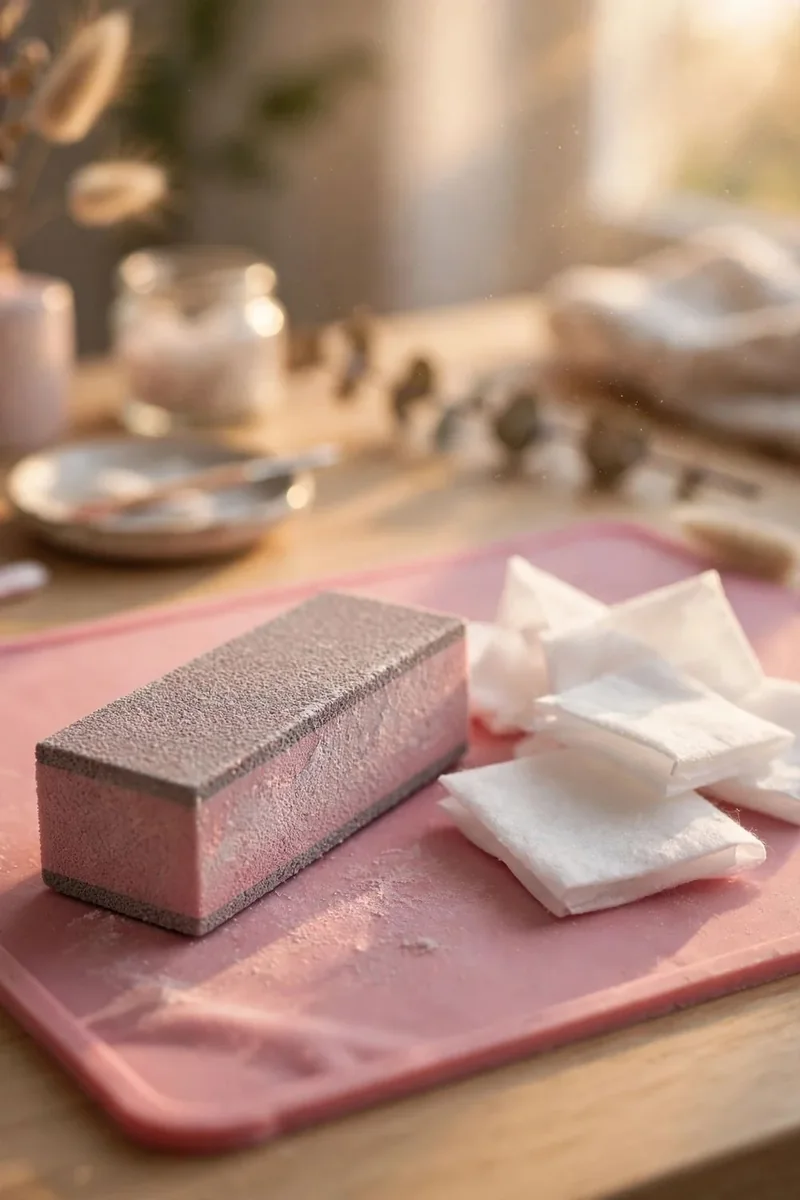
Lightly buff the shine off each nail with a soft buffer. You are not trying to thin the nail, just to remove the glossy top layer so gel can grip.
Use gentle pressure and stop when the nail looks matte. Over buffing can make nails weak and sore, so less is more here.
5. Wipe away the dust with alcohol
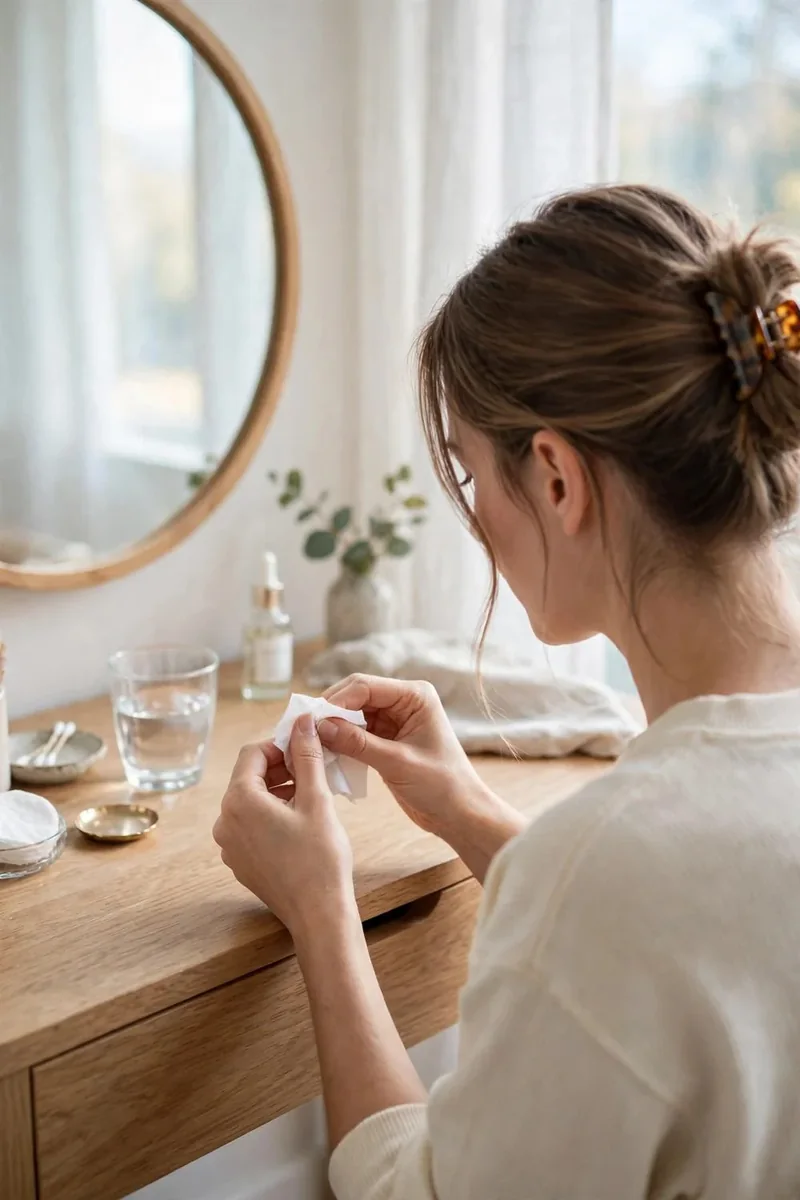
Wipe each nail with alcohol on a lint free wipe to remove dust and oils. This step helps the base coat stick, and it takes only a minute.
Do not touch the nail plate after wiping. Your fingers leave oils behind, and that can cause lifting even before you start.
6. Brush on a thin base layer
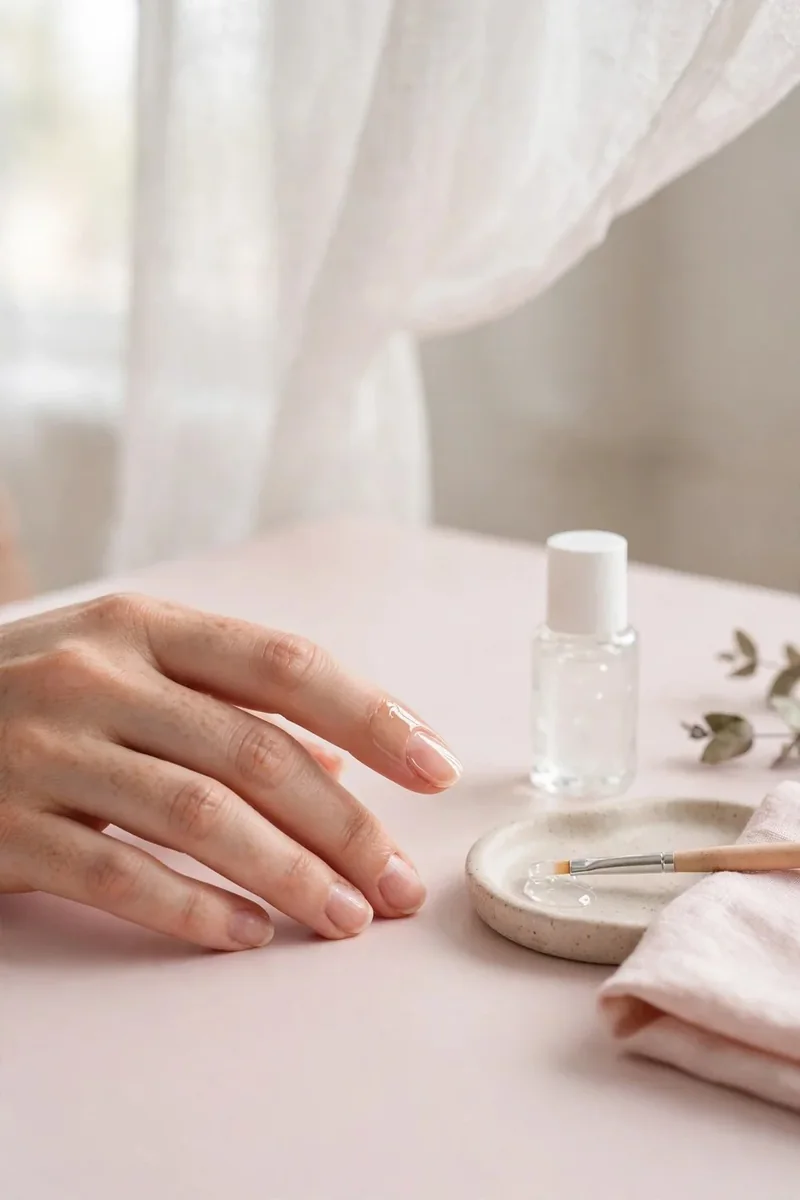
Brush on a thin base coat, keeping it off the skin. Cap the free edge by running the brush lightly along the tip, so the edge is sealed.
Thin is key here. A thick base layer can pool at the cuticle and cause bulk later. One smooth, thin coat is enough.
7. Cure the base layer
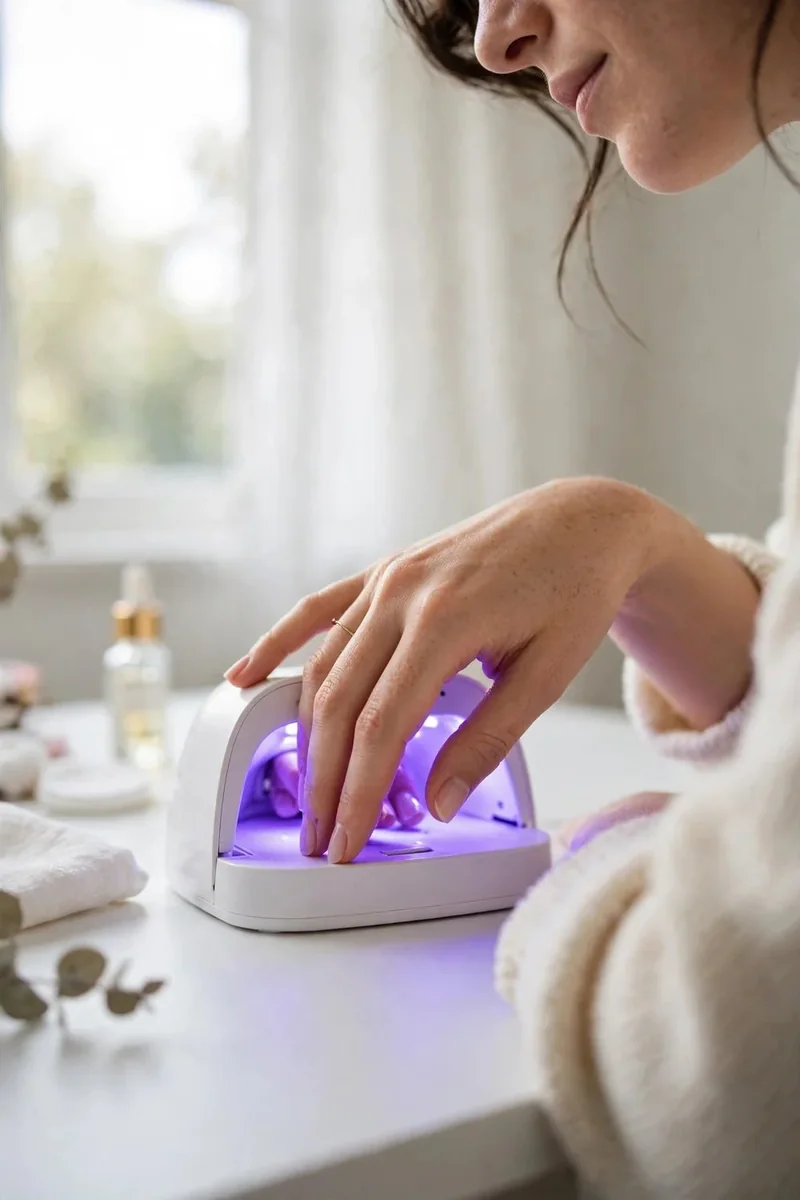
Cure the base layer for the time on the label, usually 30 to 60 seconds under LED. Do not touch it after curing, even if it feels a little tacky. That tacky layer helps the next coat stick.
If you feel heat, pull your hand out for a few seconds and put it back in. Heat spikes are normal with gel, but they should not hurt.
8. Lay a thin coat of builder gel for short nails
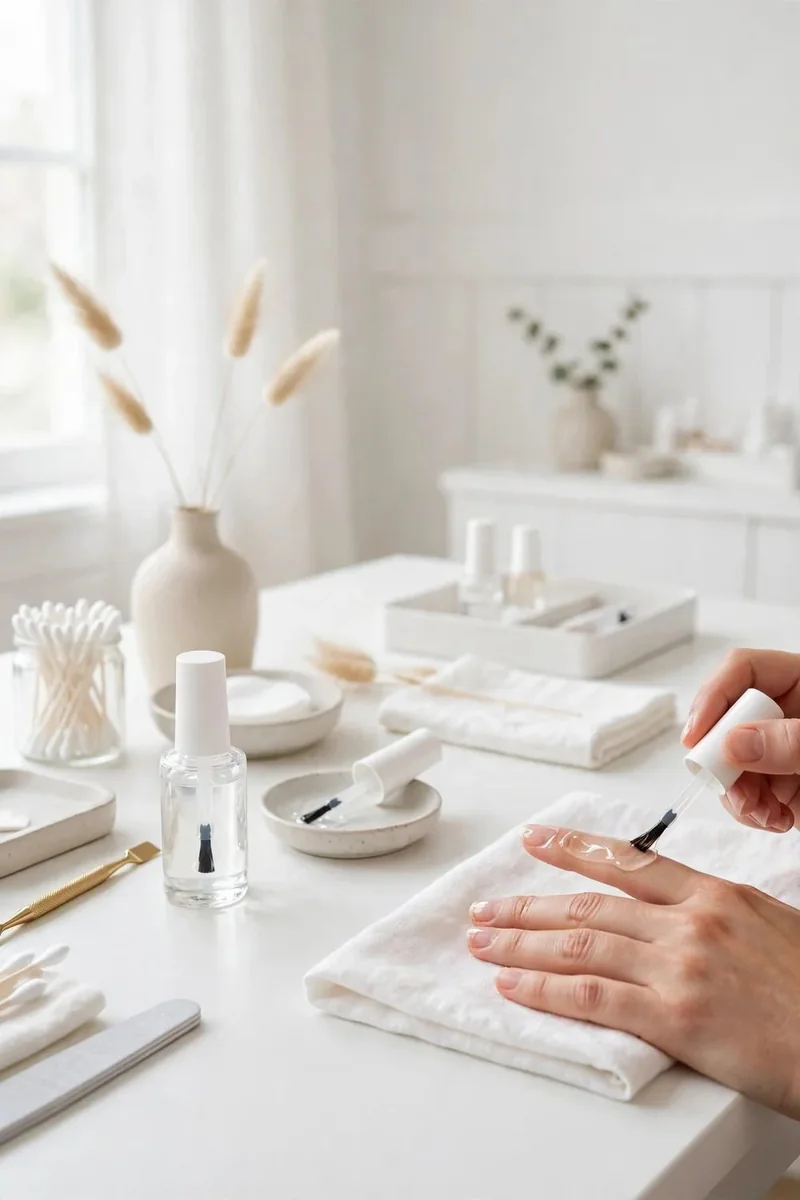
Now lay a thin coat of builder gel over the nail, from cuticle to tip. Keep it thin and even, and stay a hair away from the skin. This first coat is your slip layer, and it helps the next layer move smoothly.
Do not cure this coat yet. You will add a little more gel on top of it in the next step, so it stays wet for now.
9. Add a small bead near the center of the nail
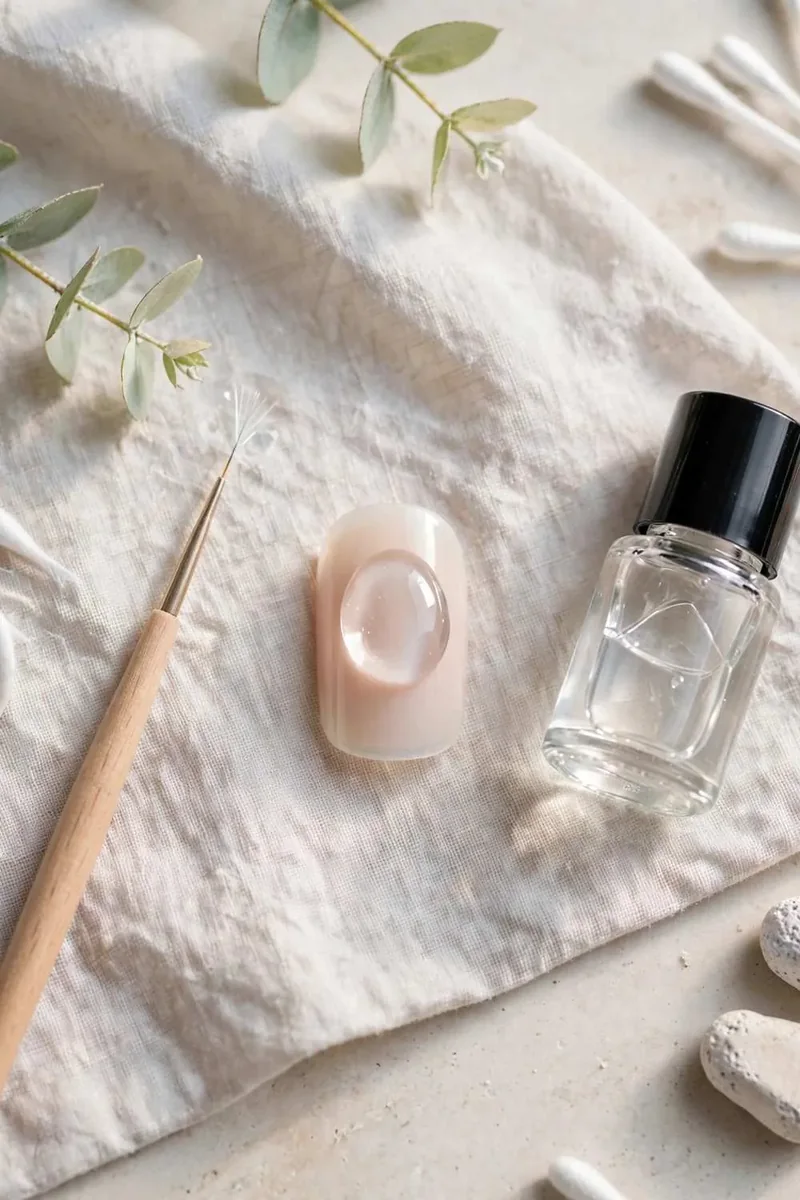
Add a small bead of gel near the center of the nail, where the apex should be. On short nails, this bead should be small, about the size of a grain of rice. Too much gel is what makes short nails look bulky.
Use your brush to guide the bead gently toward the cuticle and tip, but do not spread it flat. You want a slight curve in the middle and thinner edges, so the nail looks natural.
10. Flip your hand over for a few seconds

Flip your hand over, palm up, for a few seconds. Gravity will pull the gel into a smooth curve and help it self level. This trick works well on short nails, where a thick apex can look wrong.
Watch the gel from the side. When it looks smooth and even, flip your hand back over. Do not wait too long, or gel may drip toward the cuticle.
11. Cure each nail before moving on
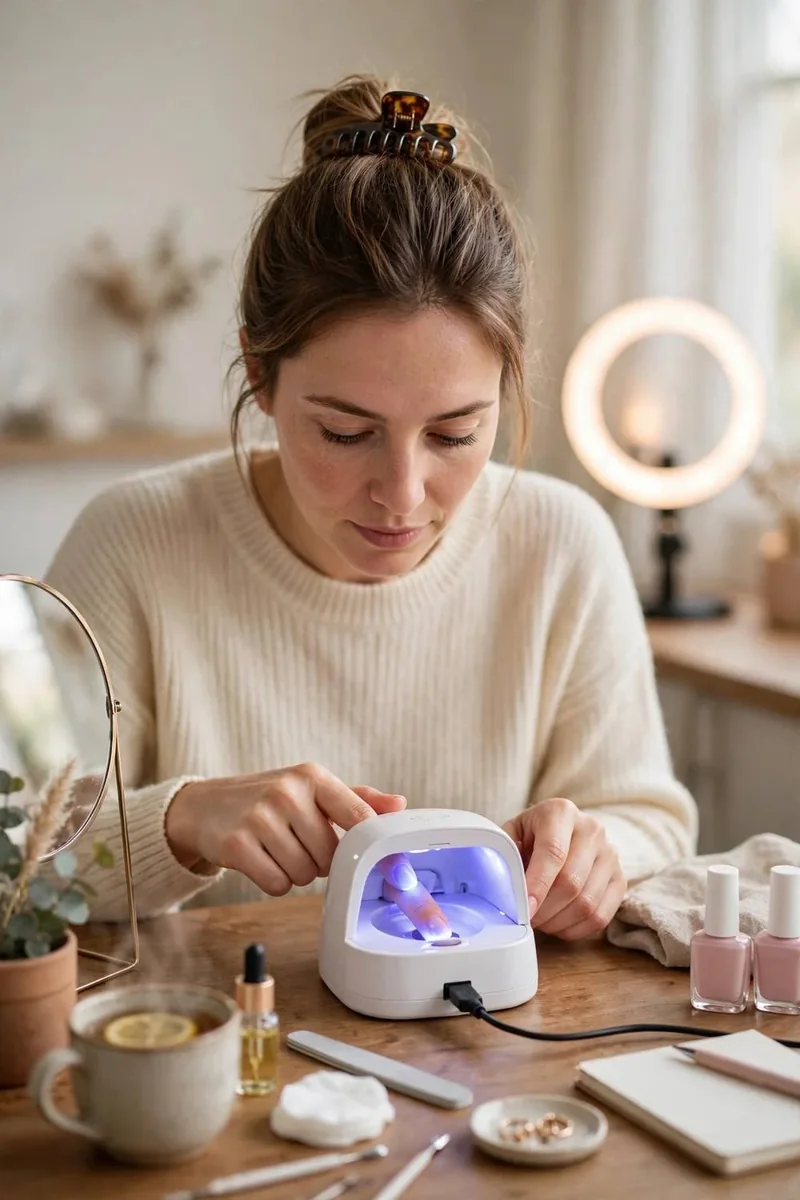
Cure each nail before you move on to the next one. If you do all ten first, gel can pool, drip or lose its shape while you work.
Work one hand at a time, and cure as you go. It takes a little longer, but the result is far neater, especially on short nails.
12. Buff any bumps flat
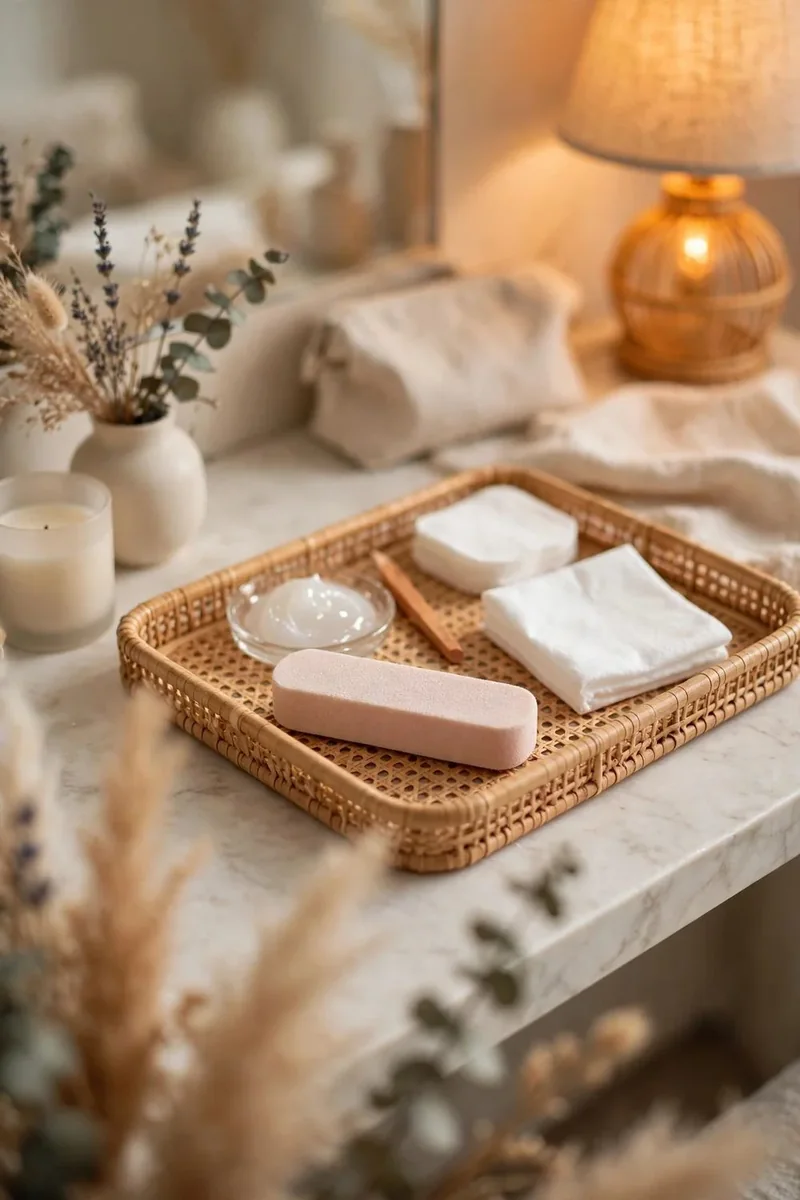
After curing, check each nail from the side. If you see bumps, ridges or a thick edge, buff them gently flat with a fine file or buffer.
Do not file through the gel to the natural nail. Light, even strokes are enough to smooth the surface without weakening it.
13. Cure a thin gel top coat
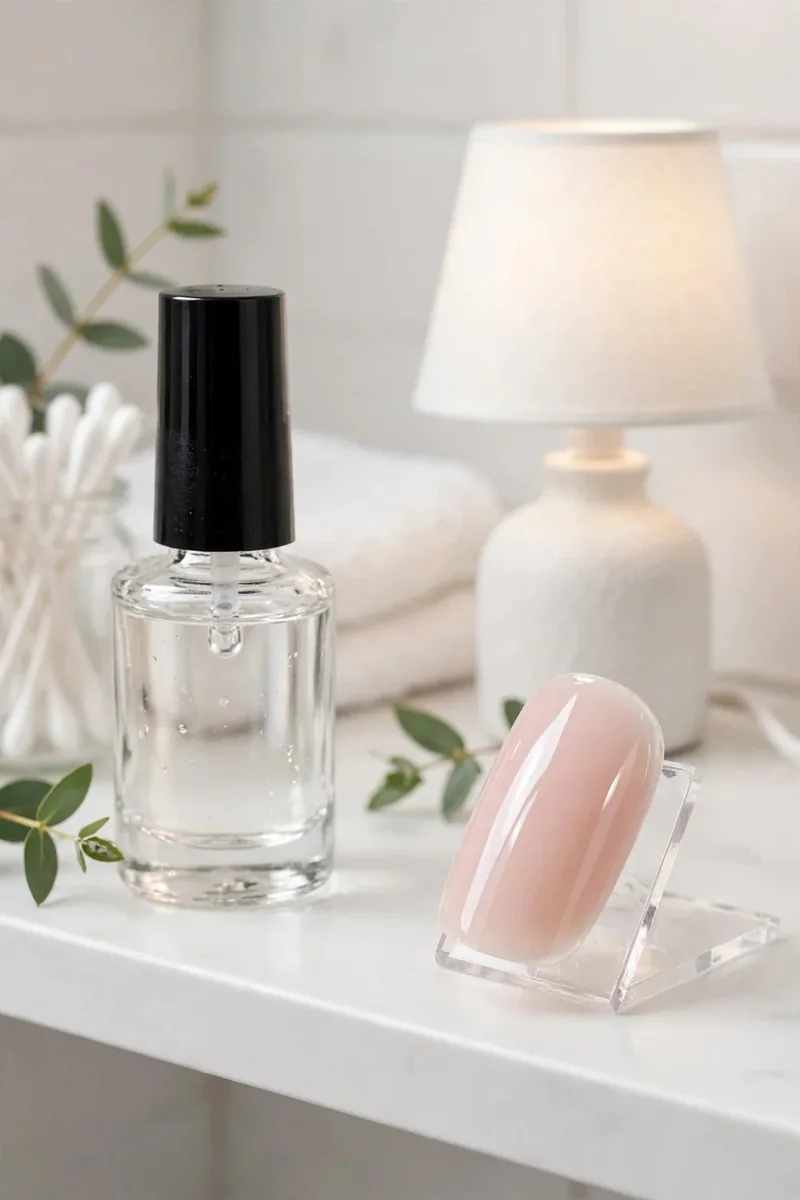
Wipe away dust, then brush on a thin gel top coat. Cap the free edge again, so the tip is sealed and less likely to chip.
Cure for the time on the label. A good top coat gives shine and protects the builder layer underneath, so do not skip it.
14. Rub cuticle oil around each nail

Finish by rubbing cuticle oil around each nail and into the skin. This keeps the cuticle soft and makes the whole set look polished.
Use oil daily while you wear builder gel. It helps prevent lifting and keeps your nails and skin healthy between fills.
You Built a Slim Set
Builder gel on short nails does not have to look bulky. Thin layers, a small apex and a smooth finish are all it takes to get strength with a natural look.
If your first set feels a little thick, do not worry. Try a thinner bead next time, and check your nails from the side as you go. With a little practice, slim builder sets will feel easy.