Builder gel sounds simple until you sit down to use it. It is not regular polish, and it is not quite the same as gel polish either. It is a thicker product that can add strength, shape and length, but it also needs a little more care.
If you are new to builder gel, you do not need to know everything at once. You just need the basics that keep your nails healthy, your sets neat and your first try calm. This guide covers ten things to know before you start.
What You Need
At a Glance
1. Know What Builder Gel Actually Is
Builder gel is a thick gel that hardens under a lamp. It sits on top of your natural nail and adds strength, so weak or breaking nails can grow longer without snapping. It can also smooth ridges and give a nail a nicer shape.
It is not a polish in the usual sense. You do not paint it on in a thin coat and let it dry in the air. You build it up in layers and cure each layer, so it forms a solid, flexible shell over the nail.
Think of it as a support layer, not just color. Color can go on top, but the builder gel underneath is what does the hard work.
2. See How It Differs From Regular Polish
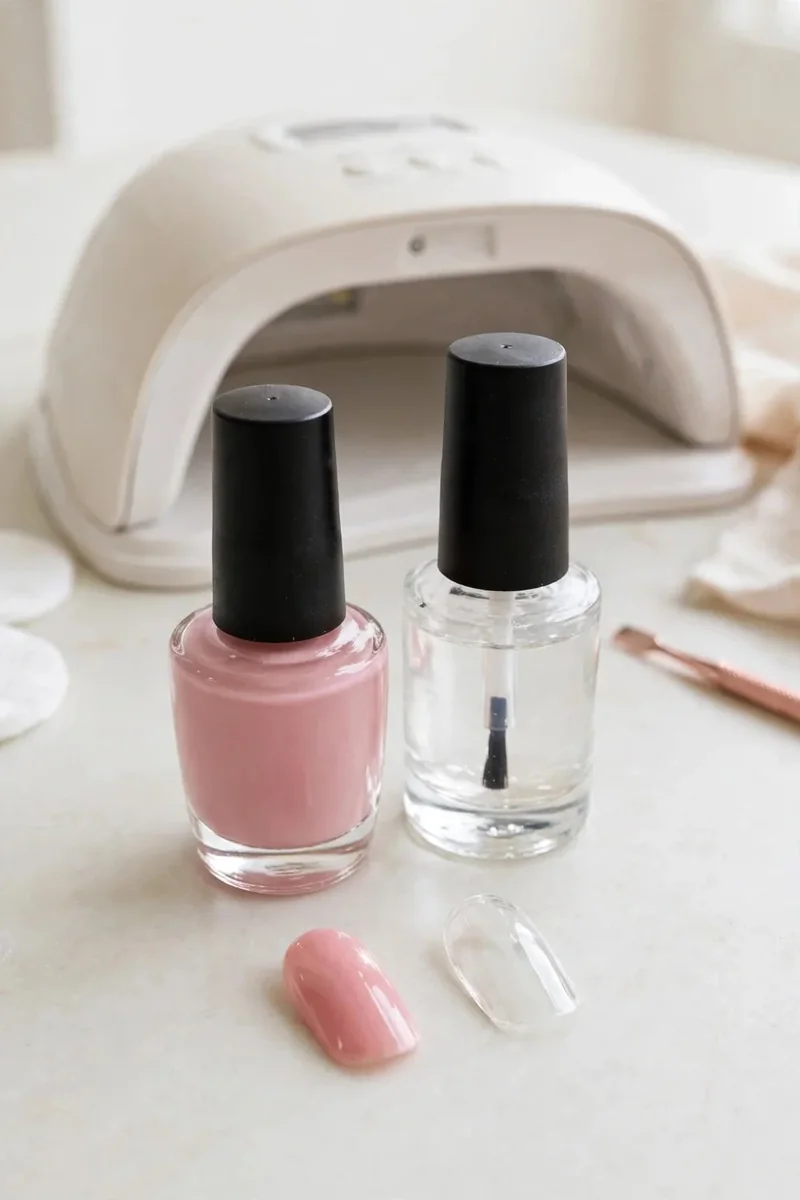
Regular polish dries in the air and stays soft. It chips in a few days, and it does little to protect a weak nail. Builder gel is different because it cures into a hard layer that can last for weeks.
That hard layer is why builder gel works for growing out nails. It gives the free edge support, so it does not bend and break as easily. Regular polish cannot do that, no matter how many coats you add.
The trade off is time and removal. Builder gel takes longer to apply and needs soaking off, while regular polish comes off with a quick wipe.
3. Tell It Apart From Gel Polish

Gel polish and builder gel both cure under a lamp, but they are not the same product. Gel polish is thin and made for color. It gives a shiny finish that lasts longer than regular polish, but it adds little strength.
Builder gel is thick and made for structure. You can use it to build an apex, fix a shape or add a short extension. Gel polish cannot hold that shape on its own.
Many people use both together. Builder gel goes on first for strength, and gel polish goes on top for color. That pairing is common and works well.
4. Check Whether Your Nails Are a Good Match
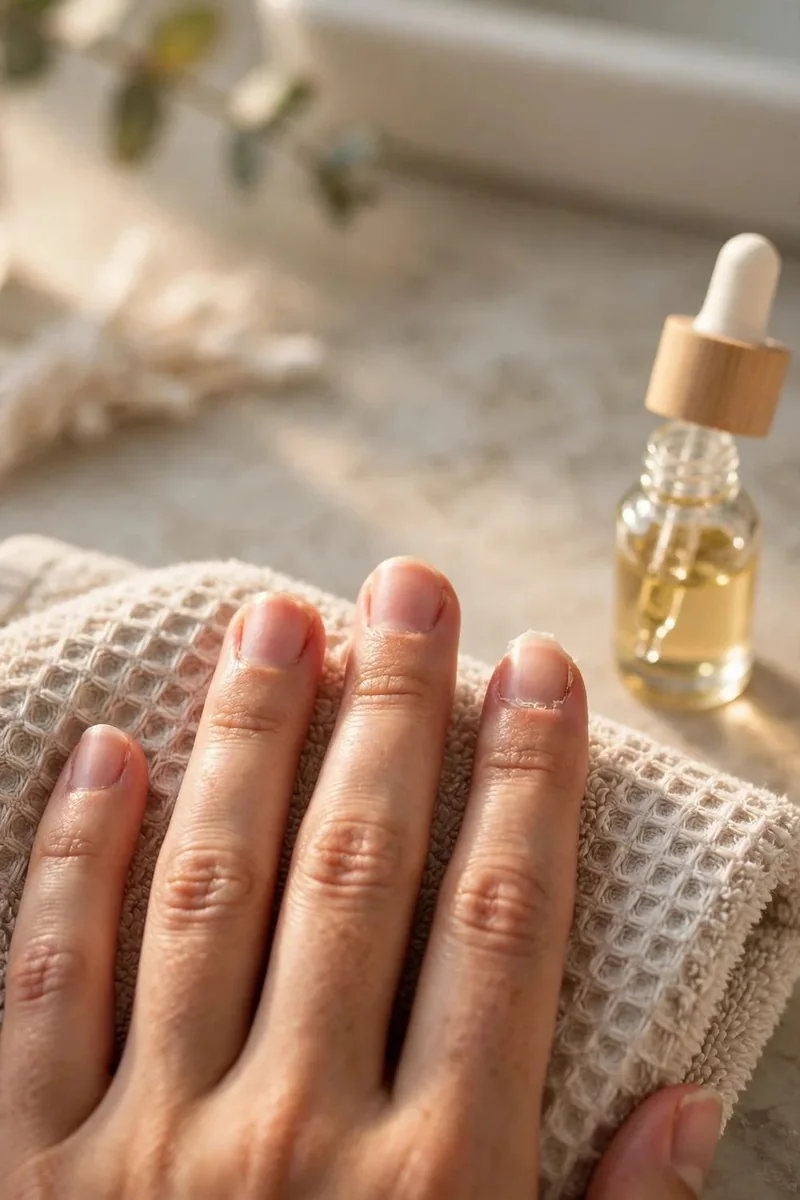
Builder gel suits weak, peeling or short nails well. It gives them a shield while they grow, and it can even out a nail that bends at the tip. If your nails split easily, this is a good reason to try it.
It also suits people who want a natural look with more strength. You do not need long extensions to benefit. A thin builder layer on your own nails can be enough.
If your nails are already strong and long, you may not need it. A simple gel polish set could give you the finish you want with less work.
5. Know When to Skip It for Now
There are times to wait. If your nails are damaged, sore or lifting from the nail bed, let them heal first. Adding gel over a hurt nail can trap moisture and make things worse.
Skip it too if you have a known allergy to gel products, or if you have had a reaction before. Redness, itching or swelling around the nails is a sign to stop and get advice.
It is also fine to skip it if you do not have time for upkeep. Builder gel needs fills and careful removal, so it suits a routine you can keep.
6. Learn the Words on the Label
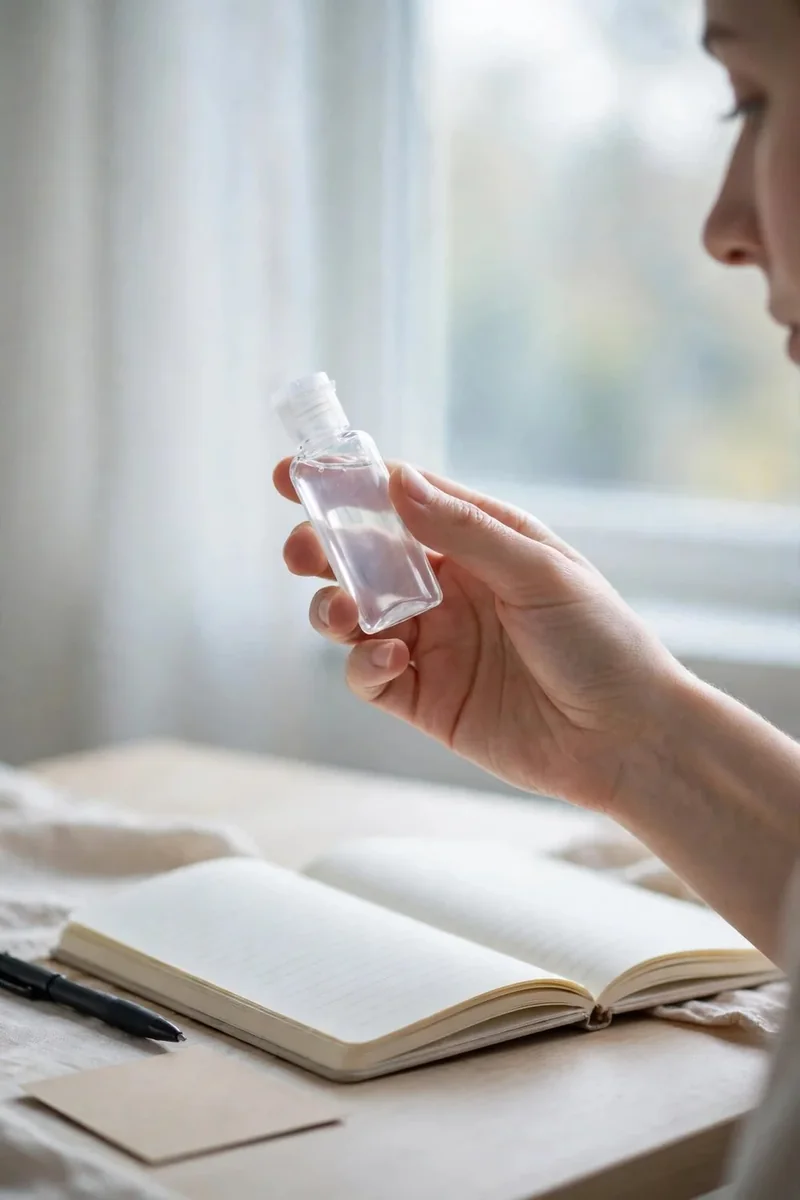
Labels can be confusing at first. Builder in a bottle, or BIAB, means a builder gel that comes in a bottle with a brush, like polish. It is easy to use at home.
Hard gel is stronger and needs filing off, while soft gel can be soaked off. Slip layer, apex and cure are other words you will see a lot. A slip layer is a thin, uncured layer that helps you move the gel, an apex is the highest point of the nail, and cure means hardening under a lamp.
You do not need to learn every term before you start. Learn these few, and the rest will make sense as you go.
7. Gather the Basic Kit Before You Commit
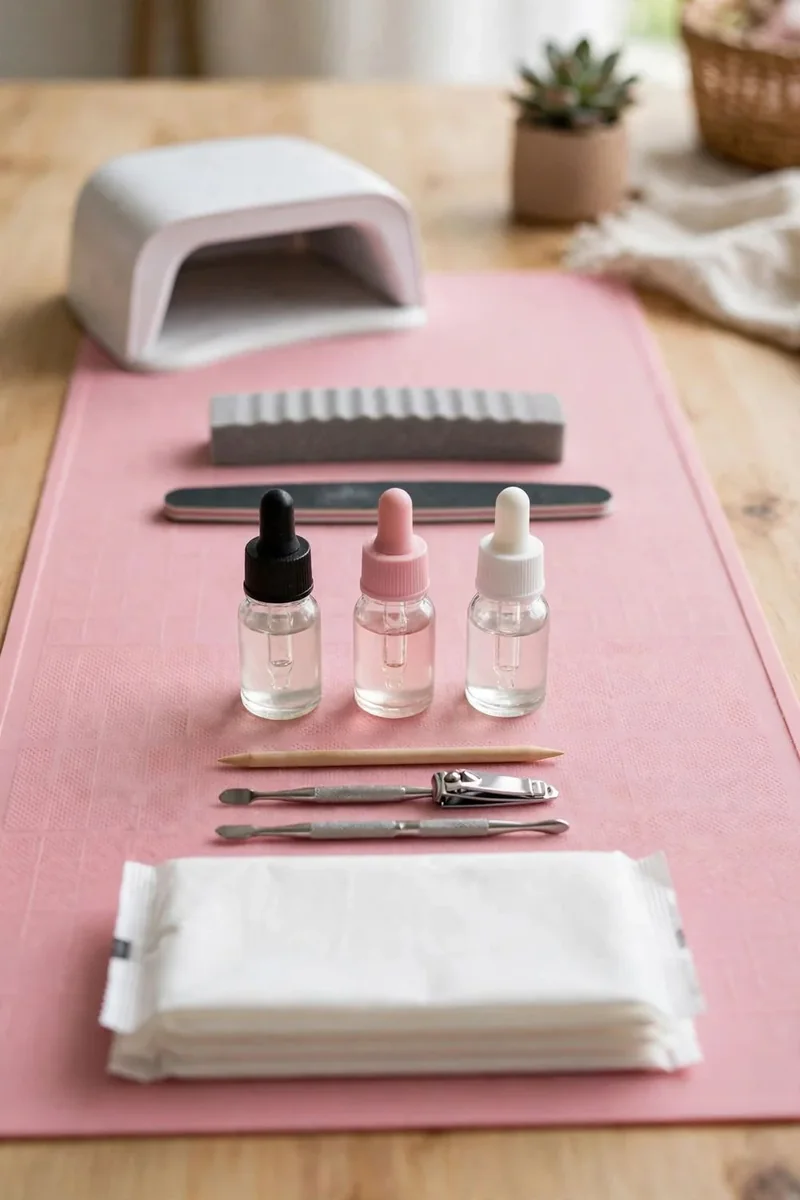
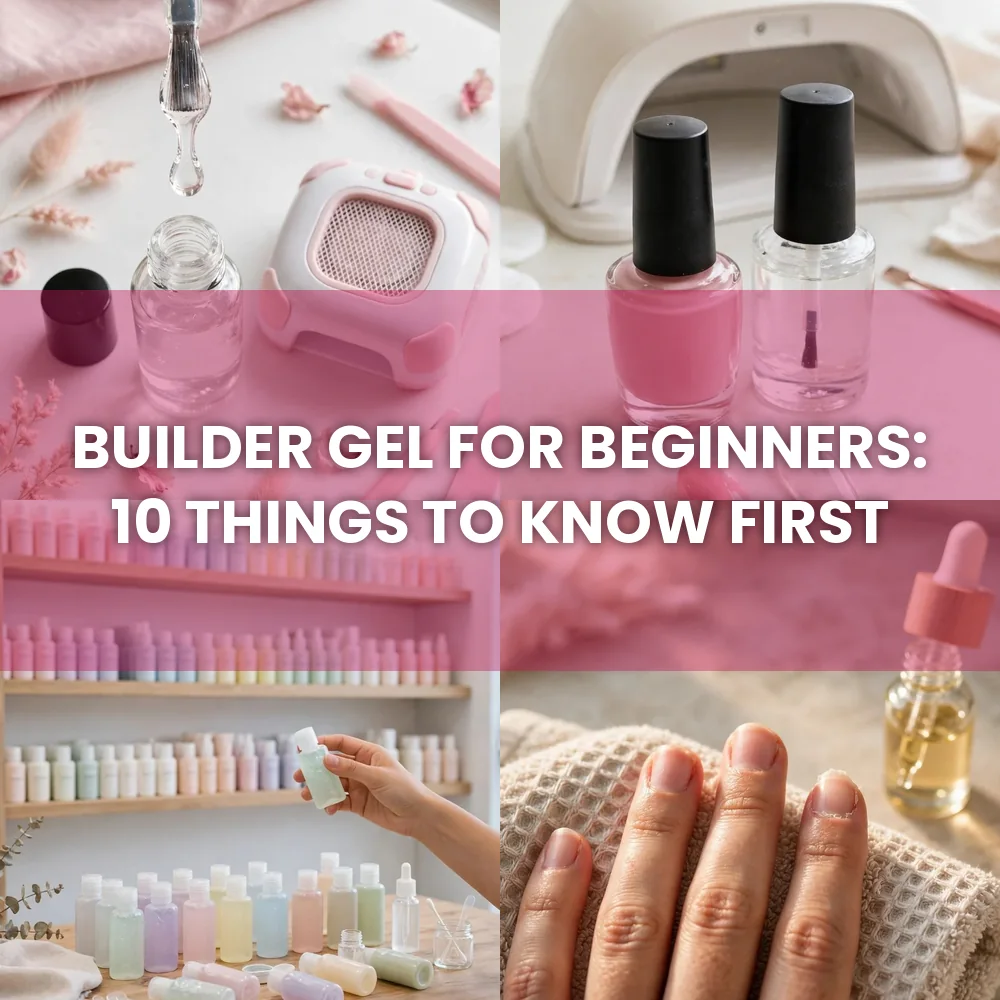
You do not need a huge kit to start. A builder gel, a base and top coat, a lamp, a file, a buffer, lint free wipes and cuticle oil will cover most first sets.
Check that your lamp matches your gel. Most gels cure under both UV and LED lamps, but always read the label for the time it needs. Under curing can leave gel soft and sticky.
Start with one clear or nude builder gel. You can add colors later, once you are happy with the structure.
8. Expect Slower Prep Than Regular Polish

Prep takes longer with builder gel, and that is normal. You need to push back cuticles, shape the nail, buff the shine off and clean the nail well, so the gel sticks.
Skipping prep is the most common reason for lifting. If the nail is oily or shiny, gel will peel off at the edges. Take your time here, even if you are keen to get to the fun part.
With practice, prep gets faster. Your first set may take an hour or more, and that is fine. Speed comes with time, not with rushing.
9. Respect the Safety Basics
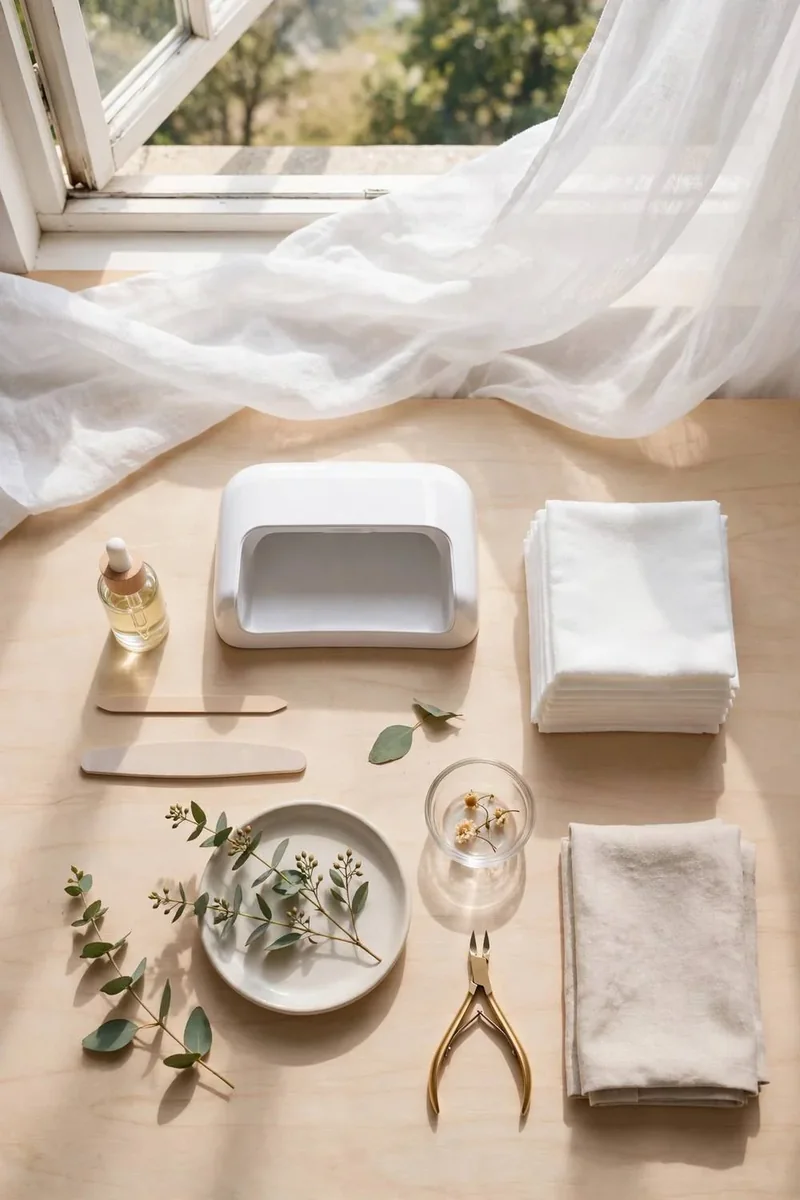
Safety matters with gel. Keep gel off your skin as much as you can, and wipe away any that touches the cuticle before you cure it. Cured gel on skin is hard to remove, and uncured gel can cause irritation.
Do not cure gel on skin, and do not use a lamp for longer than the label says. If you feel heat or pain, stop and let the nail cool down.
Work in a well lit, clean space, and keep tools clean too. Good habits now will protect your nails for years.
10. Plan How It Comes Off Before It Goes On
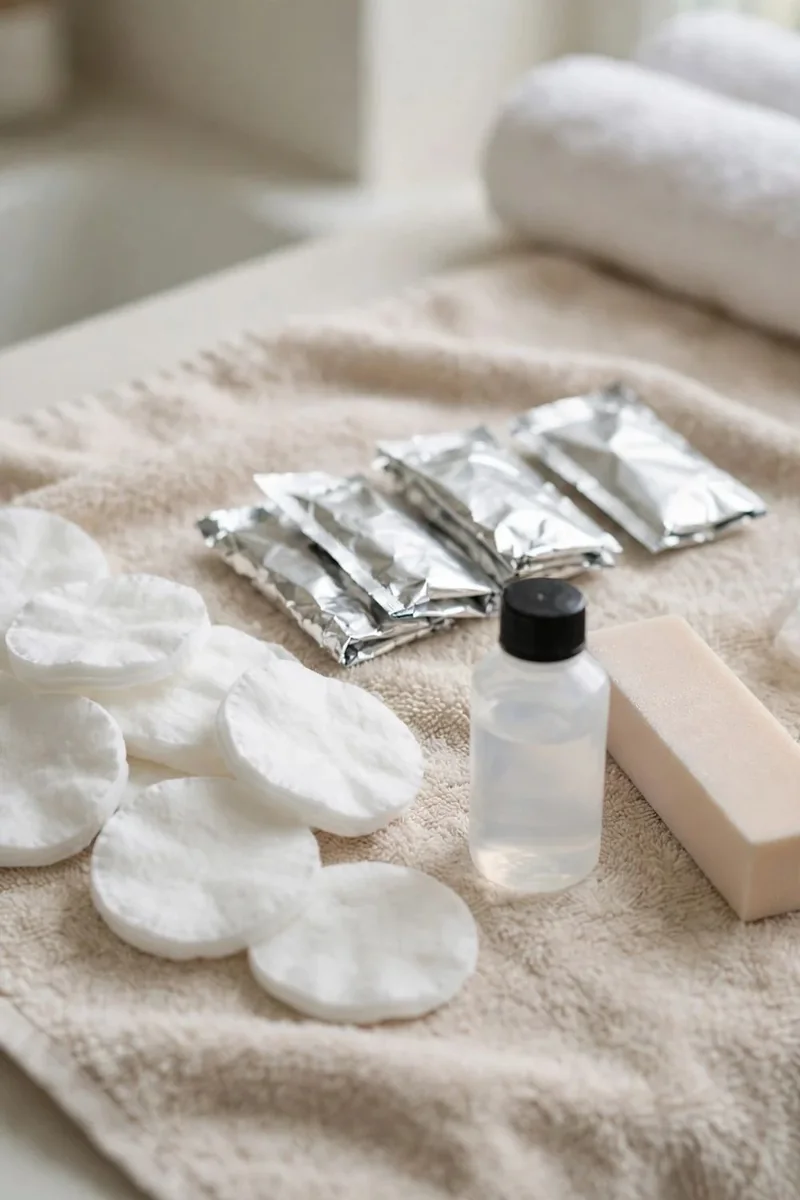
Removal is part of the plan, not an afterthought. Soft builder gel soaks off with acetone, while hard gel needs gentle filing. Know which type you have before you start, so you do not damage your nails later.
Never peel or force gel off. Peeling takes layers of your natural nail with it, and that damage takes weeks to grow out. Soak, file gently and be patient.
After removal, give your nails a break and use cuticle oil often. Healthy nails are the base for your next set.
Decide at Your Own Pace
Builder gel can be a great tool, but it works best when you start with the basics. Know what it is, how it differs from polish, what kit you need and how it comes off, and you will feel far more confident.
Take your time, practice on one hand first if you like, and do not expect perfection on day one. Your skills will grow with each set, just like your nails.