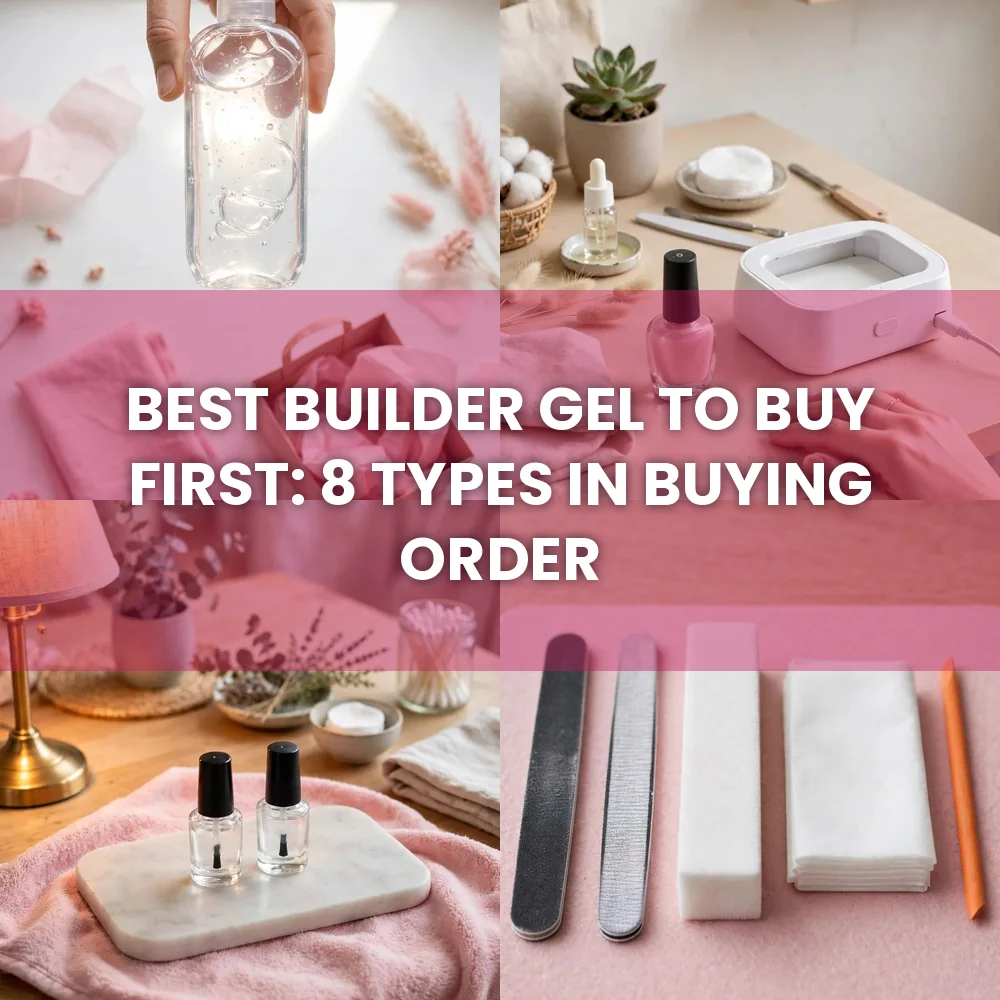
Builder gel comes in so many bottles, pots, shades, and strengths that the first purchase can feel like a test you did not study for. Buy the wrong one and you end up with a gel that lifts, a lamp that does not cure it, or a removal routine that damages your nails.
The trick is buying in order. Some builder gel types are essential for a first set. Others are only useful once you know how to prep, cure, and soak off. This guide lists eight types in the order a home beginner should buy them, so you spend money on what you will actually use.
Read the list from top to bottom. If you are buying your very first kit, items one to five are your starting set. Items six to eight can wait until you are comfortable with the basics. And do not skip to the end: the last type is the one most beginners should avoid at first.
1. A Clear Soak Off Builder Gel in a Bottle
Start here, every time. A clear, soak off builder gel in a bottle is the most forgiving first gel you can buy. The bottle brush makes it easy to control, the clear shade shows you exactly where the gel is, and the soak off formula means you can remove it at home without heavy filing.
Clear gel is also the best way to learn. You can see bubbles, thin spots, and floods before you cure, and you can wipe them away and try again. A tinted gel hides those mistakes until after curing, when they are much harder to fix.
Look for the words soak off on the bottle, and check that it matches your lamp type. If a gel does not say it soaks off, assume it does not, and put it back for now.
Clear, soak off, in a bottle.
Easy to see and control.
Removes at home.
Hard gel in a pot.
Dark or opaque shades.
Anything that does not soak off.
2. A Nail Lamp That Suits Your Gel
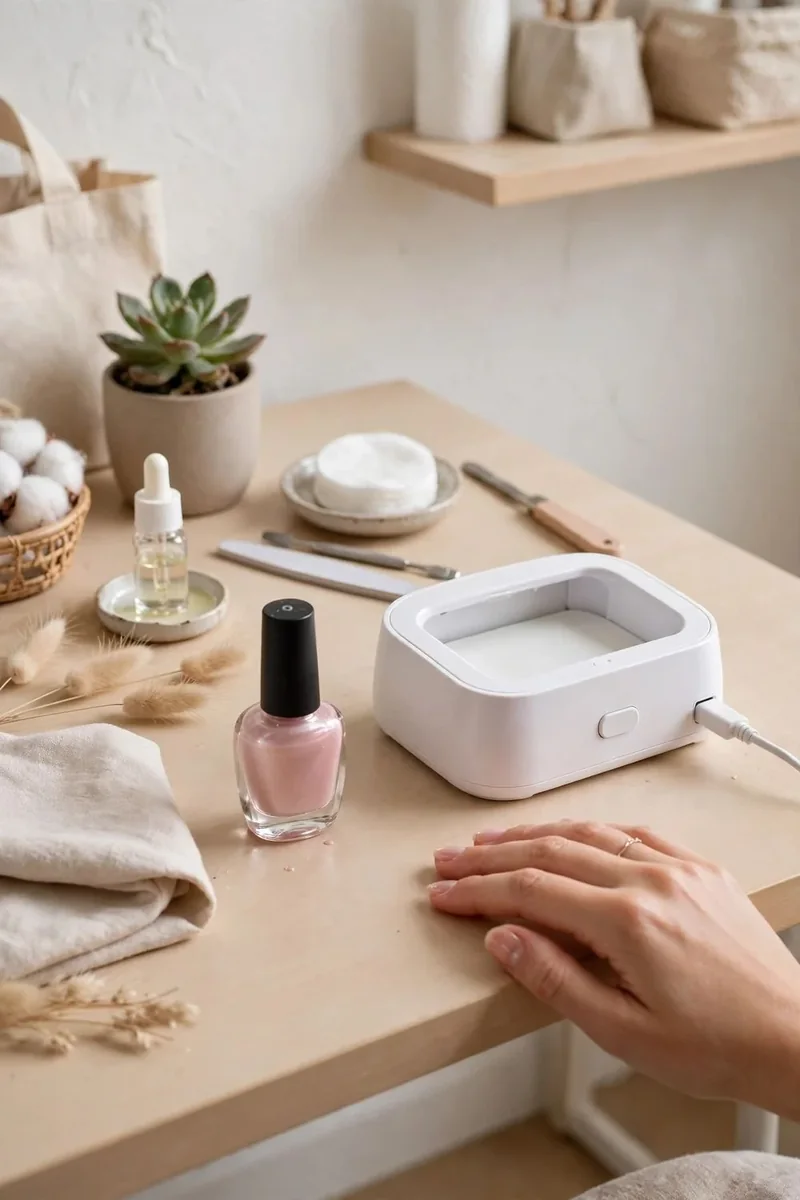
A builder gel is only as good as the lamp that cures it. Gel does not dry in air, it hardens under UV or LED light, and an under cured layer can stay soft, lift, or irritate skin.
Before you buy a lamp, check what your gel needs. Most modern builder gels cure under LED, but some need UV, and cure times vary by brand. Buy a lamp from the same brand as your gel if you can, or at least one that lists your gel’s cure time in its instructions.
You do not need the most expensive lamp to start. You need one with a timer, enough power for your gel, and a size that fits all five fingers at once. Cure for the full time, every layer, without rushing.
💡 Quick Tip
If a gel stays tacky after the full cure time, your lamp may be too weak for that gel. Do not just add more layers, check the lamp first.
3. A Matching Gel Base and Top Coat
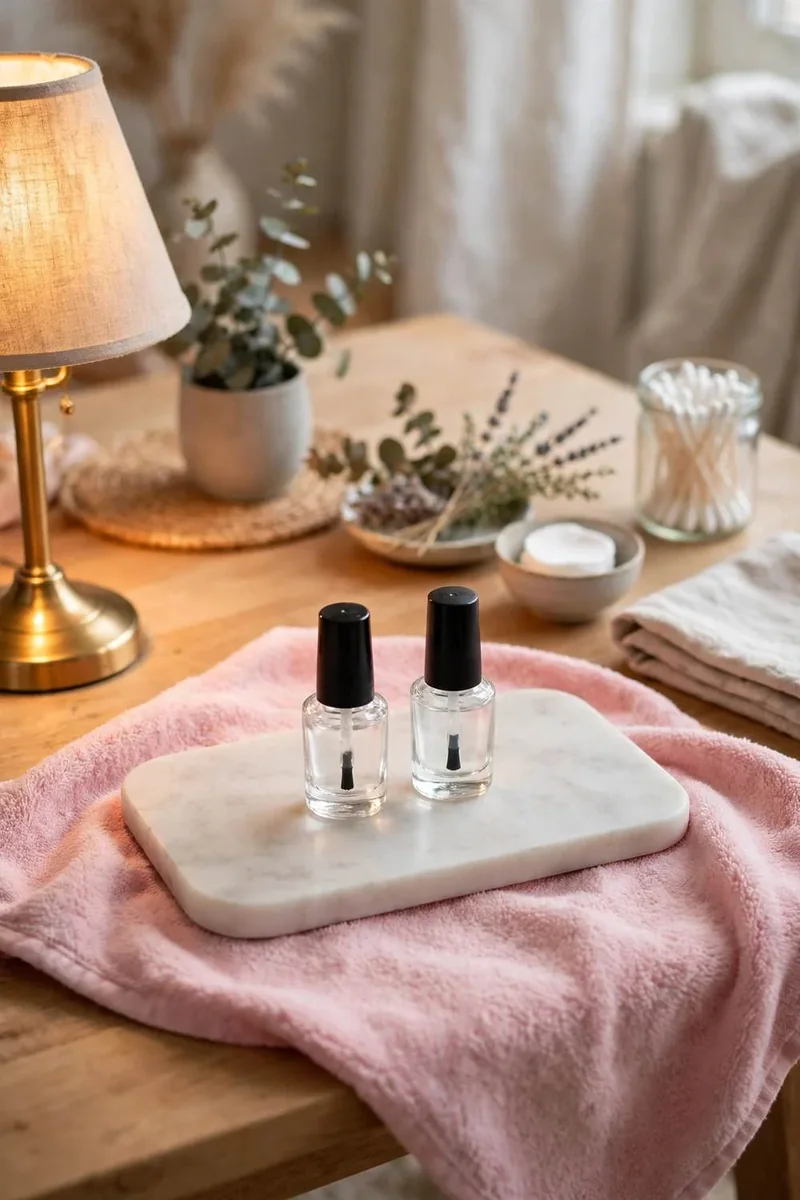
Builder gel needs a base coat underneath and a top coat on top, and matching them to your builder gel matters more than most beginners expect. Different brands cure differently, and mixing brands can cause lifting, peeling, or a dull finish.
Buy the base and top coat from the same brand as your builder gel, at the same time. That way you know they cure together, soak off together, and wear together. It also makes troubleshooting much easier: if something lifts, you know it is not a brand mismatch.
A no wipe top coat is a nice bonus for beginners, because it skips the sticky layer step. It is not essential, but it does make the final step simpler.
A Simple Matching Set
| Step | What to Buy | Why It Matters |
|---|---|---|
| Base coat | Same brand as builder gel | Helps gel stick, prevents lifting |
| Builder gel | Clear, soak off, bottle | Adds strength and shape |
| Top coat | Same brand, no wipe if possible | Seals, shines, protects |
4. A Basic Prep Set
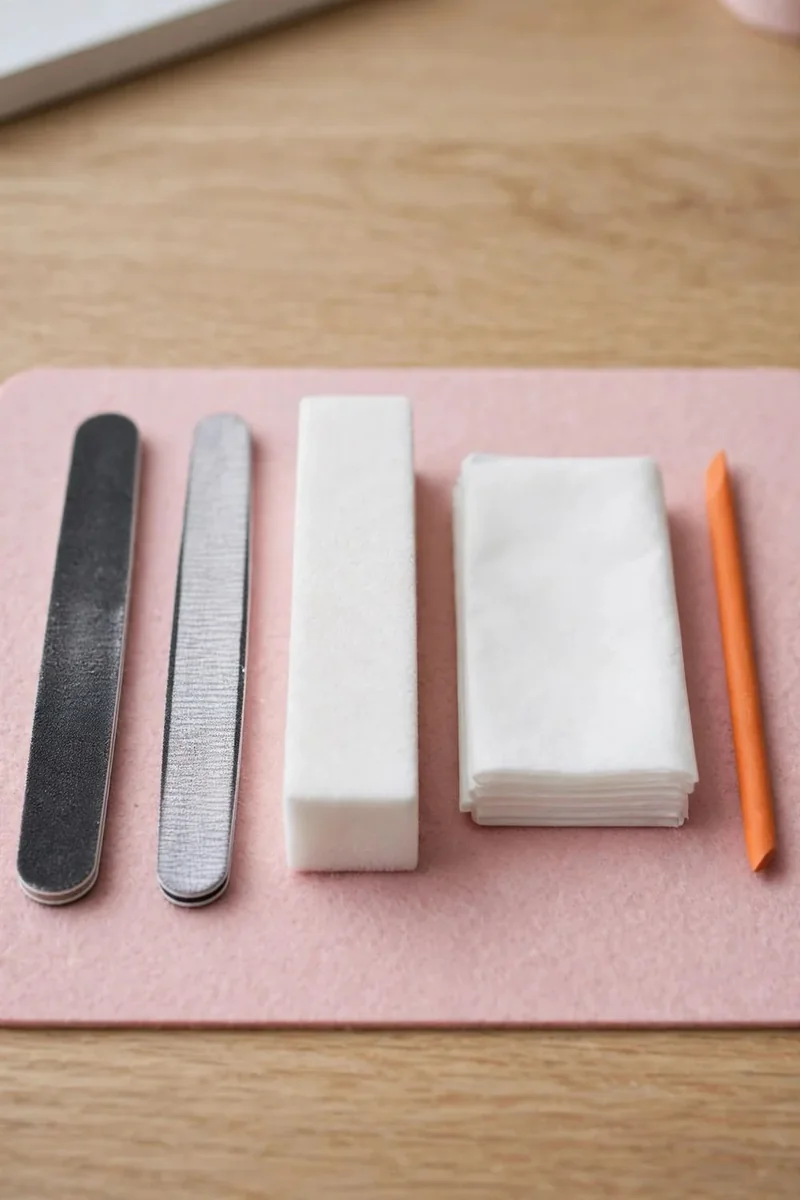
Prep is not glamorous, but it is what makes builder gel last. A basic prep set is cheap, and it is worth buying before you buy a second shade of gel.
You need a gentle nail file, a buffer, a cuticle pusher, and a dehydrator or nail prep solution. That is it to start. File the nail lightly to remove shine, push back cuticles gently, clean away dust and oil, and apply dehydrator before your base coat.
Do not over file. The goal is a slightly rough surface for the gel to grip, not a thin, sore nail. If your nails hurt after prep, you filed too hard.
Basic prep checklist
5. A Safe Removal Kit
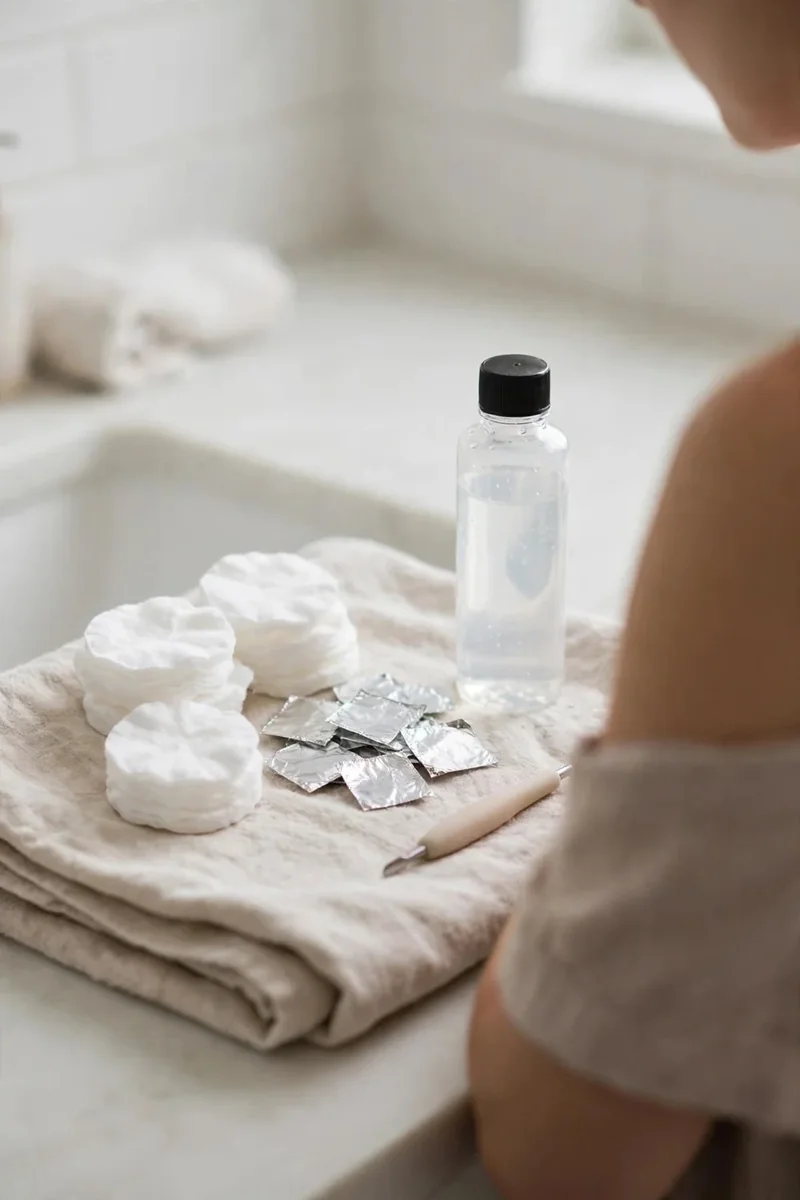
Buy your removal kit at the same time as your first gel, not after you need it. Soak off builder gel still needs the right tools to come off safely, and peeling it off because you have no acetone is how nails get damaged.
You need pure acetone, cotton pads, foil wraps or soak off clips, a coarse file for the top coat, and a wooden stick or gentle pusher. File the top coat first, wrap each nail, wait the time your gel asks for, then push the softened gel away gently.
If gel is still stuck after soaking, soak longer. Do not force it, scrape hard, or peel. A few extra minutes in acetone is always better than a torn nail layer.
⚠️ Watch Out
Never peel builder gel off, even if it is lifting at the edge. Peeling takes nail layers with it, and the damage shows for weeks.
6. A Soft Tinted Builder Shade
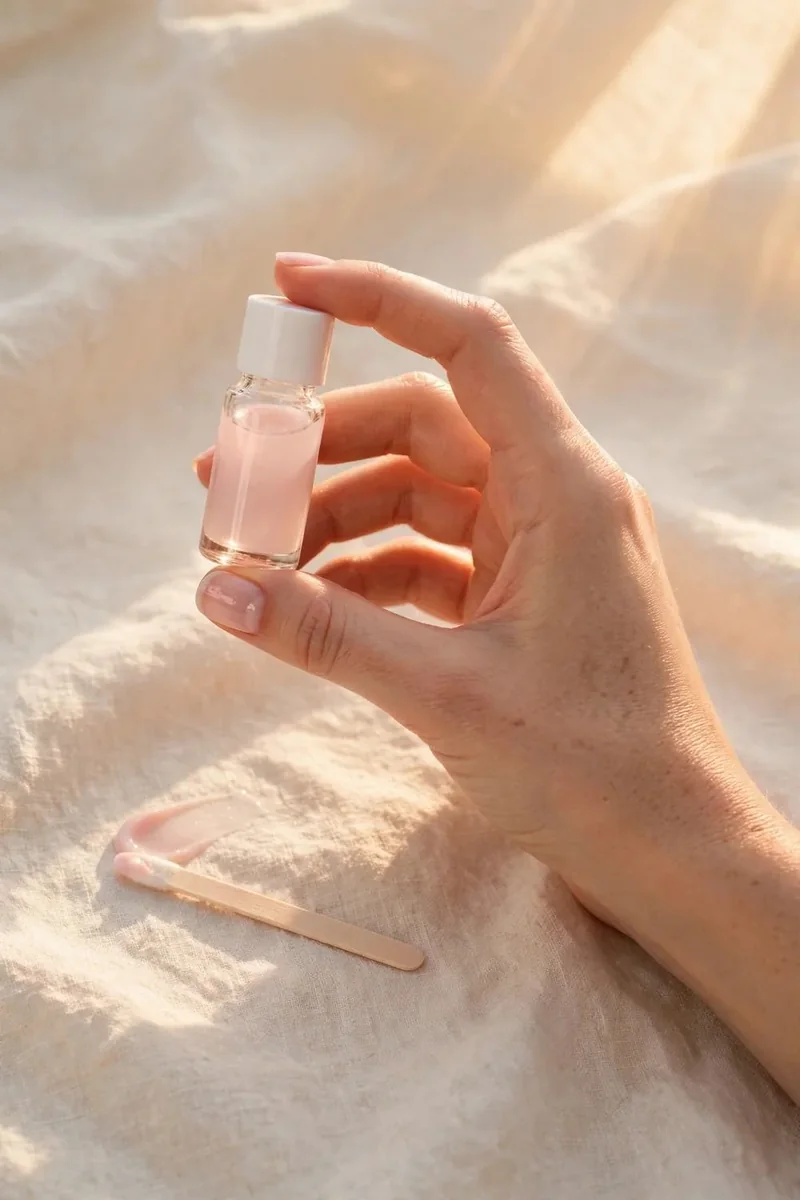
Once you can apply clear builder gel neatly and remove it safely, a soft tinted shade is a lovely second purchase. Think milky pink, soft nude, or sheer white. These shades give you a finished look with just a top coat, no polish needed.
Choose a sheer or milky shade, not a dark opaque one. Sheer shades are more forgiving, because uneven layers are less visible, and they still let you see the nail underneath while you work.
Buy only one tinted shade at first. You will learn how tinted gel flows and cures, and you can decide later which colors you actually wear.
Milky pink.
Soft nude.
Sheer white.
Dark reds and blacks.
Bright neons.
Thick opaque colors.
7. Builder Gel in a Pot, Only Later
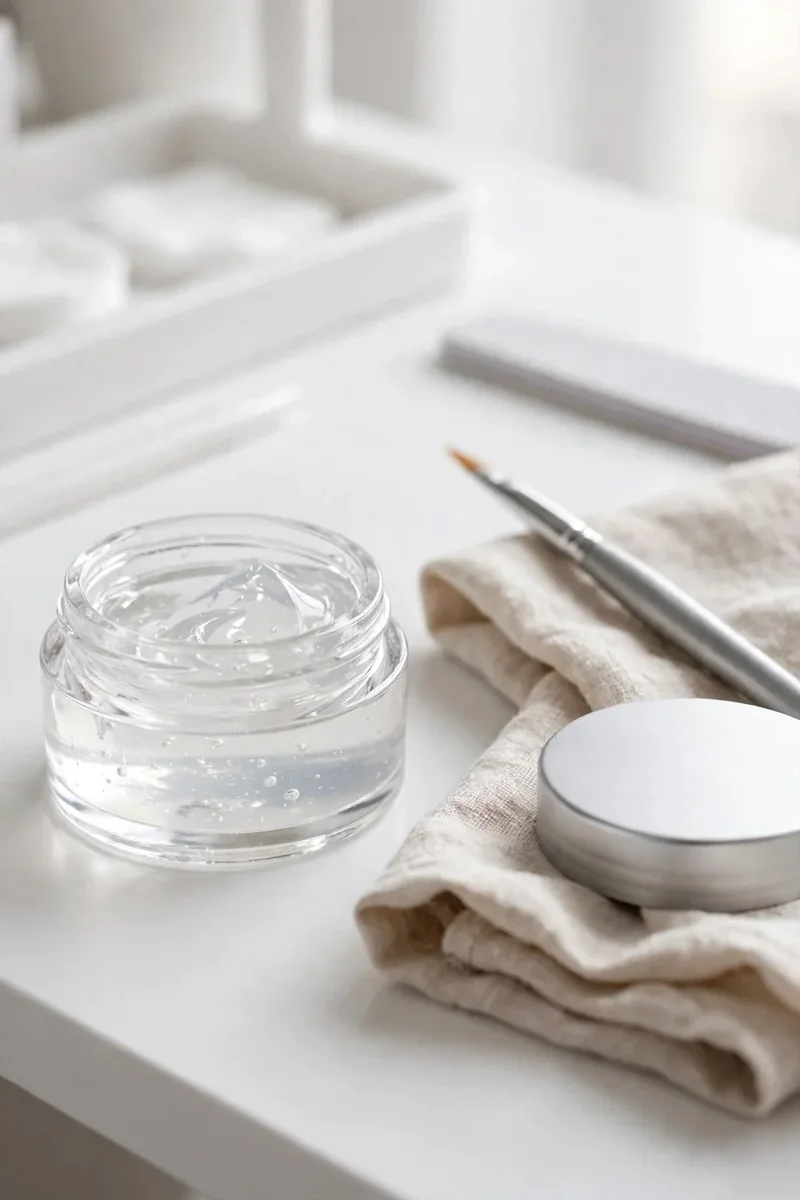
Builder gel in a pot is the same idea as bottle gel, but applied with a separate brush. It can be thicker, and it gives you more control over shaping, which is why experienced users like it. For a beginner, that control is also the problem.
With a pot, you have to load the brush yourself, place the gel, and shape it before curing. Too much gel floods the cuticle. Too little leaves thin spots. A bottle brush does a lot of that work for you.
Buy a pot only after bottle gel feels easy. By then you will know how thick a layer should be, how to keep gel off skin, and how to file a cured layer smooth.
💡 Quick Tip
If you buy a pot early, pair it with a good gel brush and a clean up brush. Cheap brushes shed bristles into wet gel.
8. File Off Hard Gel, Skip for Now
Hard gel is last on this list for a reason: it does not soak off. The only way to remove it is to file it down, and that takes skill, patience, and often an e-file. For a home beginner, that is a high risk first purchase.
Hard gel is excellent for long extensions and sculpted shapes, but you do not need it for a natural nail overlay. Builder gel does that job, with a much safer removal.
Skip hard gel until you can file confidently, remove soak off gel without damage, and shape a cured layer smoothly. When you are ready, you will know, because bottle gel will start to feel limiting.
Buy in Order, Not All at Once
The best builder gel to buy first is not the strongest or the prettiest one. It is the one you can apply, cure, and remove safely: a clear, soak off builder gel in a bottle, with a matching lamp, base, top coat, prep set, and removal kit. Add a soft tinted shade once that feels easy, try pot gel later, and leave hard gel until filing feels comfortable. Buying in this order saves money, protects your nails, and makes each new product feel like a small step, not a leap. Save this best builder gel buying guide to your Builder Gel Nails board, and start with items one to five only.