Nail art looks impressive on social media, but most beginners do not know where to start. Do you need a huge kit? Special brushes? A steady hand from day one? The answer is much simpler than the videos make it look.
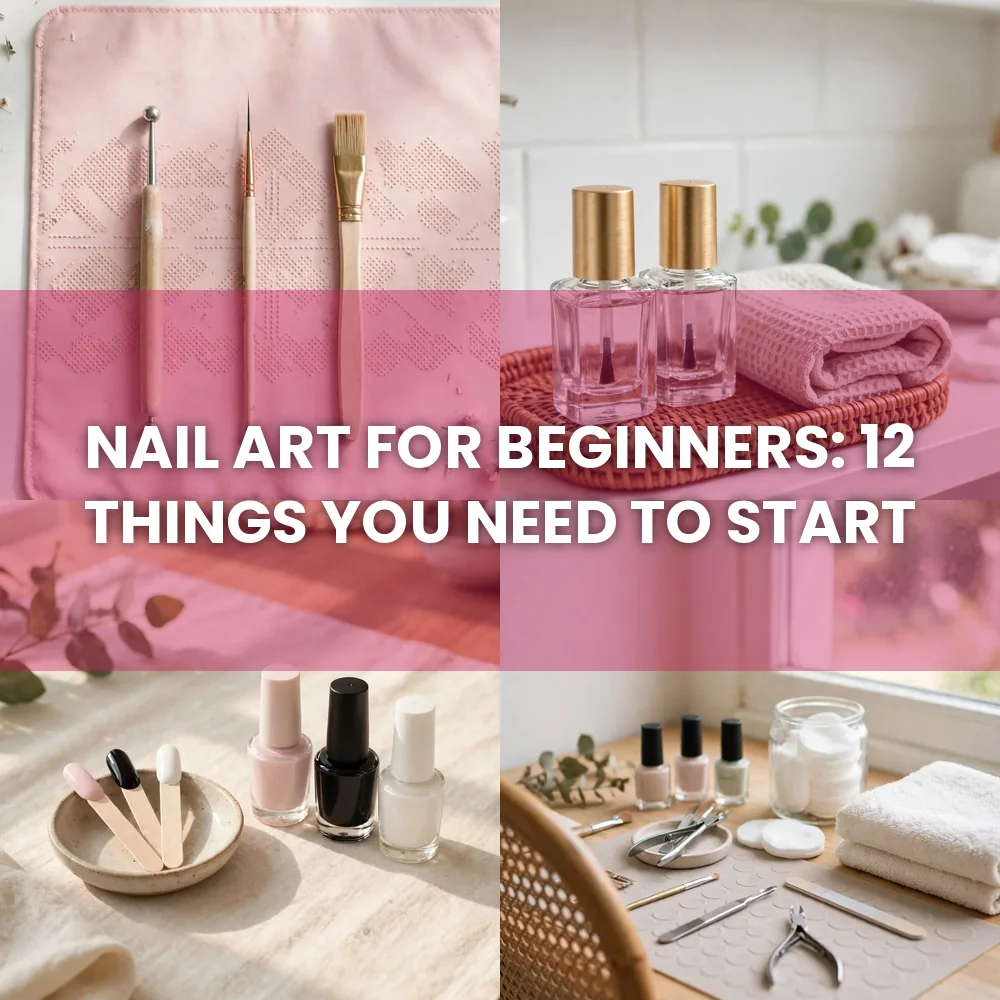
You need a small set of tools, a few polishes, and a way to practise simple shapes. Dots, lines, and tape do most of the work in beginner nail art, and you can learn them one at a time. This guide lists twelve things you need to start, in the order you will actually use them.
Work through the list slowly. Buy the first few items, practise the dot and the line, then add one new tool at a time. By the end, you will have a complete beginner kit and three easy designs you can wear with confidence.
1. Start With Three Small Tools
Beginner nail art starts with three small tools, not a drawer full of them. You need a dotting tool, a thin detail brush, and a clean up brush. That is enough for dots, lines, hearts, and stripes.
A dotting tool has a small ball on each end, in two sizes. A thin detail brush, sometimes called a liner brush, lets you paint lines without flooding the nail. A clean up brush, dipped in remover, tidies edges and skin after you paint.
Buy these three before you buy anything fancy. Stamping plates, stickers, and gems are fun later, but they do not teach you how to control polish, and control is the skill that matters first.
Dotting tool, two sizes.
Thin detail brush.
Clean up brush.
Stamping plates.
Large gem sets.
Airbrush kits.
2. Keep a Clear Base and Top Coat Close

Every nail art design starts with a base coat and ends with a top coat, and both matter more than the art itself. A base coat protects your nail from staining, helps polish stick, and gives you a smooth surface to paint on.
A top coat does two jobs. It seals your art so it does not chip on day one, and it smooths over dots and lines so they look neat. Without a top coat, even a good design looks rough and wears off fast.
Let each layer dry before you add the next one. Painting art on wet polish smudges the base color, and top coat on wet art drags the design across the nail.
💡 Quick Tip
Use a quick dry top coat for nail art. It seals the design before you can smudge it, which is a lifesaver when you are learning.
3. Pick Three Colors That Work Together
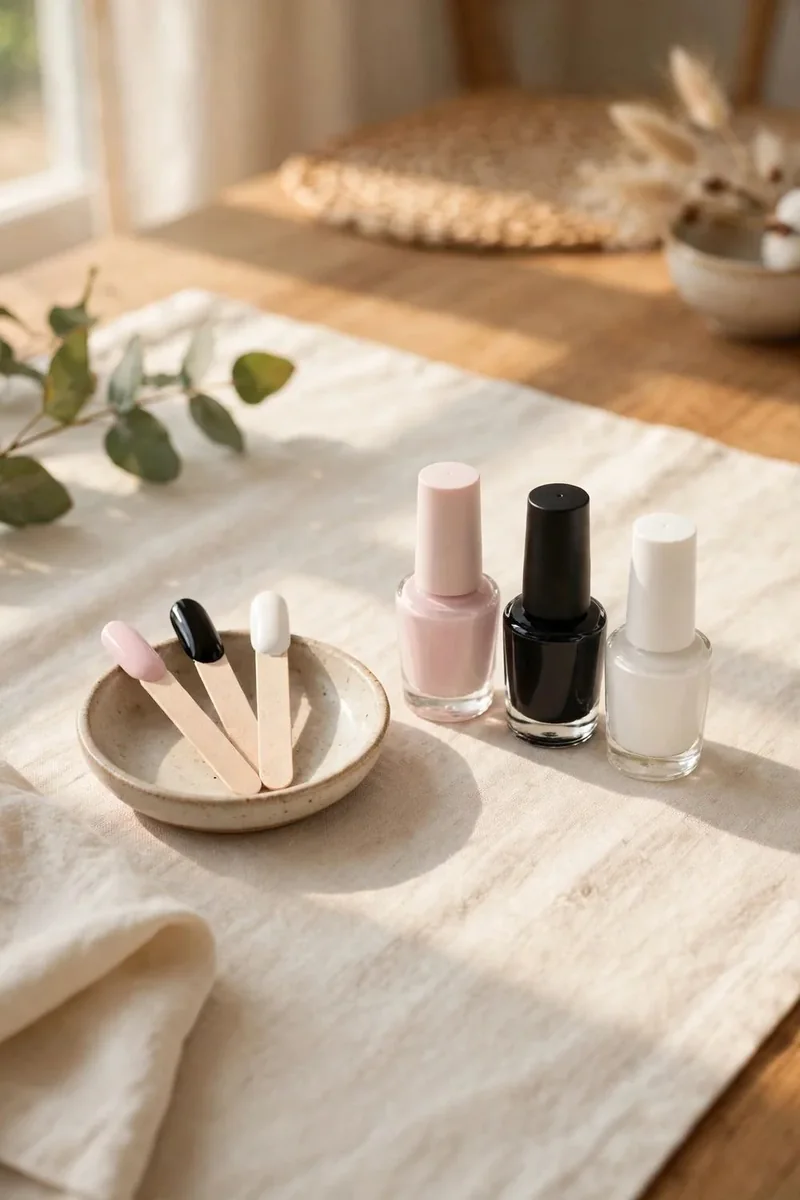
Beginner nail art looks best with three colors, not ten. Choose a light base color, a darker accent color, and a white or black for detail. That small palette keeps designs clean and makes every dot and line easy to see.
Good first combinations are soft pink with white and gold, pale blue with navy and white, or nude with black and white. High contrast helps you see your work, and it hides small wobbles better than similar shades do.
Avoid glitter polish for your first designs. Glitter is thick, hard to control with a detail brush, and it hides the shape you are trying to learn.
Three Easy Color Trios
| Base | Accent | Detail |
|---|---|---|
| Soft pink | White | Gold |
| Pale blue | Navy | White |
| Nude | Black | White |
4. Set Up a Small Workspace

Nail art is much easier when your tools are ready before you start. Set out your polishes, dotting tool, brush, remover, and cotton pads on a flat surface, with good light. You do not want to search for a tool with wet polish on your nails.
Use a small palette, a piece of foil, or a silicone mat to dot polish onto. Dotting straight from the bottle loads too much polish on the tool, and your dots end up large and uneven.
Work on one hand at a time, and keep your other hand still. Rest your painting hand on the table for support, and paint slowly. Speed comes later, control comes first.
Workspace checklist
5. Learn the Dot First

The dot is the first nail art skill to learn, and it is the base for polka dots, flowers, hearts, and many other designs. Dip the dotting tool lightly in polish, touch it straight down on the nail, and lift straight up. Do not drag or press hard.
Size depends on how much polish is on the tool and how hard you press. A light touch gives a small dot. A second dip gives a larger dot. Practise on paper or a nail wheel first, until your dots are round and even.
If a dot is uneven, wipe it off with remover and try again before top coat. It is much easier to fix a single dot than a whole design.
⚠️ Watch Out
Do not reload the dotting tool for every dot if you want even sizes. One dip gives several similar dots, then reload for the next set.
6. Learn the Line Next
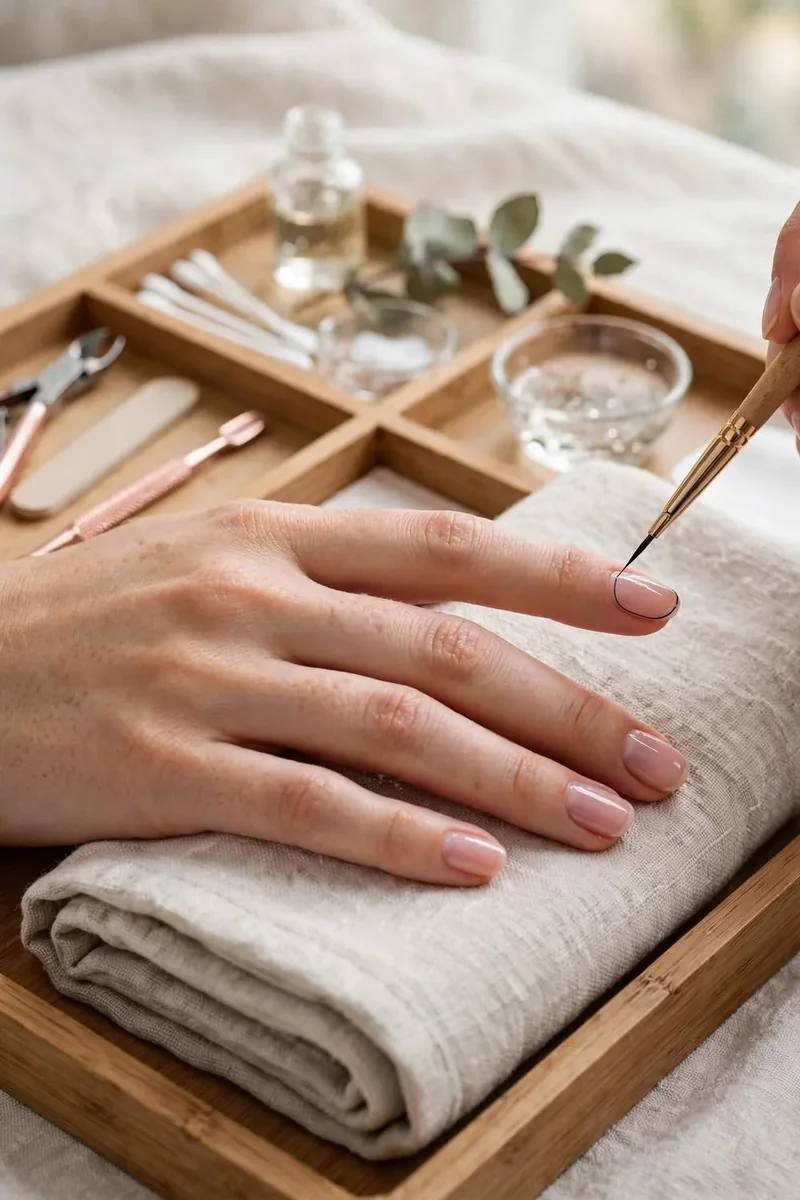
Once dots feel easy, learn the line. Load the thin detail brush with a small amount of polish, rest your hand on the table, and pull the brush slowly in one direction. Do not push the brush, pull it, and keep the pressure light and even.
Start with short lines. A French tip edge, a single stripe down the middle, or a small cross are all good first lines. Long lines across the whole nail are harder, because any wobble shows.
If a line wobbles, let it dry, then clean it up with a flat brush dipped in remover. A clean edge makes a wobbly line look intentional.
Pulled slowly, light pressure.
Hand resting on the table.
Short lines first.
Pushed, not pulled.
Hand floating in the air.
Too much polish on the brush.
7. Use Tape for Your First Stripes
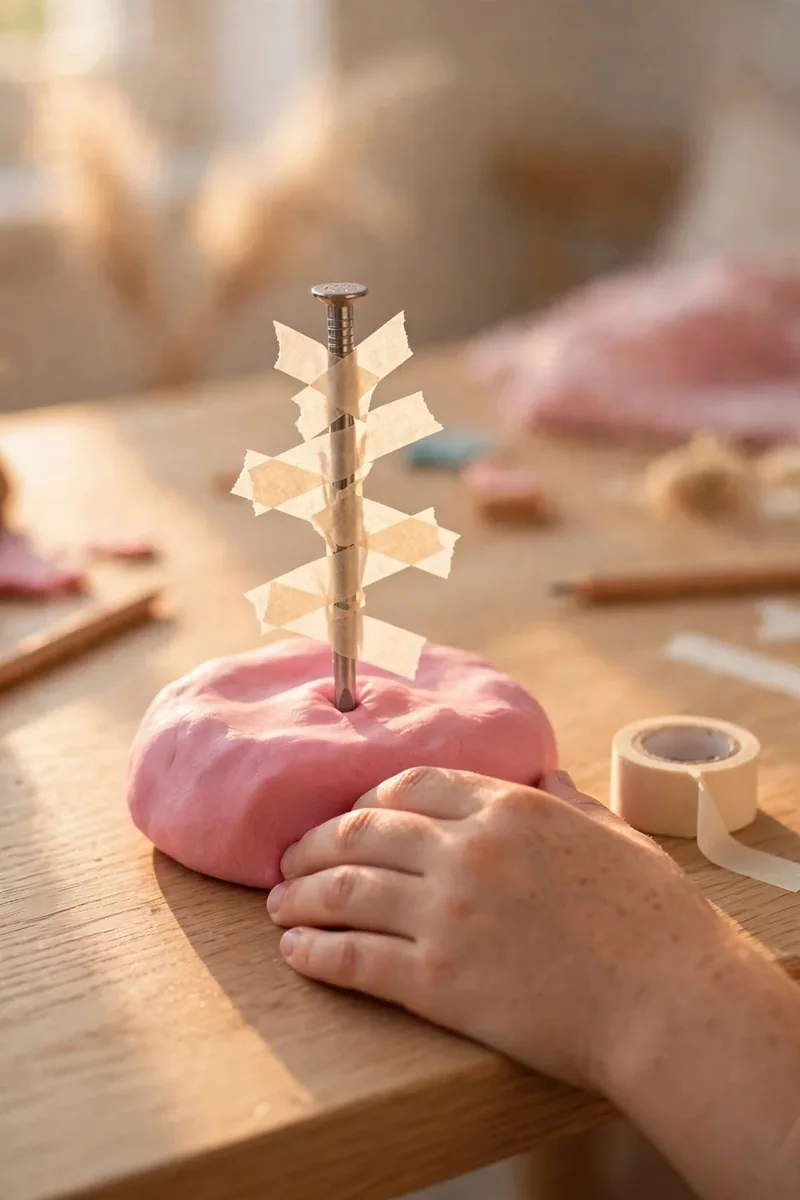
Tape is a beginner’s best friend for stripes. It gives you a straight edge without a steady hand, and it makes geometric designs possible on day one. Use thin nail tape, or cut regular tape into thin strips.
Let your base color dry fully first. Place the tape where you want the stripe edge, press it down firmly, paint over it, then peel the tape off while the polish is still slightly wet. If you wait until it is fully dry, the polish may peel with the tape.
One stripe is enough to start. A single gold stripe on a pink base looks polished and takes less than a minute once the base is dry.
💡 Quick Tip
Press tape edges down well, especially near the cuticle and tip. Polish that seeps under the tape ruins the straight line.
8. Paint a Polka Dot Accent Nail
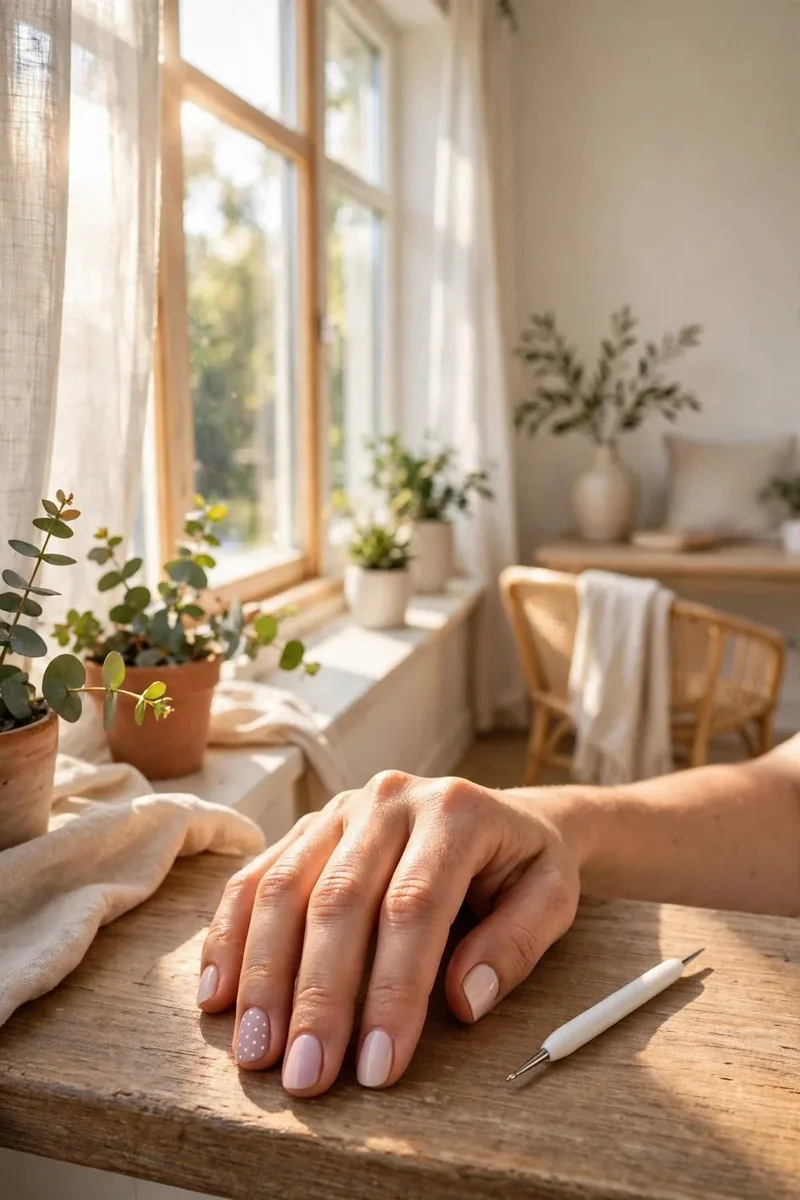
A polka dot accent nail is the easiest complete design. Paint all nails in your base color, let them dry, then add dots to just one nail on each hand, usually the ring finger.
Use two dot sizes for interest: large dots in your accent color, small dots in white. Space them evenly, let them dry, then seal with top coat. That is a full design, and it looks intentional even if the dots are not perfect.
Accent nails are a good way to practise. You only have to get one nail right, not ten, and you can wear the design while you learn.
Polka Dot Accent Steps
| Step | What to Do |
|---|---|
| 1 | Paint base color on all nails, let dry. |
| 2 | Add large dots to ring fingers. |
| 3 | Add small white dots between them. |
| 4 | Seal with top coat. |
9. Try a Soft Sponge Gradient

A sponge gradient looks advanced, but it is just dabbing. Paint your base color, let it dry, then dab a second color on with a small makeup sponge, starting at the tip and fading toward the middle. Repeat with light layers until the blend looks soft.
Use a small, slightly damp sponge, and dab, do not drag. Dragging smears the colors together. Dabbing builds a soft fade, layer by layer.
Clean up around the nail with a brush dipped in remover, then seal with top coat. Top coat also smooths the sponge texture, so the gradient looks even.
Gradient basics
10. Make a Tiny Heart With Two Dots

A tiny heart is just two dots and a line, which is why it is a perfect beginner design. Place two dots side by side, close together, then drag the detail brush down from between them to a point below. That V shape turns two dots into a heart.
Keep the heart small. A tiny heart on an accent nail looks neat, while a large heart shows every wobble. Practise on paper first, until the two dots and the drag feel like one motion.
If the heart looks like two separate dots, drag a little deeper. If it looks like a blob, use less polish on the dotting tool next time.
⚠️ Watch Out
Let the two dots dry for a few seconds before you drag. Dragging wet dots smears them into one blob.
11. Seal Your Art Without Smudging It
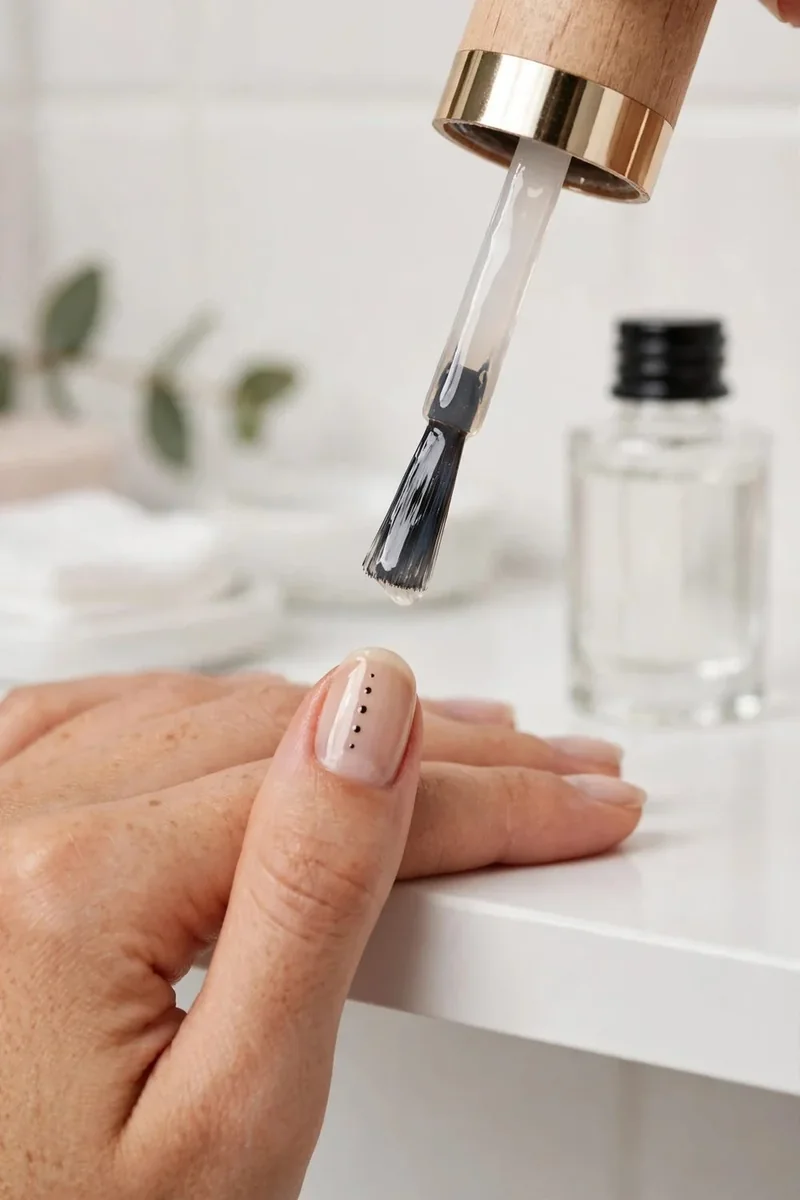
Top coat can ruin a design if it is applied too soon or too heavily. Wait until your art is dry to the touch, then float the top coat over it, without pressing the brush into the design. One smooth, light layer is enough to start.
Do not go back over the same spot twice with the top coat brush. The second pass can drag dots and lines, especially if the art underneath is still soft.
If you use a quick dry top coat, it will seal faster and smudge less. That is why it is worth buying for nail art, even if you use a different top coat for plain polish.
12. Follow This Starting Order
Put it all together in this order, and beginner nail art becomes a simple routine. Prep and base coat first, then your base color, then one simple design on an accent nail, then top coat. Do not try three designs at once.
Week one, practise dots on a nail wheel. Week two, add lines and tape stripes. Week three, try a polka dot accent nail and a tiny heart. By week four, you will have a small set of designs you can do without thinking hard about each step.
The goal is not perfection on day one. It is a clean base, a simple design, and a smooth top coat. That combination looks good on every hand, at every skill level.
Start small, practise one shape at a time, and seal it well. Dots and lines are enough to make nail art that looks finished.
Your First Set Starts With One Dot
Nail art for beginners is not about a huge kit or a perfect hand. It is about three small tools, three colors that work together, a base and top coat, and two simple skills: the dot and the line. Add tape stripes, a polka dot accent nail, a sponge gradient, and a tiny heart one at a time, and seal each design without smudging it. Start with one dot today, and your first set will already look like nail art. Save this nail art for beginners guide to your Nail Art for Beginners board, and practise the dot before you buy anything else.