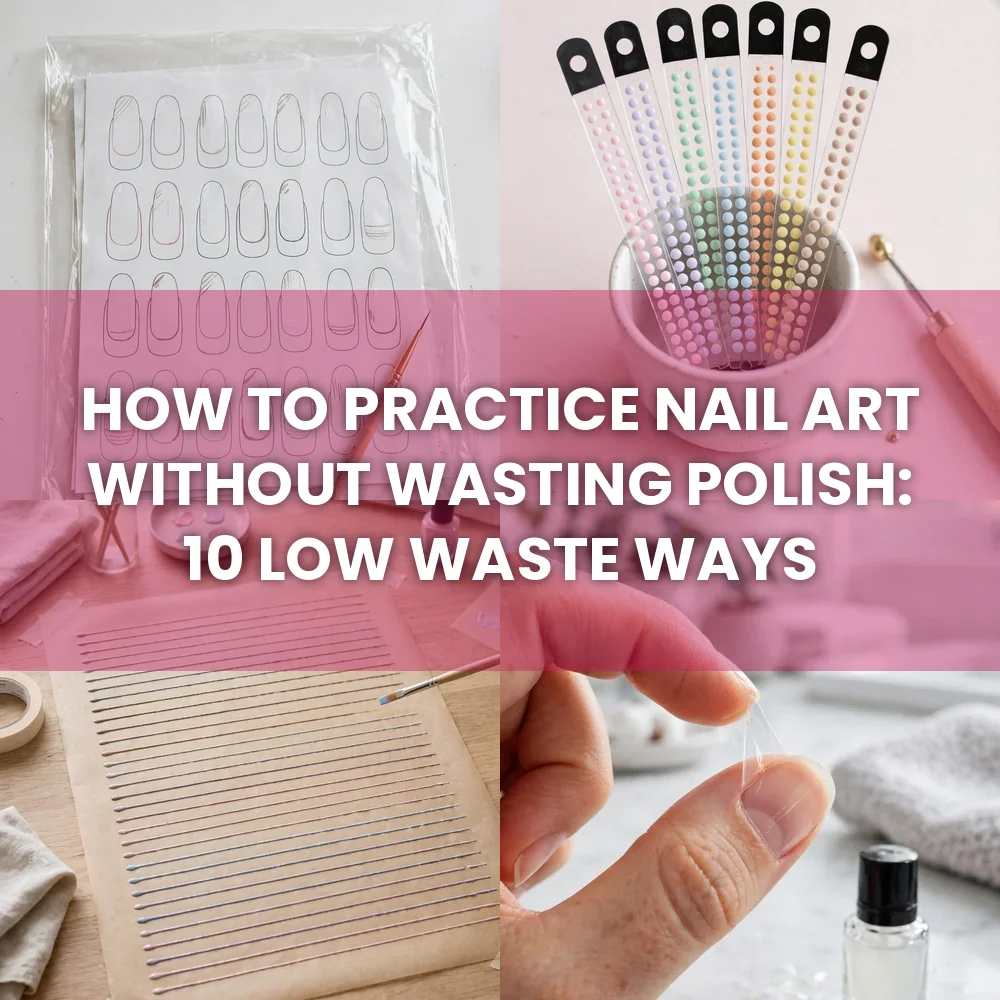
Every wobbly practice line on your own nails costs you something. Remover, cotton pads, a coat of polish you liked, and the skin around your nails, which gets dry after the third wipe. So most beginners stop after one try, and the skills never get a chance to grow.
Here is a better way to look at it. Your nail is the final exam, not the classroom. Strokes, dots, and lines can be trained on paper, plastic, foil, and old swatch sticks, using very little polish and no remover at all.
These ten ways to practice nail art are built around small sessions. Each one tells you which skill it builds and how to run the practice, so you always know what you are working on. Many of them use things you already own. Pick two or three, keep a small drop of polish on hand, and give it ten minutes. You will be surprised how fast your hand settles down once the pressure is gone.
1. Slip a Practice Sheet Into a Plastic Sleeve
Printed practice sheets give you nail shaped outlines to fill in, and a plastic sleeve makes them reusable.
Skill it builds: lines and placement. Draw small nail outlines on paper with a pen, or print a sheet, then slide it into a clear document sleeve. Paint on the plastic, right over the outlines.
Once it dries, peel the polish away or wipe the sleeve clean. The same sheet can last for months, and you are only using small drops of polish.
2. Fill a Pack of Swatch Sticks With Dots
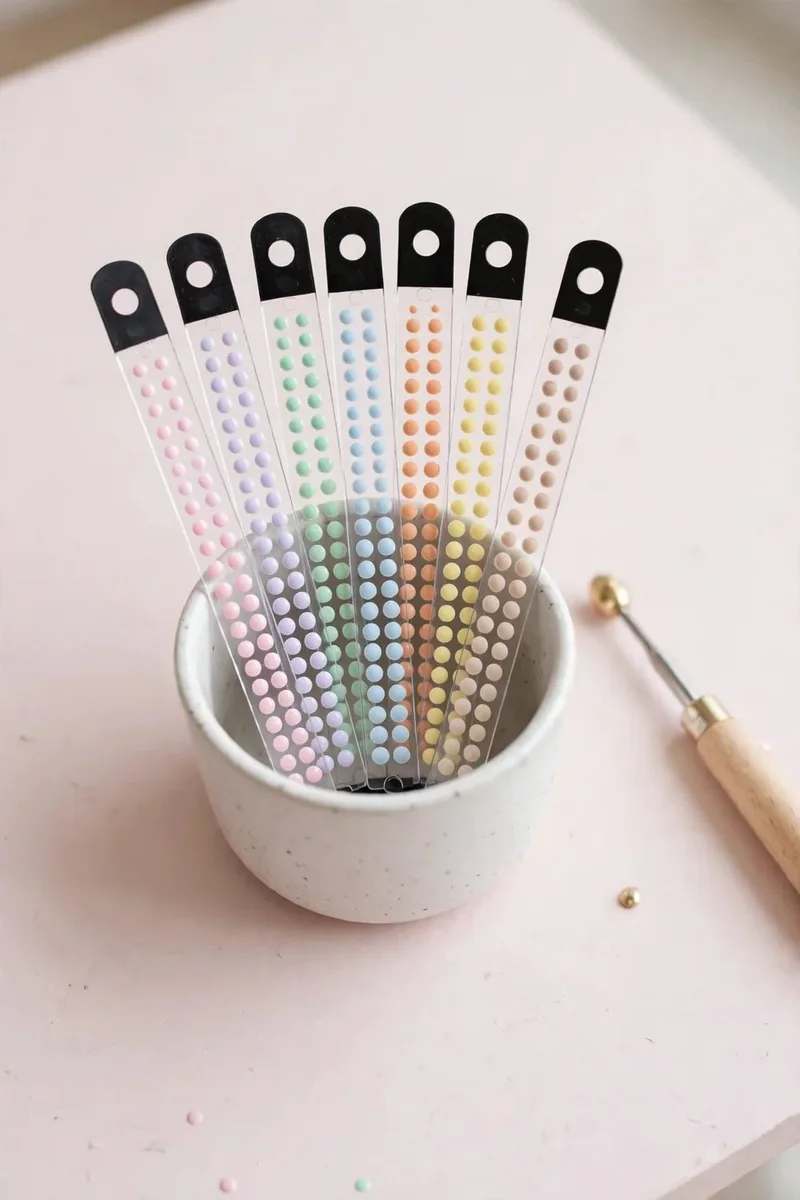
Swatch sticks are small plastic nails on a stick, sold for testing color. They are also a cheap place to practice.
Skill it builds: even dots and spacing. Paint a row of sticks with a pale base, let them dry, and add five dots in a line on each. Aim for matching sizes.
Keep your best stick and your worst stick. Seeing both side by side gives you a clear measure of how far you have come.
💡 Quick Tip
Label each stick with the date on the handle. Progress is hard to see without it.
3. Train Your Lines on Baking Paper
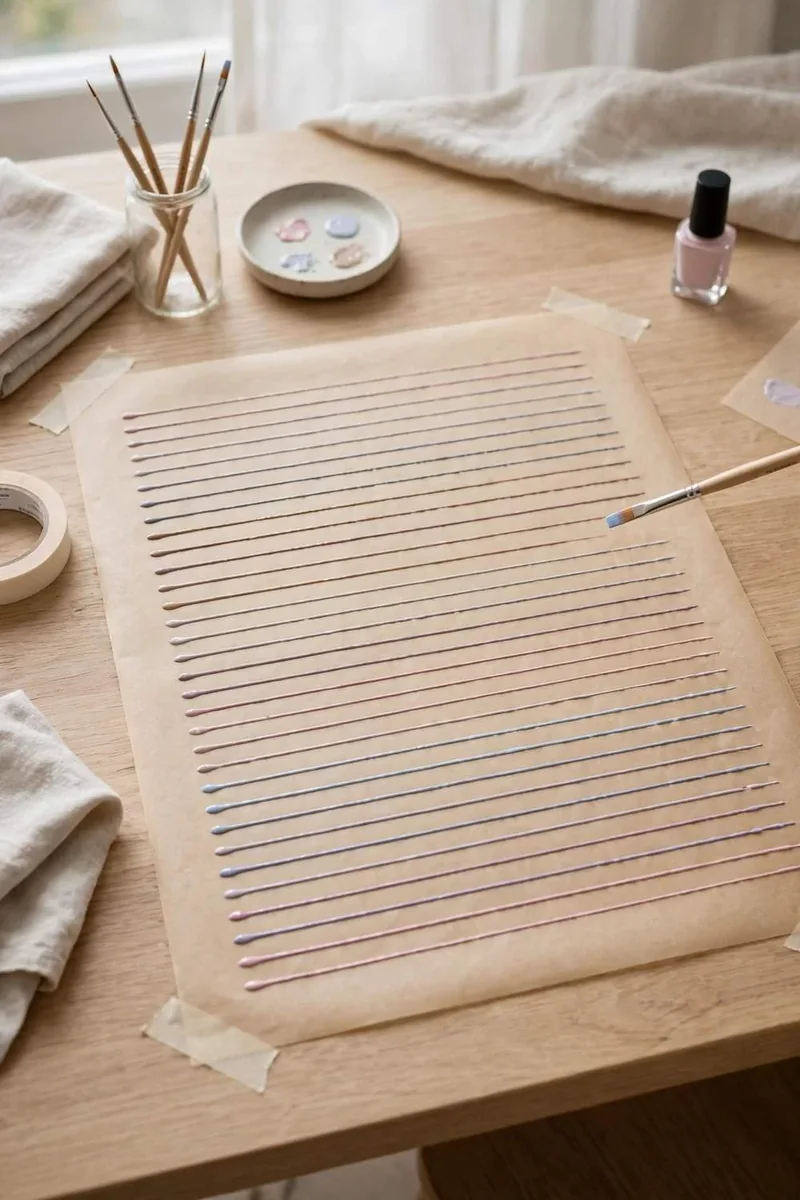
Baking paper has a smooth surface that behaves a lot like a top coat, and a single sheet offers plenty of room.
Skill it builds: long, even strokes. Tape a sheet flat to the table, then pull ten lines in a row, trying to keep each one the same thickness. Change direction on the next row.
Pressure is what you are learning here. Press a little harder and the line gets wider. Fold the used sheet and throw it out when it fills up.
Run this line drill
4. Paint Designs on a Peel Off Base
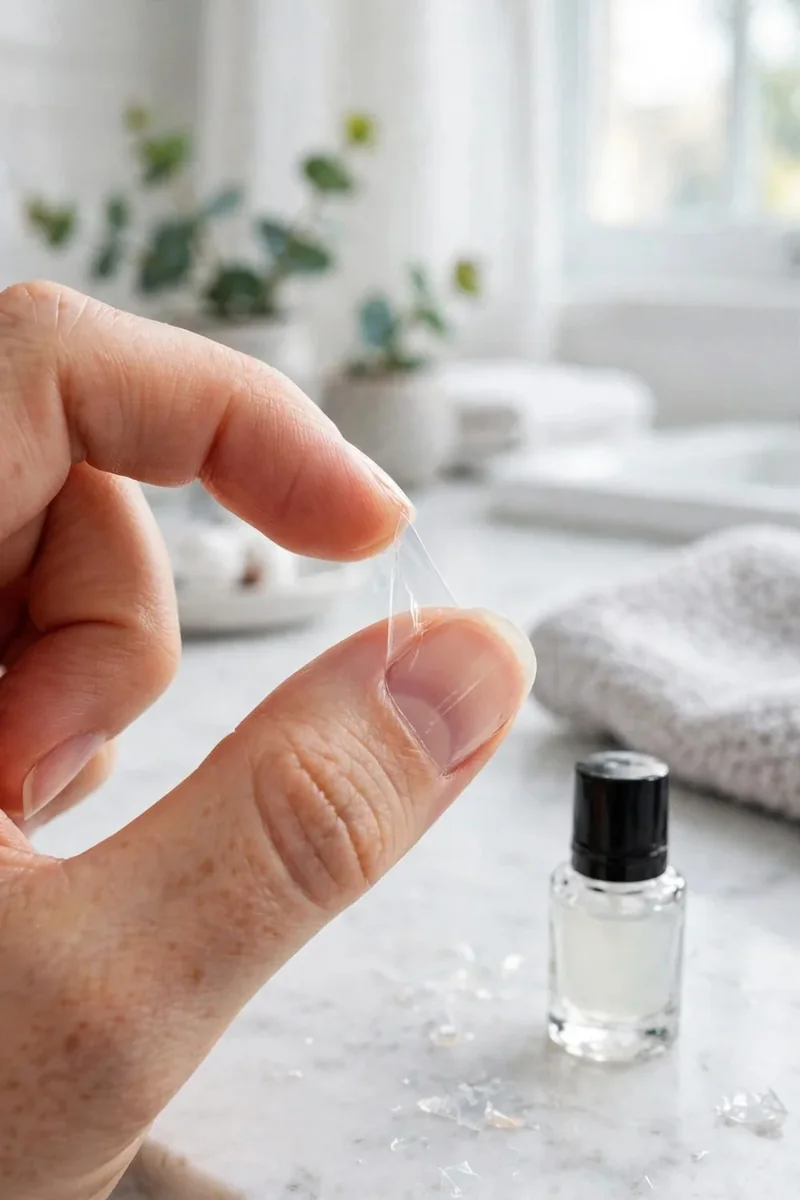
Peel off base coat dries into a film that lifts away in one piece. It gives you real nail practice with far less remover.
Skill it builds: working on a curved nail. Brush it on a bare nail, wait until clear, and paint your design. Peel it off when you are done.
Be gentle with this one. Use a proper peel off product made for nails, and avoid doing it day after day. Peeling can leave nails dry if you overdo it.
Wipe, wipe, and wipe again, until your skin is dry and three cotton pads have gone in the bin.
Lift the film away in one go, with clean nails and no remover smell.
5. Use Polish Bottles That Have Gone Thick
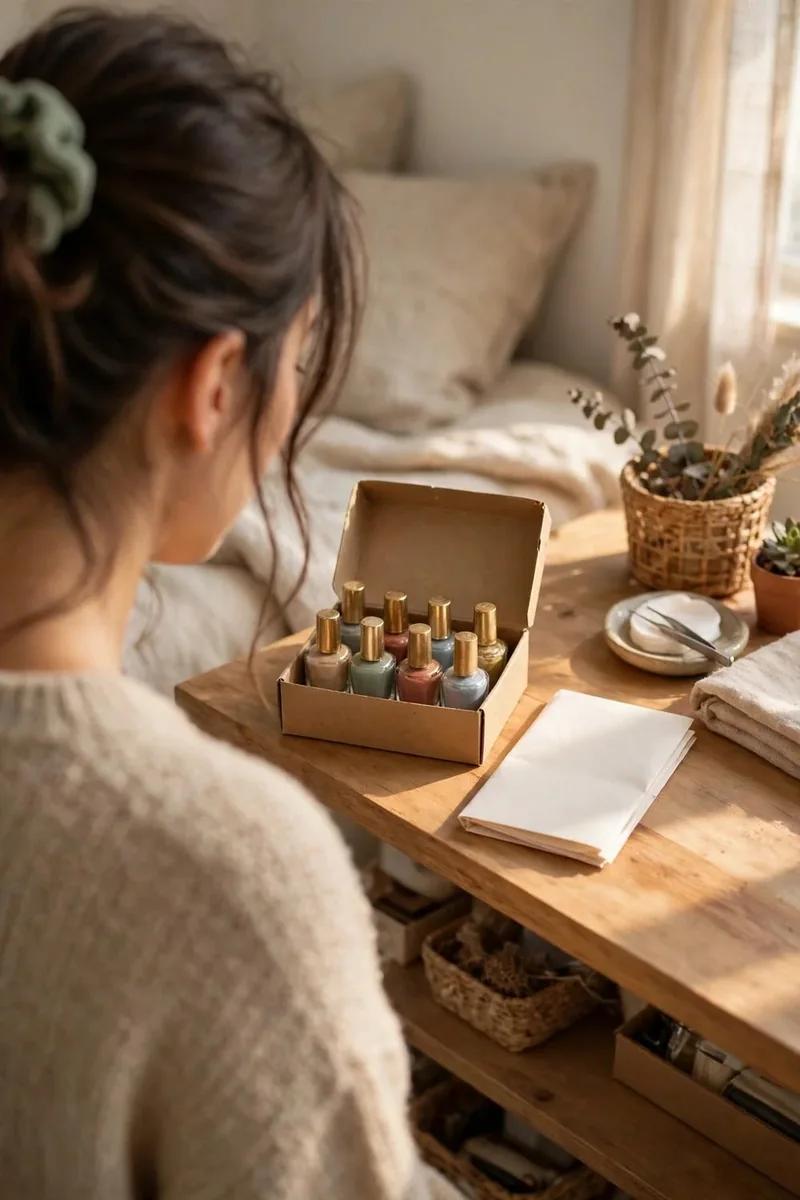
Old polish still has work to do. A thick bottle will not please you on a full nail, but it is fine for a practice sheet.
Skill it builds: dot control. Thick polish teaches you how much pressure a tool needs, since it holds its shape on the page.
Check first, though. If a bottle has separated, smells sour, or will not move at all, let it go. Keep your good polish for your real designs, and put old ones in a box marked practice.
Which Bottle for Which Job
| Bottle Type | Best Use |
|---|---|
| Slightly thick | Dots on paper |
| Fresh and smooth | Real nail designs |
| Nearly empty | Small drops on foil |
| Separated or dried | Throw it out safely |
6. Pour a Foil Palette for Every Session
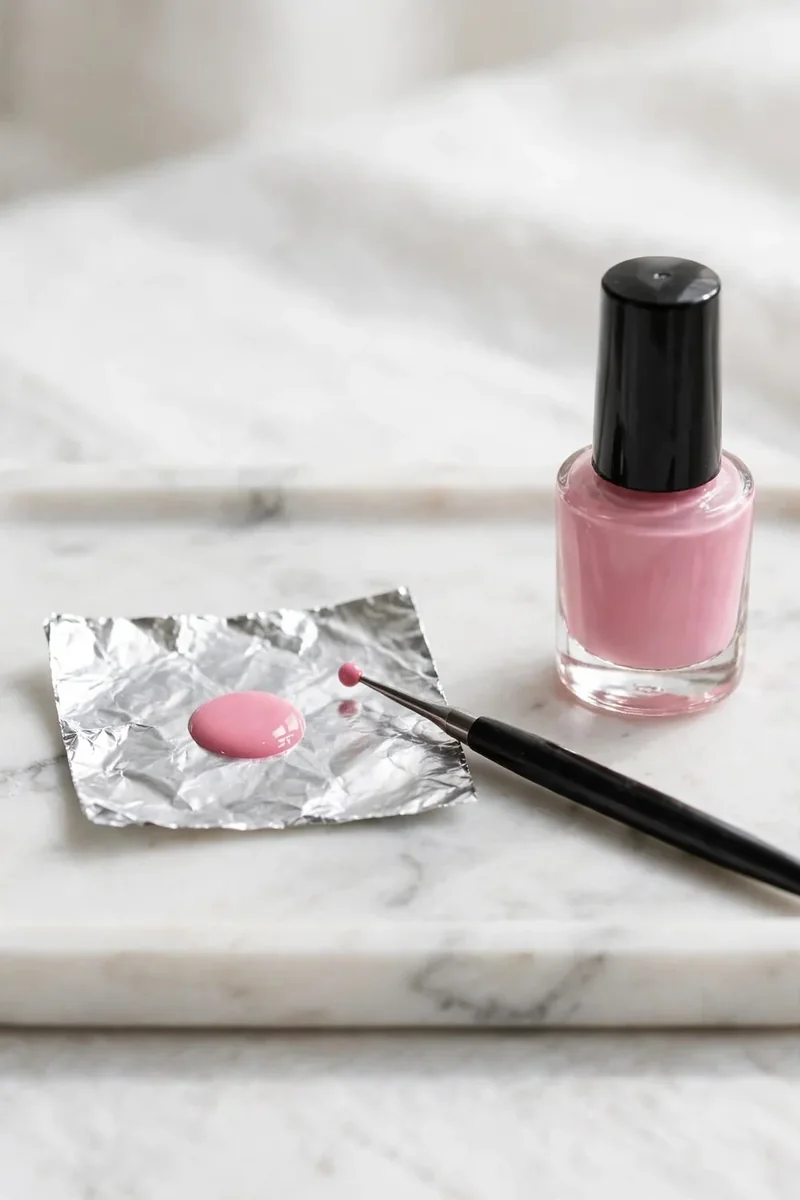
Dipping into the bottle wastes polish and overloads your tools. A small foil palette solves both.
Skill it builds: loading your tool. Tear off a small square of foil, then drop out one bead of polish. Dip only the tip of your tool and test each dot on the edge of the foil.
Work fast, as drops thicken in the open air. A new small drop always beats a big drop going sticky. Fold up the foil when you finish.
Pour one small bead at a time.
Close the bottle right after.
Pour a big puddle you cannot use.
Leave the bottle open while you work.
7. Try Your Designs in Craft Paint First
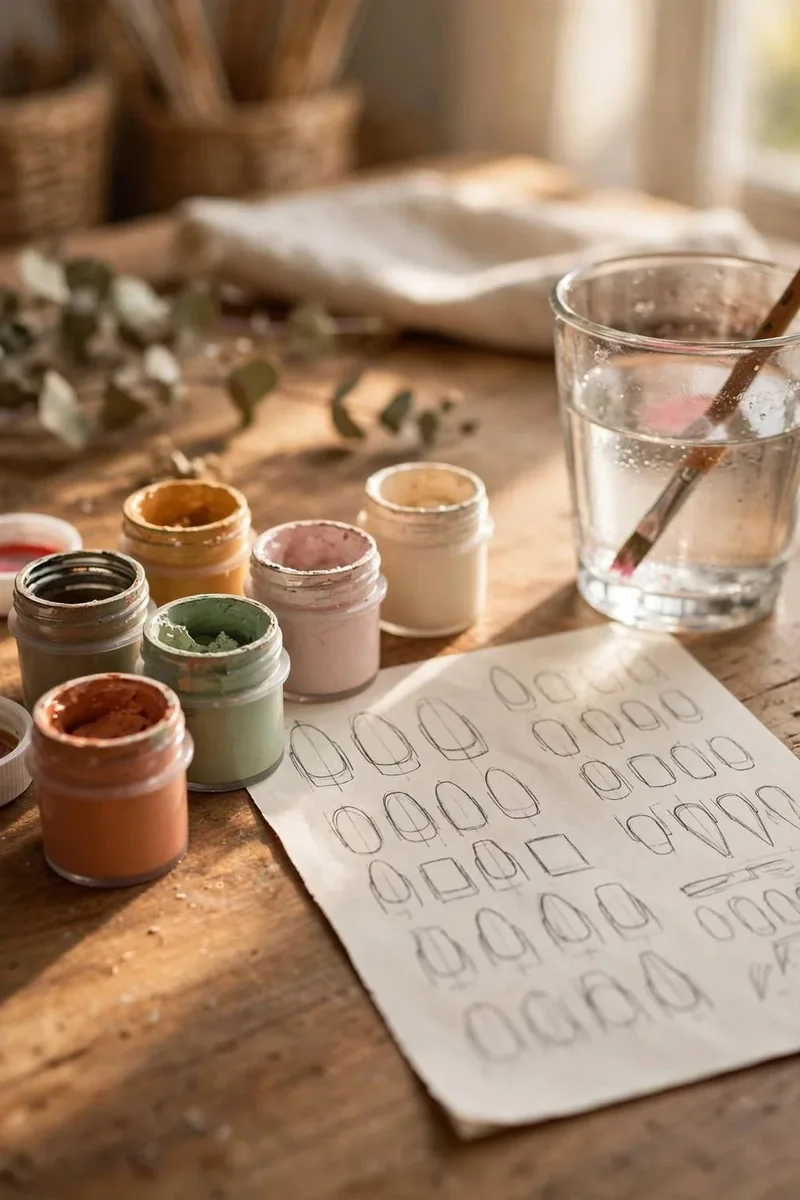
Water based acrylic craft paint is a good stand in for early brush work, and you likely spend less per use than on polish.
Skill it builds: stroke shape and layout. Sketch a whole nail design on paper, test the colors, and work out where each mark should go. Mistakes wash off a brush with water.
Use this on paper only, and keep separate brushes for it. Craft paint is not made for nails, so it does not belong on your skin or your real manicure.
📌 Good To Know
Paint flows differently than polish. Use it to plan shapes, and then do a short test with real polish.
8. Tape Cheap False Nails to a Card
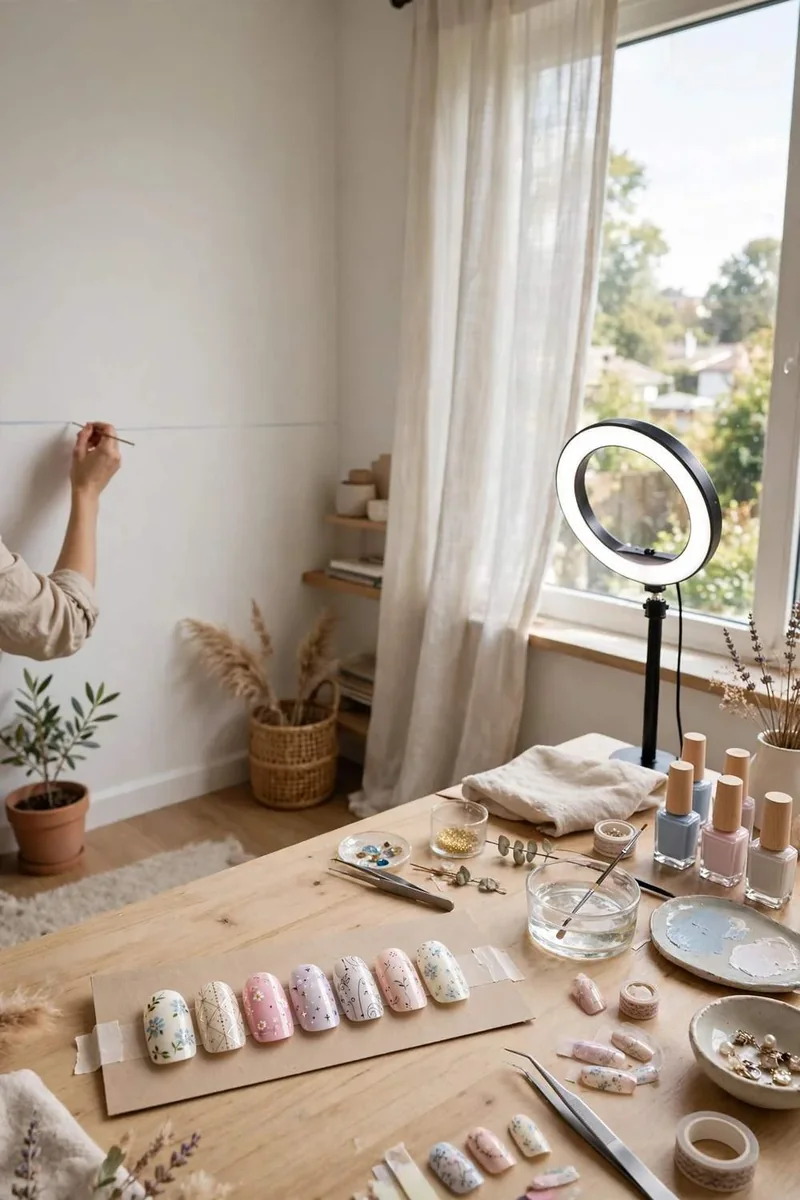
False nails sit in a curve like a real nail, which flat paper cannot teach you. A cheap pack can last a long time.
Skill it builds: turning your hand around a curve. Stick each nail to a strip of card with a tiny roll of tape, then hold the card in your weaker hand.
Practice near the side walls, where lines usually fall apart. Wipe the nail clean and use it again. Each nail can take many rounds, so a small pack goes far.
9. Run a Short Timed Practice Session
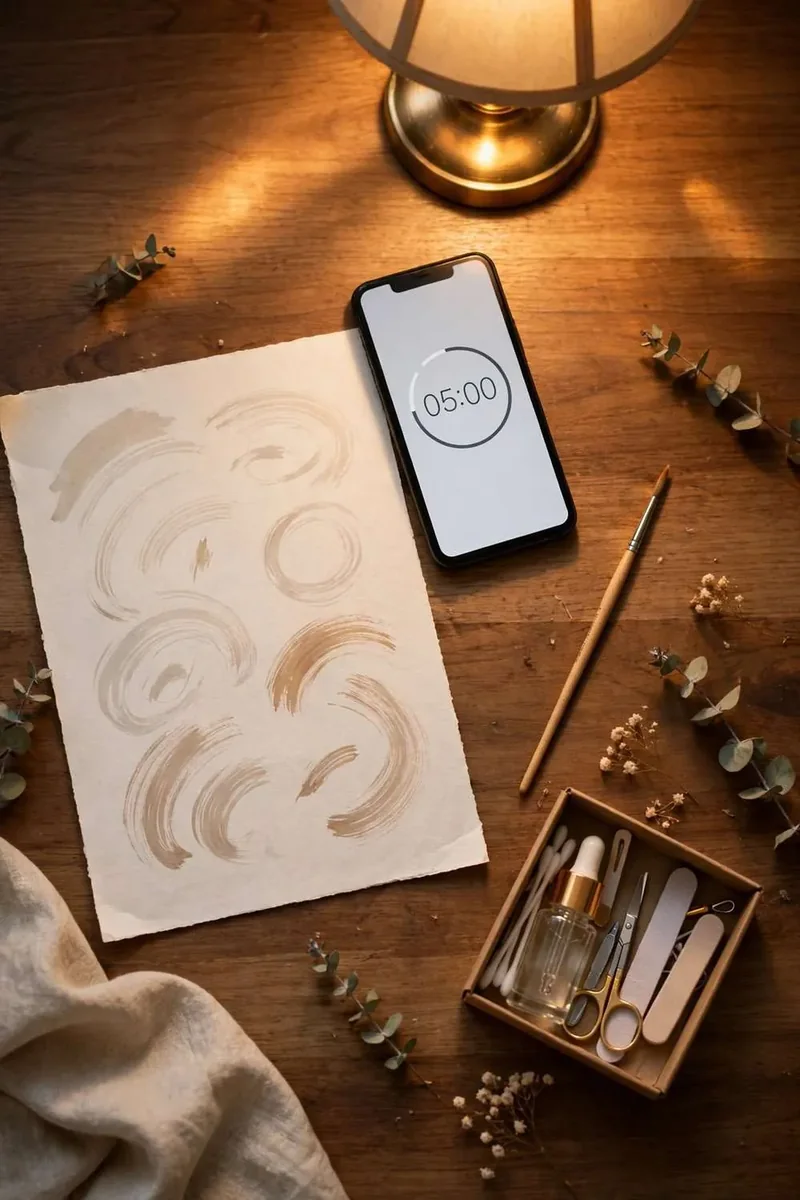
Long sessions burn you out and use more polish. Short, regular ones build a steadier hand.
Set a timer for 10 minutes and stick to one skill. A good session has three parts: warm up, repeat, and finish on a small win. Stop when the timer ends, even if you feel like carrying on.
Three short sessions a week will do more than one tired evening at the weekend. Keep your supplies in a small box, so setup never stops you.
Warm up with five slow lines.
Repeat one skill for most of the session.
Finish with one design you already know.
10. Keep a Simple Progress Card
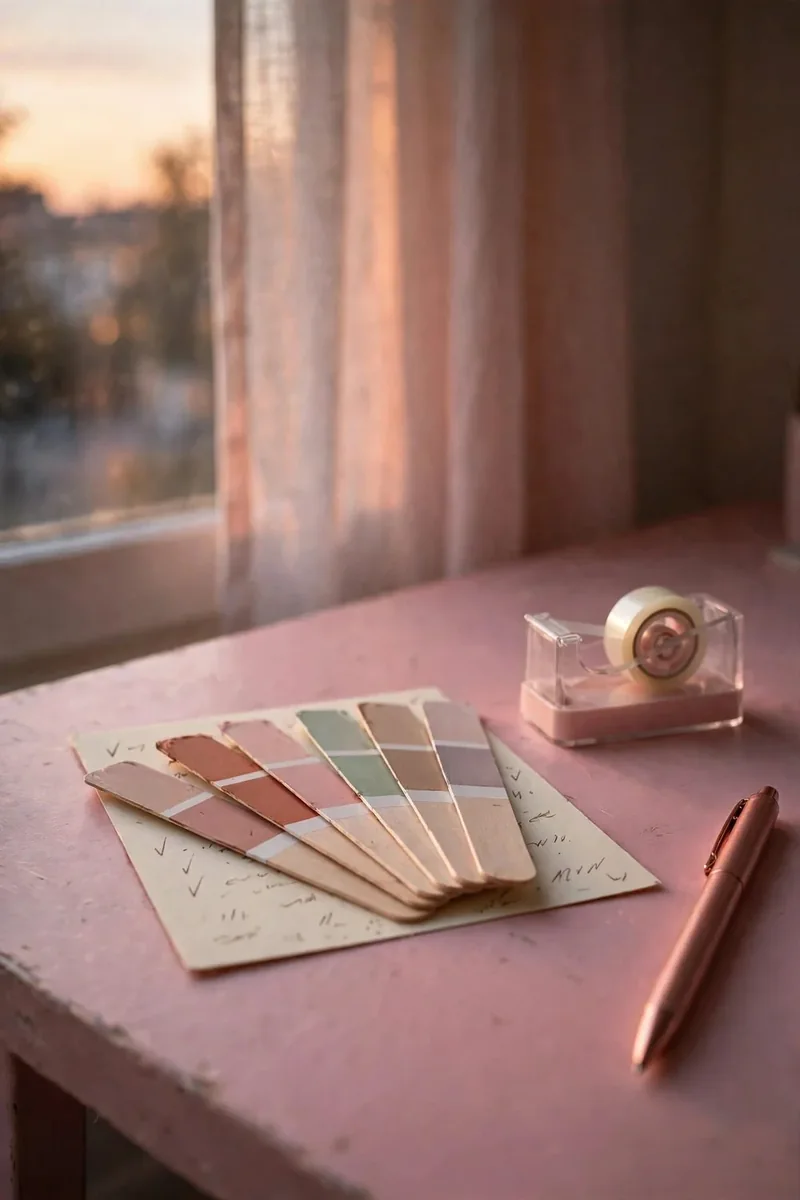
Practice feels pointless when you cannot see any change. A small card fixes that.
Stick your first practice stick or a photo of your first lines on a piece of card, then add a new one every week or two. Write one line about what improved.
Look for one change at a time. Rounder dots count. A straighter stripe counts. When a skill feels steady on paper, try it on one real nail.
Move to real nails only after the mark looks steady on paper. You will use far less polish and remover that way.
Your Practice Sheet Is Your Classroom
You do not need to ruin a fresh manicure every time you want to learn a new stroke. When you practice nail art on sleeves, sticks, foil, and paper, you keep your polish, your remover, and your skin in much better shape. Choose one or two ideas from this list and give them ten minutes this week. Keep your first attempts, as you will enjoy seeing how far you have come. Save this list to your Nail Art for Beginners board for your next practice night.