
The tutorial made it look quick. Five tiny dots, a neat little flower, done in under a minute. Then you try it at home and the dots turn into blobs, the lines start to bleed, and your top coat wipes the whole thing across the nail.
Most nail art mistakes have nothing to do with talent. They come from small habits around the polish: too much on the tool, too little waiting, or too many ideas on one nail. Fix the habit and the design starts behaving.
Below are the eight problems beginners run into most. Each one explains the cause, how to spot it on your own nail, and the fix to try right away. No new tools are needed for most of them. Read through the list once, then keep it open when you paint. Choose one fix per session and let the rest wait. A small change on your next nail will teach you more than ten more videos.
1. Loading Too Much Polish on the Tool
Your dot looks fine for a second, then it spreads into a puddle.
The cause: the tool went straight into the bottle, and it picked up far more polish than one mark needs. How to spot it: dots that grow after they land, or lines that start thick and end with a blob.
Pour a small drop onto foil or a mat instead. Dip only the very tip, then touch it once on the foil to test the size. Your next dot will sit exactly where you put it.
Tool dipped in the bottle, a heavy bead on the end, and a dot that spreads past the size you wanted.
Tool tipped in a small drop, a quick test on foil, and a round dot that stays put.
2. Painting Art on a Soft Base

Base polish can feel dry on top while it stays soft underneath, and art tools find that out fast.
The cause: you started too soon. How to spot it: dents, scratch lines, or base color mixing into your design.
Give your base at least 10 minutes. Tap the edge of the nail with a knuckle, and you should see no print. Thin coats shorten this wait a lot. So if you always feel rushed, the fix may be in your brush load.
💡 Quick Tip
Paint your base before dinner and your art after. The wait passes without you counting the minutes.
3. Using Polish That Has Gone Thick
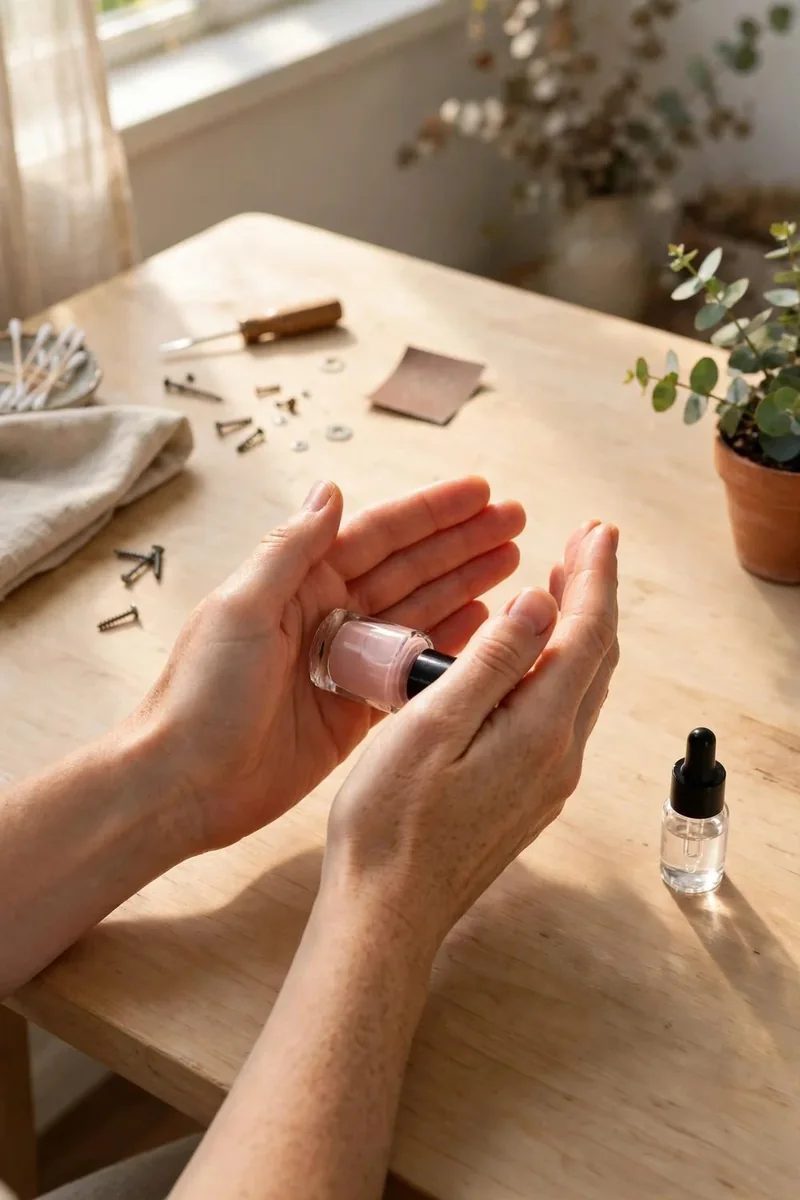
That old bottle at the back of the drawer may be working against you.
The cause: polish thickens as it ages and as the lid stays open. How to spot it: stringy lines, peaks that stick up from dots, and a brush that drags.
Try a few drops of nail polish thinner, shake the bottle by rolling it, and test on foil. Remover is a poor stand in, as it can weaken the polish. If it stays gummy, keep it for practice and buy a fresh bottle for art.
Add a few drops of polish thinner.
Roll the bottle between your hands.
Test one line on foil.
Repeat once if it still drags.
4. Skipping Tool Cleaning Between Colors

Black dot, white dot, gray dot. Nobody planned that gray.
The cause: polish dries on the tool tip and mixes with the next color. How to spot it: muddy shades, rough dots, or brush bristles that have gone stiff and splayed.
Keep a cotton pad with remover beside you and wipe the tool after every few dots. Clean a brush with a little remover, reshape the tip, and store it upright. Liner brushes die fast with dried polish in them, so this one saves money too.
5. Cramming Too Much on One Nail
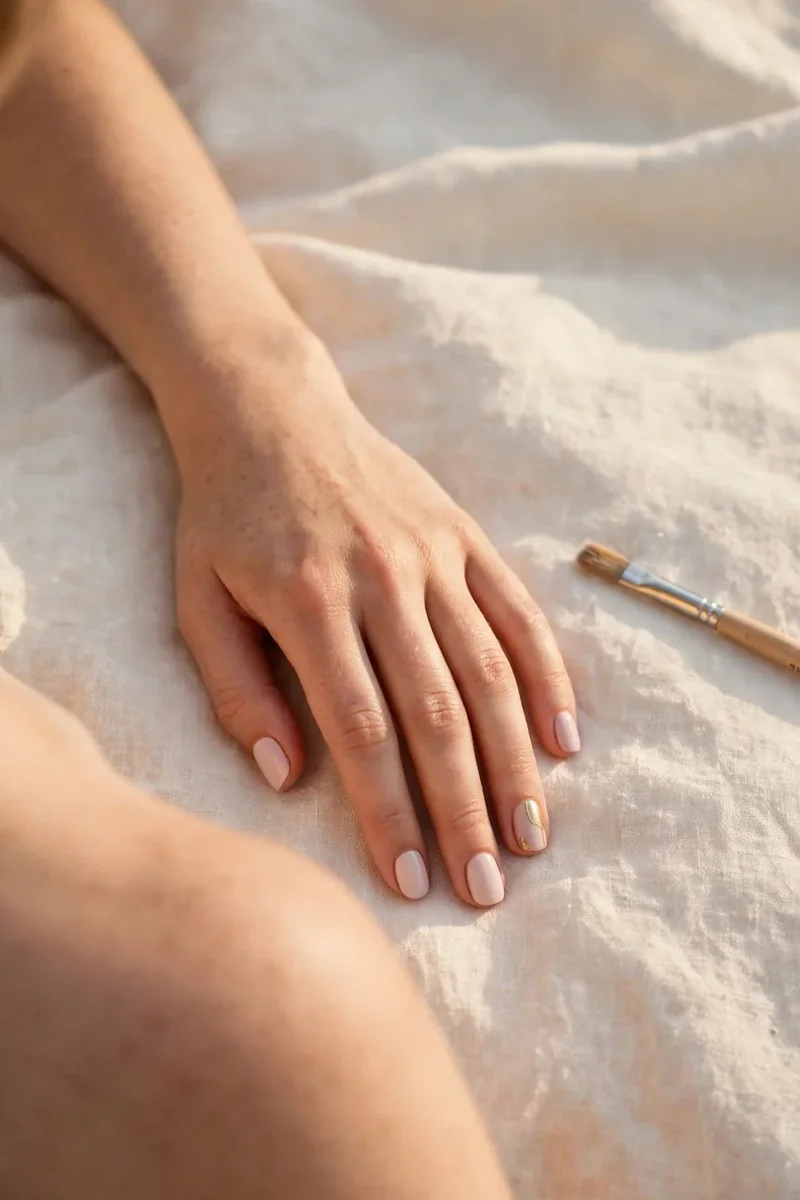
A design can have good dots and neat lines and still look like a mess.
The cause: you tried everything from the video on one small nail. How to spot it: you cannot say what the design is from arm’s length.
Choose one idea per nail, and leave plain space around it. Three dots with room beside them look more confident than twelve. Short nails need this even more. Try one accent nail and let the other nails rest in plain color.
Pick one idea per nail.
Leave plain space around it.
Mix stripes, dots, and flowers on one nail.
Decorate all ten nails on your first try.
6. Dragging Top Coat Across Wet Art
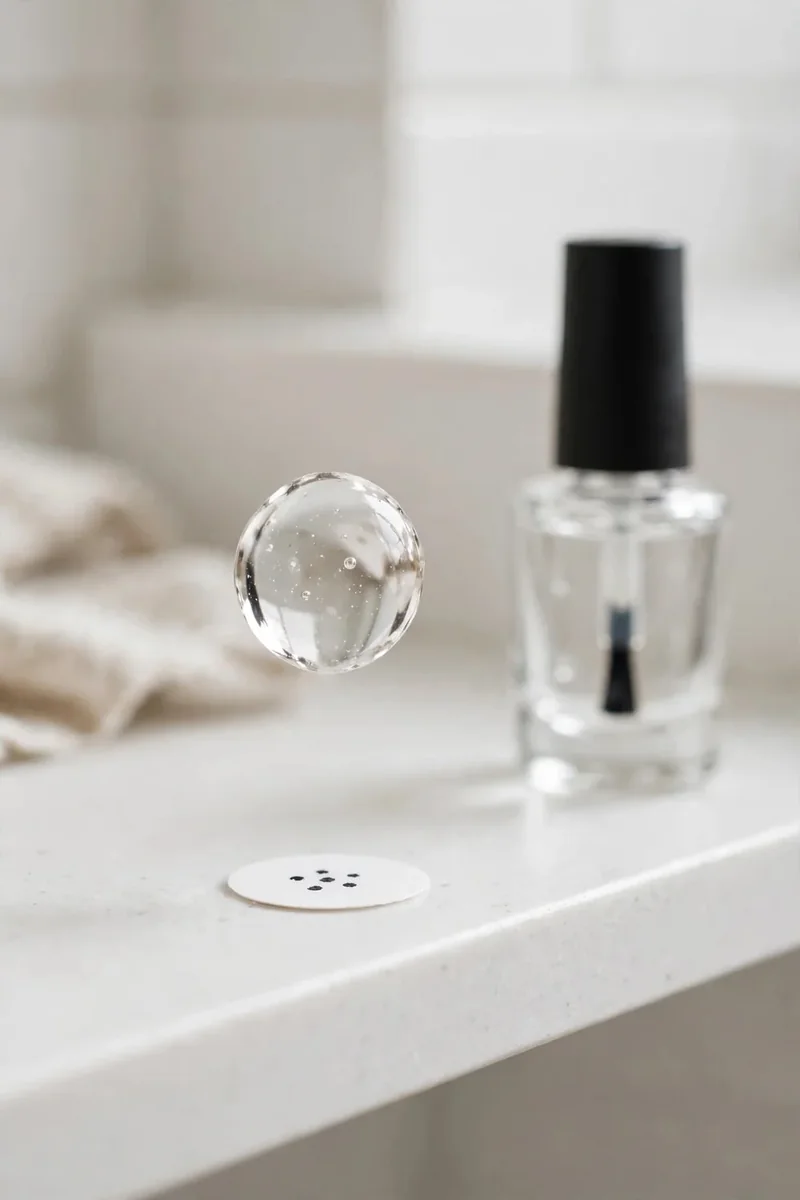
It hurts to watch a lovely design slide across the nail.
The cause: the design was still soft, or the brush pressed too hard. How to spot it: smeared lines, a faint color streak in the top coat bottle, or dots with tails.
Wait at least 10 minutes, and longer for raised dots. Load the brush heavily, then float it above the art with a single pass. Some polish colors bleed more than others, so test a new top coat on a practice nail first.
📌 Good To Know
Colored streaks in your top coat bottle mean the brush touched wet art. Wipe the brush on a clean tissue before the next nail.
7. Peeling Tape at the Wrong Moment
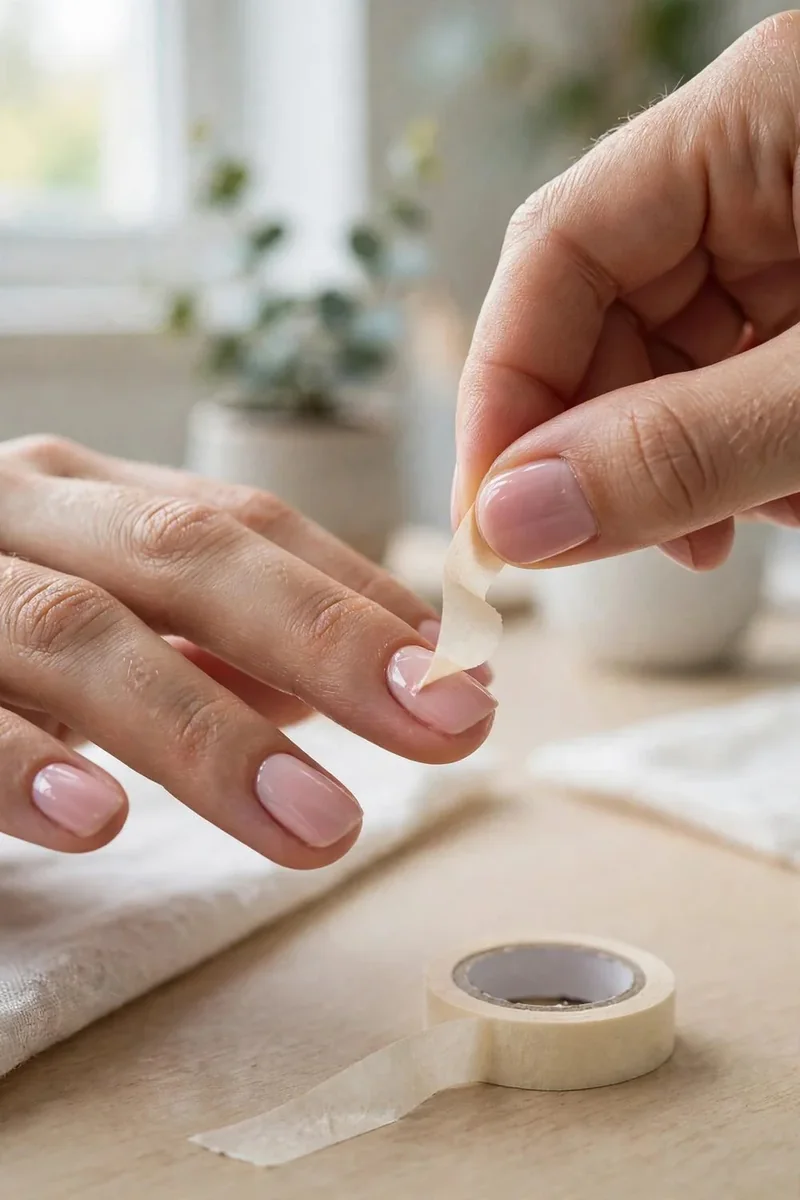
Tape designs can end in jagged edges and pulled polish, and timing is usually why.
The cause: the base was soft when the tape went on, or the top color was already dry when it came off. How to spot it: rough edges, base polish lifting with the tape, or a thin ridge along each line.
Check that your base is fully dry first. Press the tape edges down with a fingertip. Paint your color, then peel slowly while that color is still wet, pulling away from the design.
8. Painting Your Hard Hand Last
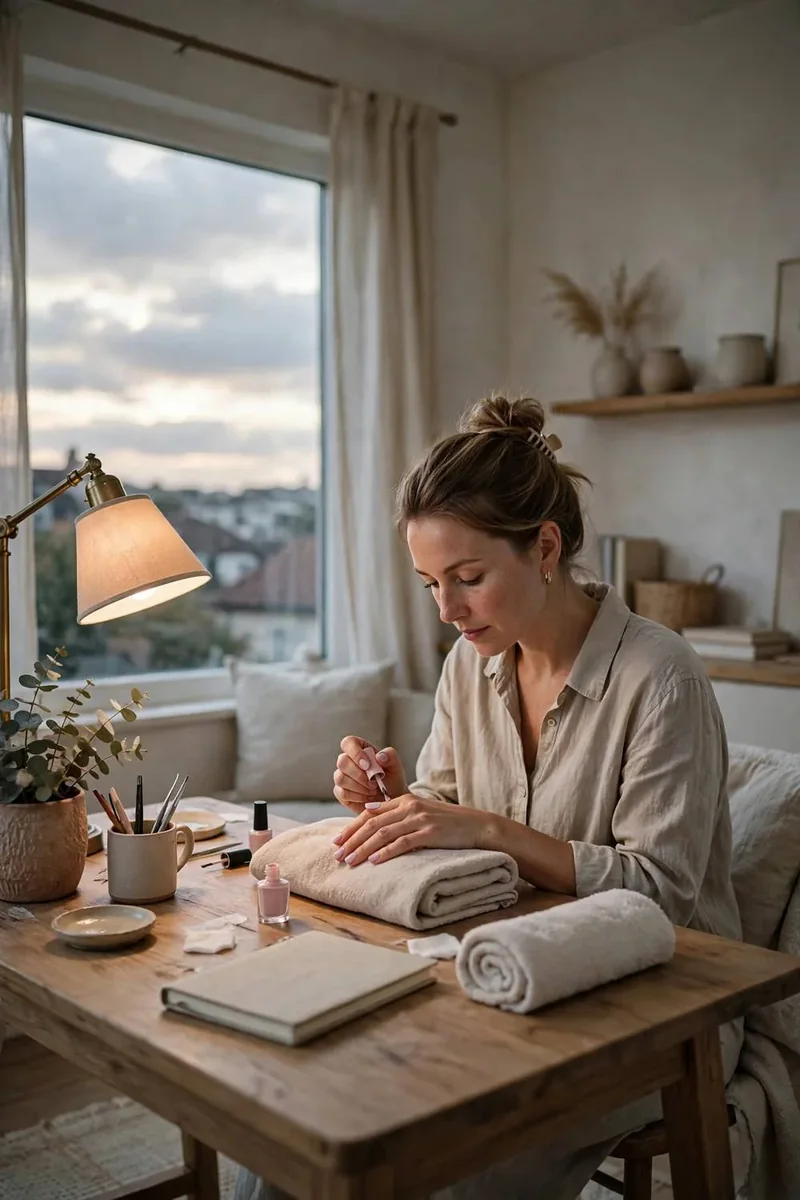
Most beginners finish one hand, feel great, then fall apart on the other.
The cause: you start with your stronger hand free, then paint your dominant hand while tired and with your weaker hand holding the brush. How to spot it: one hand looks neat and the other looks like a different person did it.
Do your dominant hand first, while your focus is fresh. Keep the design on that hand simpler if you need to. Rest your wrist on a towel, turn your nail toward the brush, and let the moving hand stay still.
Before your second hand
Change One Habit at a Time
Nail art mistakes feel personal, but they rarely are. A smaller drop of polish, a longer wait, a cleaner tool, and one idea per nail will fix most of what went wrong on your last set. Do not try to change everything at once. Pick the mistake that annoys you most and work on that one next time. Your dots and lines will look better sooner than you expect. Save this fix it list to your Nail Art for Beginners board, and check it before your next nail night.