
A French manicure looks plain, and that is exactly why small errors show. There is nowhere to hide a wobbly line or a base that is too pink. Most people blame their shaky hands, but the real trouble is usually that they treat the whole look as one big job.
It works better in parts. A classic French has a base, a tip line, a shape, and a finish, and each one has its own small job to do. Once you see those parts, you can fix the one that looks off instead of starting over.
This french manicure for beginners breakdown walks through all four parts. For each one, you will learn what it does and one rule to follow at home. No salon words you need to memorize, and no long supply list. Read it once, keep it saved, and use it the next time you sit down with your polish. By the end, you will know why the classic look works.
1. Learn the Four Parts Before You Touch a Brush
Every French manicure has the same four parts. Knowing them gives you a way to judge your own nails.
The base sets the tone, the tip line gives the look its name, and the shape decides how the line sits. The finish pulls it all together with shine. If your set looks wrong, ask which part is off. Most of the time it will be one part, not all four, and that one part is usually a short fix on the next try. That question beats starting over from a bare nail.
2. Match the Base to Your Skin, Not the Bottle

People grab the prettiest pink in the store, then wonder why their hands look washed out. The bottle color is not the color you get on the nail.
Base color has one job. It evens out the nail so the white tip stands out softly. Swatch a sheer shade on one nail and hold your hand in daylight. Cool pinks often suit cool or rosy skin. Peachy nudes often suit warm or olive skin. A deep skin tone may look best with a warm caramel sheer, so choose by what you see.
💡 Beginner Rule
Pick the shade that makes your nail look like a healthier version of itself. If you notice the color first, go sheerer.
3. Keep the Base Sheer Enough to See Through
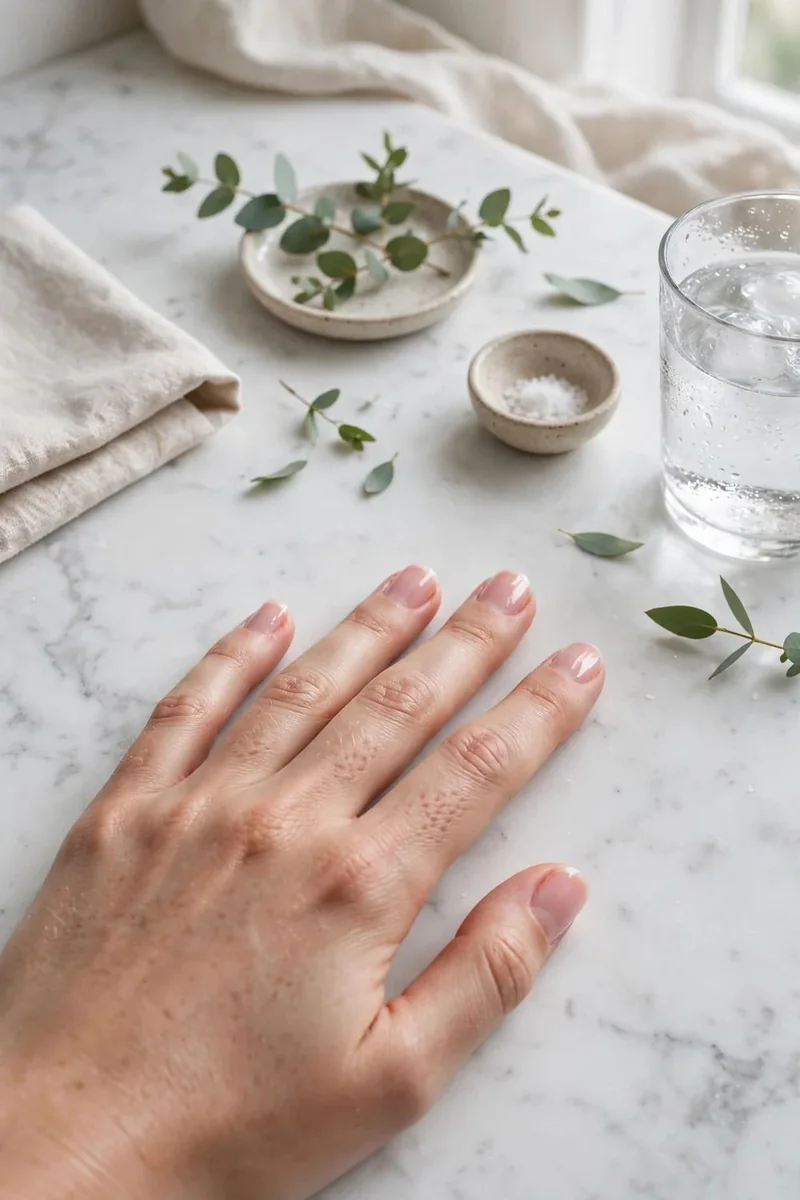
Opaque color pushes the look toward a plain pink manicure. Your nail should still show faintly underneath.
One thin coat is the safest start, and a second coat only adds depth if the first looks streaky. Thick layers also take longer to dry, and soft polish dents the moment your white brush touches it. Sheer is forgiving as well, since small streaks blend away under a top coat.
Hold a finished nail to the light. A hint of your natural half moon showing through means you stopped at the right point.
Two heavy coats of opaque pink. The nail looks flat and the white tip sits on it like a sticker.
One thin coat of sheer pink. The nail glows softly and the white tip blends into a clean, natural look.
4. Follow Your Smile Line for the Tip
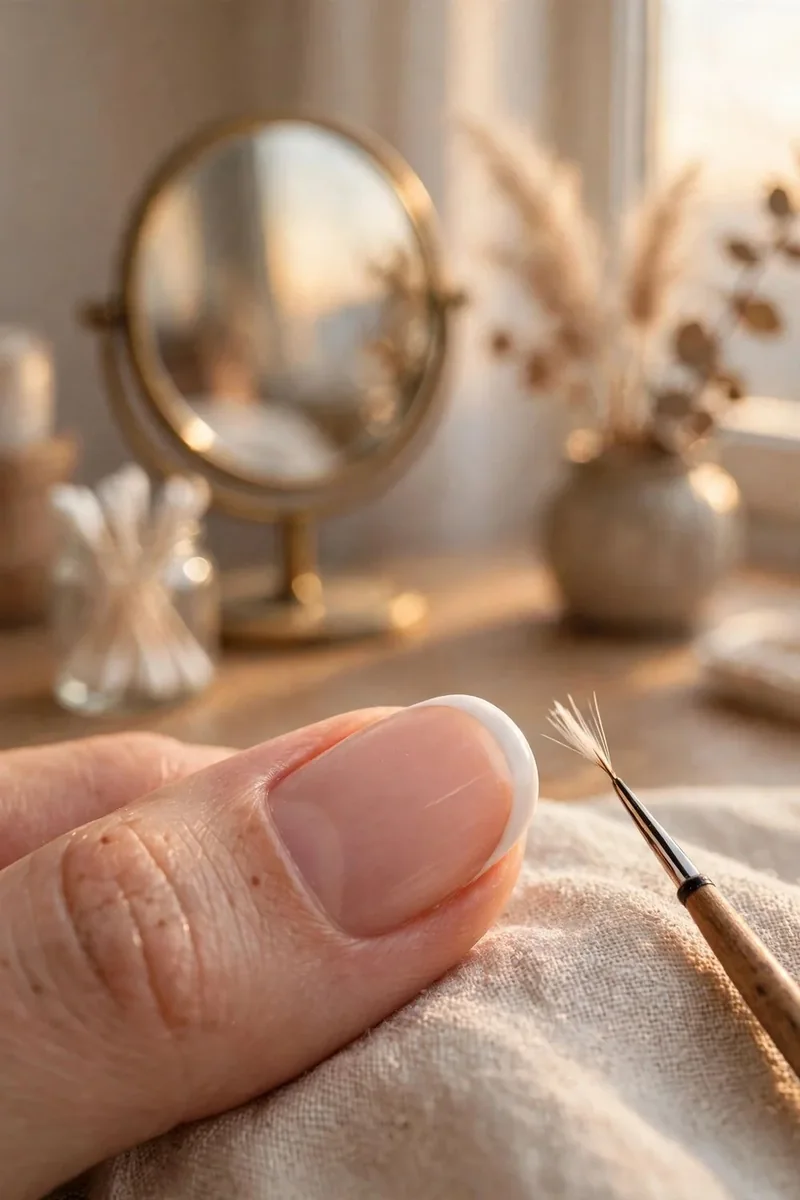
Your nail already has a curve where the pink part meets the free edge. Salons call it the smile line, and it is your best guide.
Painting straight across fights that curve and makes nails look wide. Follow the natural arc instead. Then check the two sides.
- The corners should sit slightly higher than the center.
- Both corners should sit at the same height.
- The curve should feel gentle, not deep.
Deep curves look dramatic and need longer nails to carry them. On a first set, a soft smile is the safer choice, and it hides small errors well.
📌 Good To Know
Your smile line differs on each nail. Thumbs often sit flatter than pinkies, so adjust the curve for each finger.
5. Keep the White Tip Thin on Short Nails
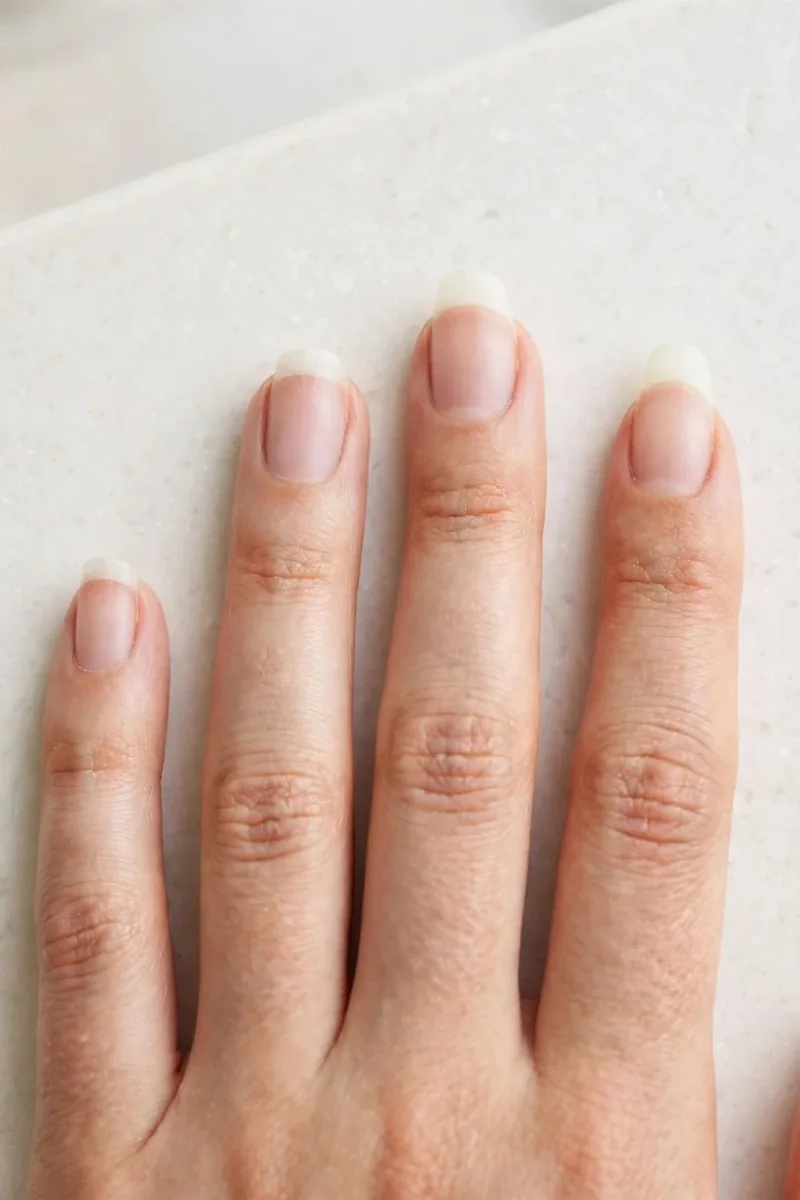
Thick white bands make short nails look shorter. It is one of the first things a trained eye sees.
Width should match length. A short nail wants a slim tip, about the thickness of a coin edge or a little more. Longer nails can carry a wider band, though a slim tip still looks modern. The goal is balance, so the white never takes up more space than the pink.
Stuck between two widths? Pick the thinner one. You can always add a little more white, but taking it away takes a lot more work.
Tip Width Guide
| Nail Length | Tip Width |
|---|---|
| Very short | A slim sliver |
| Short | A thin line |
| Medium | A soft band |
| Long | A wider band, if you like it |
6. Choose a Soft White Before a Stark One
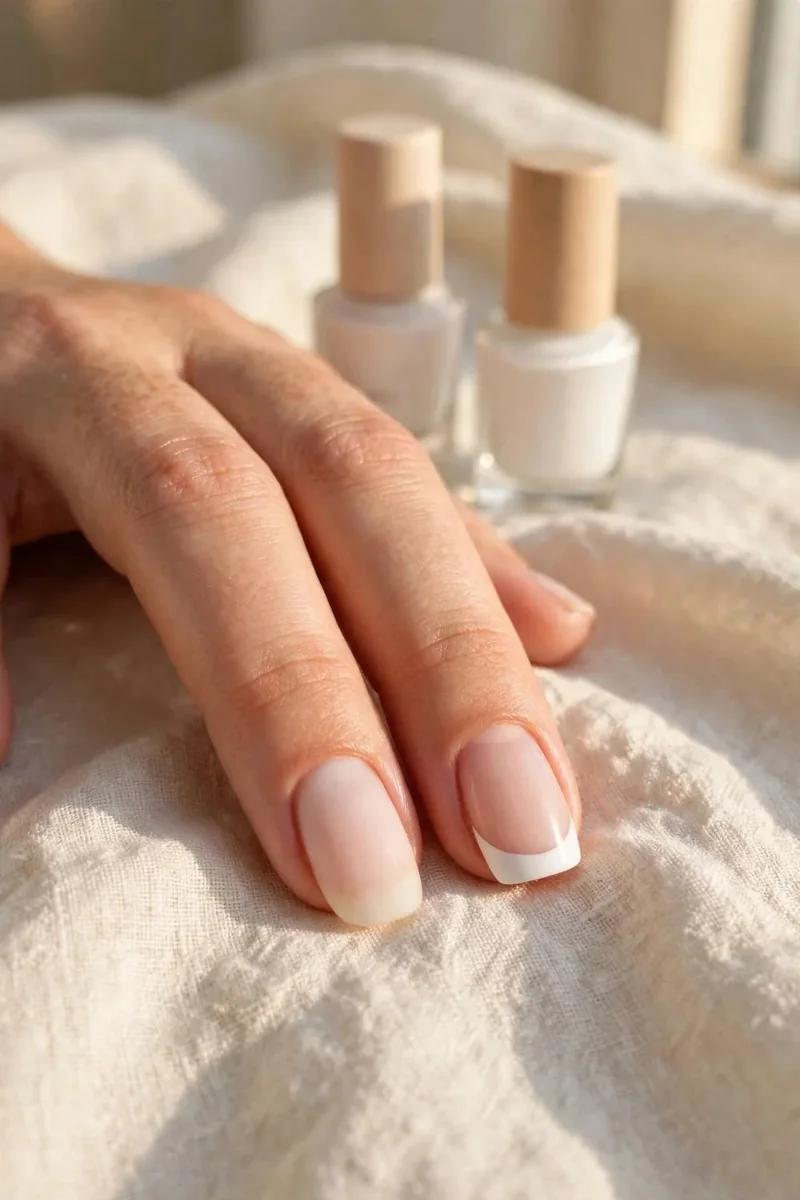
Bright paper white looks crisp on a nail wheel. On a real hand it can look harsh, and every wobble shows up.
Soft whites read gentler against skin. Look for labels like milky, off white, or soft white. Stark white still has a place if you want a sharp, graphic look, or if your skin is deep and the contrast looks great.
For a first set, soft wins, and it gives you more room for error. Test both on a nail if you own them. Your eye will tell you which one feels like you.
Pick a soft, milky white for your first set.
Test the shade on one nail in daylight.
Grab a chalky white that streaks on the first stroke.
Layer three coats to fix thin coverage.
7. Pick a Shape That Holds a Clean Line
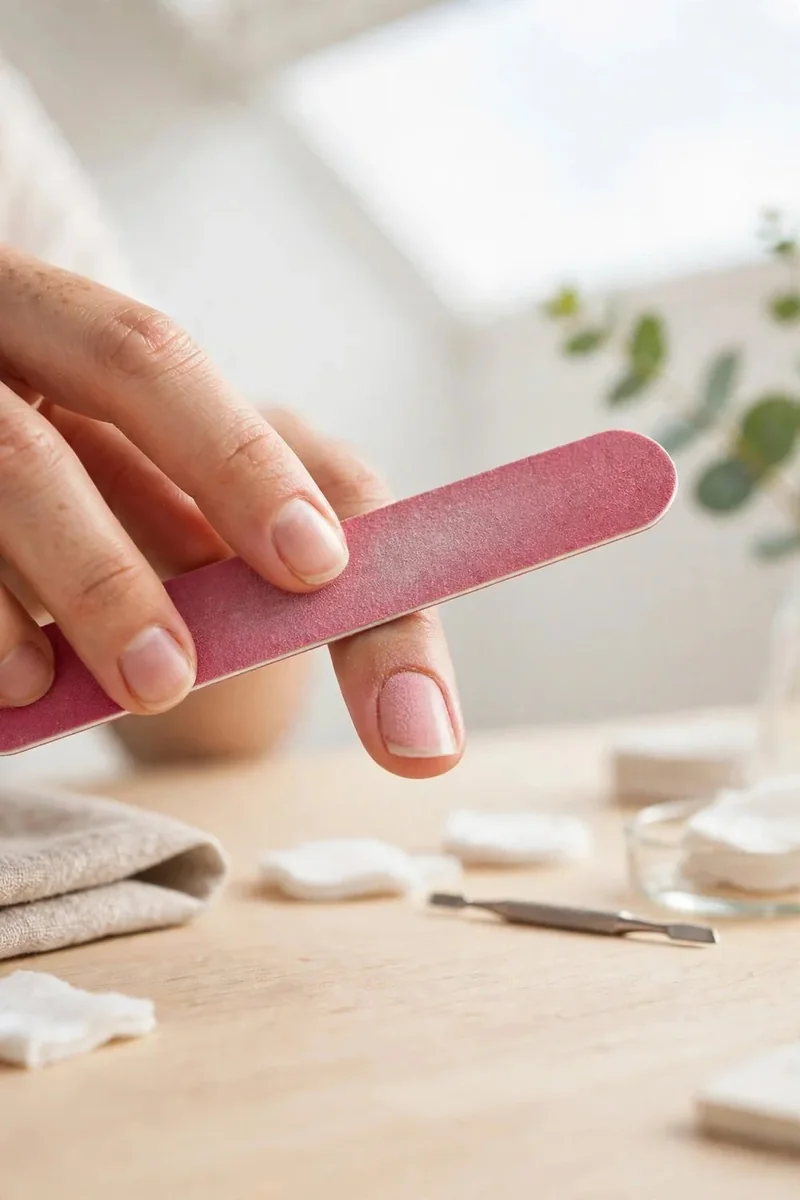
Square, squoval, round, and almond can all wear a French. Each one changes how the tip sits, though.
Square gives you a straight edge and the classic look, but sharp corners catch on things. Squoval keeps that look with softer corners, which makes it a good first pick. Round suits short nails and needs little upkeep. Almond looks slim and graceful, but it needs some length to work.
File your shape before any polish goes on. Reshaping after paint leaves a raw edge and shortens the white line you worked so hard on.
8. Make Clean Edges Part of the Plan
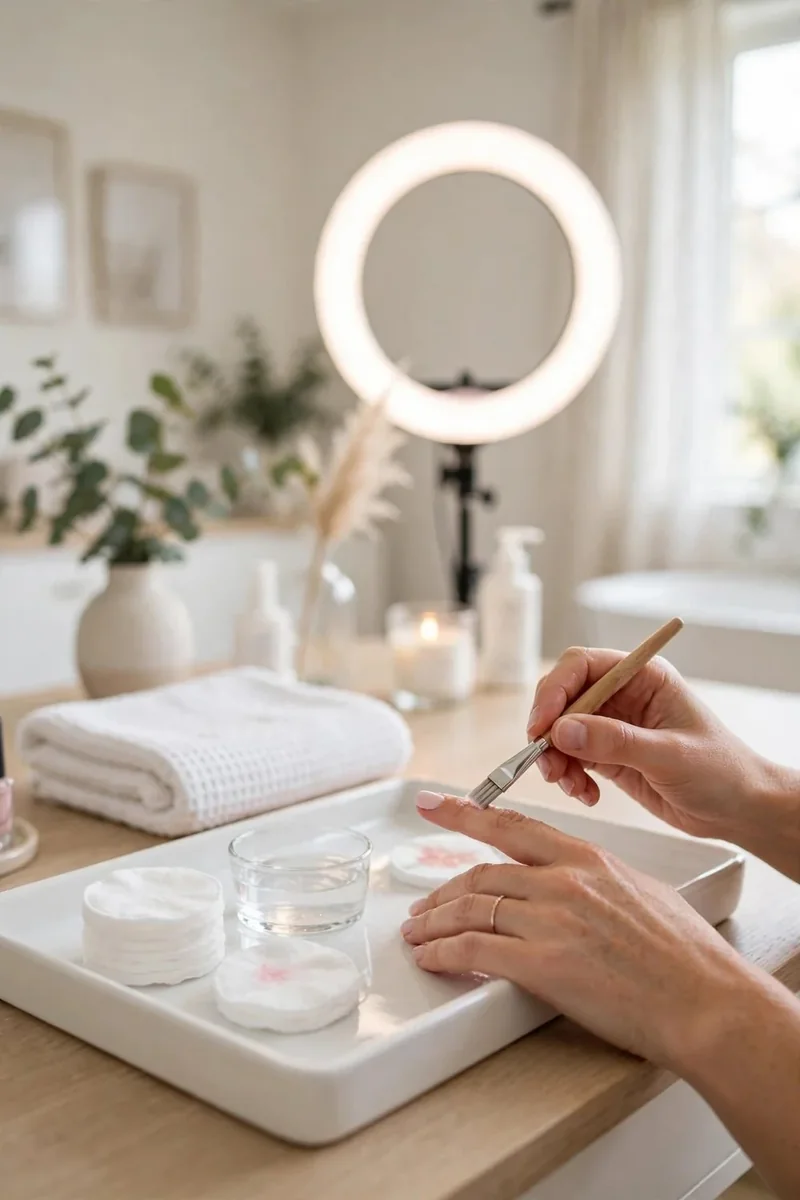
Salon French tips look sharp for one quiet reason: somebody cleaned them up. A neat line is rarely a single lucky stroke.
Set up a small flat brush and a dish of remover before you start painting. Blot the brush, then shave the inside of the tip and any polish on the skin. Wipe the brush between nails.
Two minutes of tidying can rescue a nail that looked ruined. Beginners who plan on this step stop stressing over the first stroke, and their hands get steadier for it.
Dip a small flat brush in remover.
Blot it on a cotton pad until it stops dripping.
Glide it along the inside of the white line once.
Wipe the brush clean and move to the next nail.
9. Seal the Finish With a Glossy Top Coat
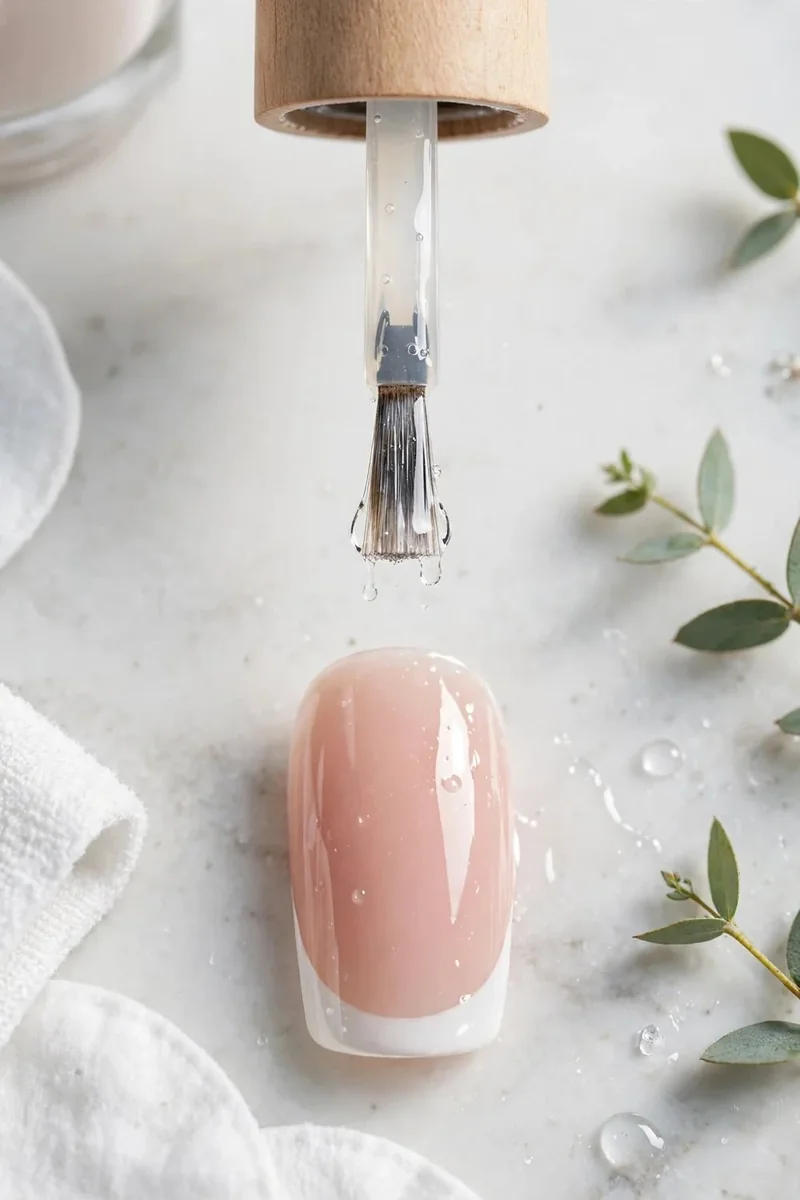
Top coat is the part that makes a French look finished. Skip it and the white looks chalky, with a ridge you can feel.
A good glossy layer smooths the step between tip and base, so the two colors look like one surface. Add more on the brush than you think you need and let it float. Pressing down drags white into the pink.
Run the brush along the very edge of the nail as well. That small swipe seals the tip, the spot that wears down first on a busy hand.
Wait until the white is dry, then float a full brush of top coat over the nail without pressing.
10. Keep It Fresh Between Manicures

A French shows wear faster than a dark color. Chips at the white edge and dry cuticles are the first things people see.
Small habits fix most of this. Rub in cuticle oil before bed. Wear gloves for dishes, since hot water and soap are hard on polish. Add a thin new layer of top coat every few days to bring back the shine.
Tip wearing off on one nail? Touch up that nail alone. A fresh manicure every time is more work than you need.
Your weekly upkeep list
Your French Is Four Small Jobs
A classic French stops feeling hard once you see it as four small jobs. A sheer base, a slim tip that follows your smile line, a shape that suits your nails, and a glossy seal. That is the whole french manicure for beginners formula. Your first set may not look salon sharp, and that is fine. Pick the one part that bothered you most and work on that next time. Save this list to your French Tip Nail Ideas board so it is close by on your next nail night.