Most home French manicures go wrong in the last 2 minutes. The base looks fine, then the white line comes out thick, wobbly, and a little higher on one side. If that has happened to you, your hand is not the problem. The method is.
This guide shows you how to do french tips at home, start to finish, in one sitting. You will shape your nails, lay down a soft sheer base, paint a slim white tip, and clean the edge so it looks sharp. The trick is that you do not paint one flawless stroke. You paint a rough thin line, then use a small brush and remover to tidy it.
That cleanup step is why this method works for beginners. Every wobble can be fixed before the top coat goes on. Plan for about 45 to 60 minutes, most of it drying time, and pick a spot with good light. Your first hand may feel slow. Your second hand will feel better.
What You Need
At a Glance
Wipe off all old polish
Old color hides the true shape of your nail, and it can tint your new sheer base. Press a soaked cotton pad on each nail for 10 seconds, then swipe toward the tip. Check the side edges and the corners, since polish likes to hide there. A small leftover spot will show through a sheer pink, so take it off now.
Shape every nail to one length
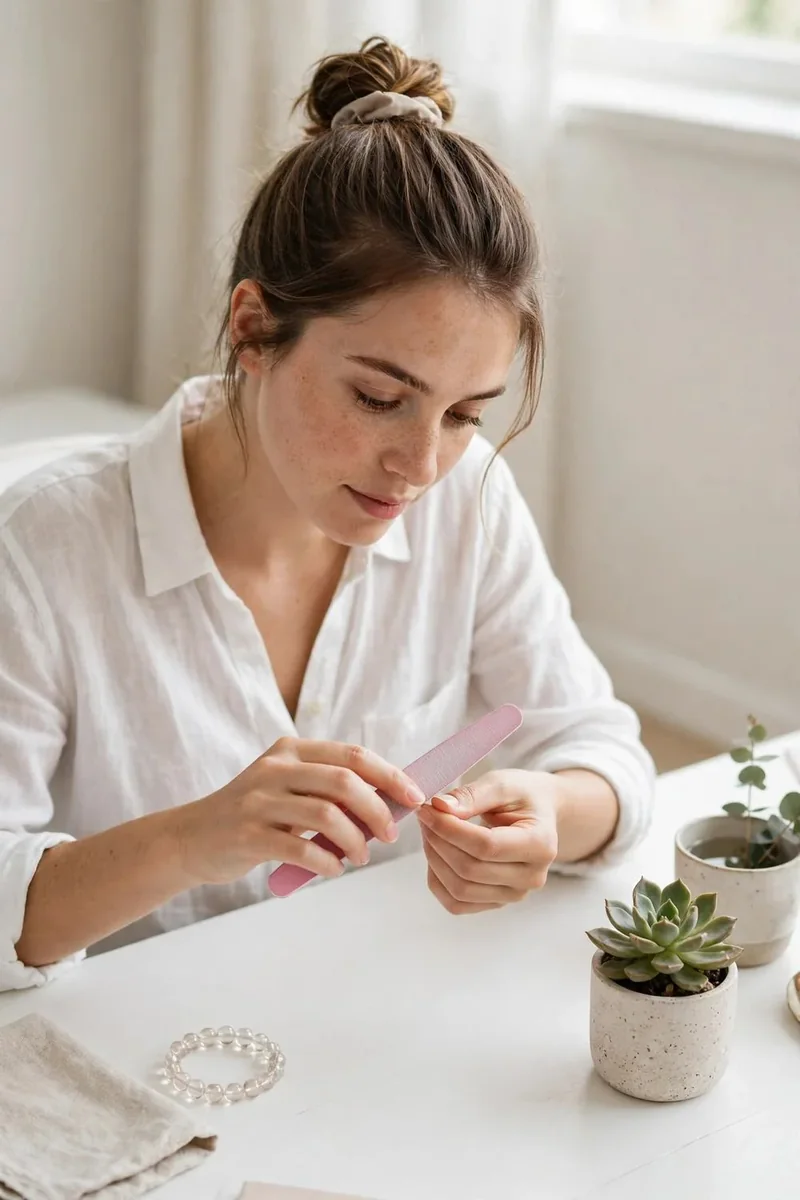
Find your shortest nail. That nail sets the length for the other nine, because a French tip draws the eye straight to any mismatch. File from the side toward the center in one direction. Soft square and rounded shapes are the kindest for a first try.
Sawing back and forth can fray the edge, and a frayed edge makes the white line look fuzzy.
Push back your cuticles gently
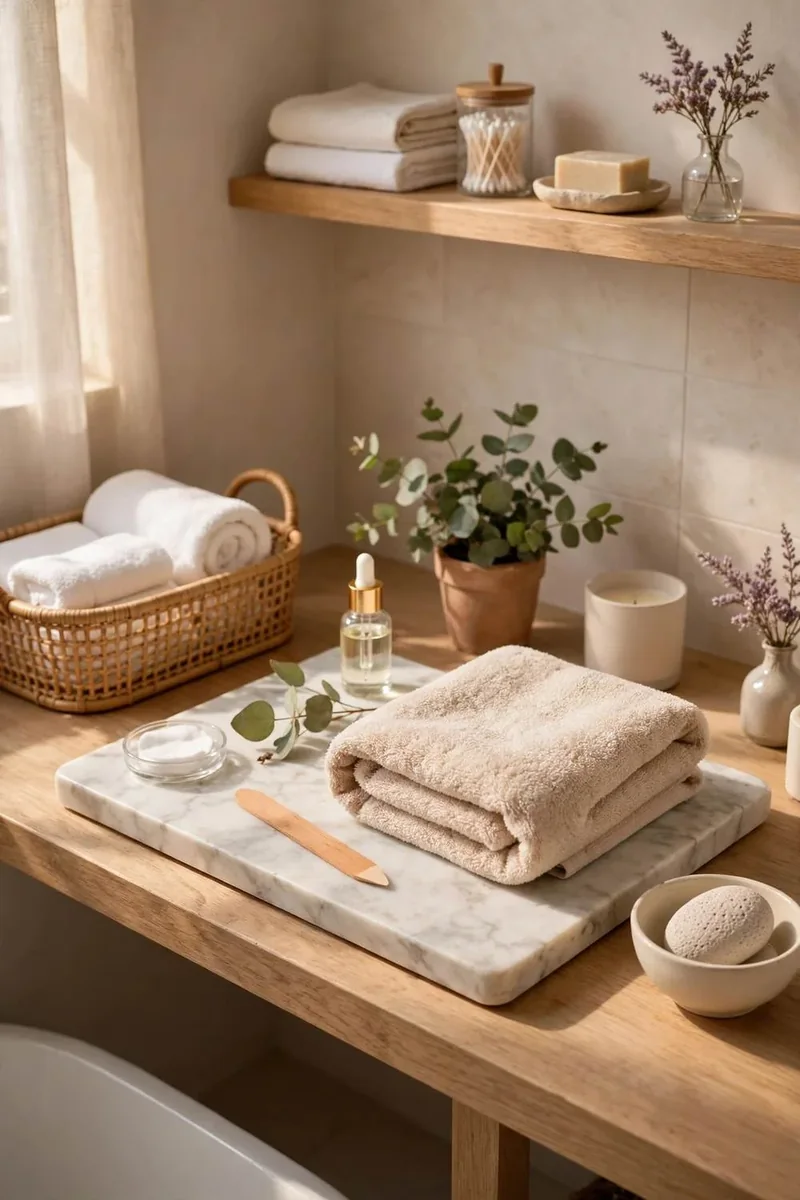
A clean base gives your tip room to look slim. Soften the skin with a warm wet cloth for 1 minute, then ease the cuticle back with an orange stick. Use light pressure. There is no need to cut anything. If you lack a stick, a soft towel wrapped around your thumb does the same job after a shower.
Clean each nail with remover

Hand cream and natural oils stop polish from gripping. Swipe a fresh remover pad over each nail once, then keep your fingers off the nail surface. Give them 1 minute to air dry. This small wipe is often the difference between a manicure that chips on day two and one that lasts through the week.
Brush on a thin base coat

Base coat protects your nail from staining and gives the color something to hold. Three strokes will do: one down the center, one on each side. Stay a hair away from the skin, since polish on skin peels up fast. Wait 2 minutes before moving on.
Paint one sheer pink coat

Sheer color is the soft glow under a French tip. One coat is often enough, and two is the limit for most formulas. Thick layers stay soft under the white and dent when you touch them.
Let this coat sit for 10 minutes. The surface should feel dry when you tap it lightly with a knuckle, with no print left behind.
Paint your French tips at home from the side in
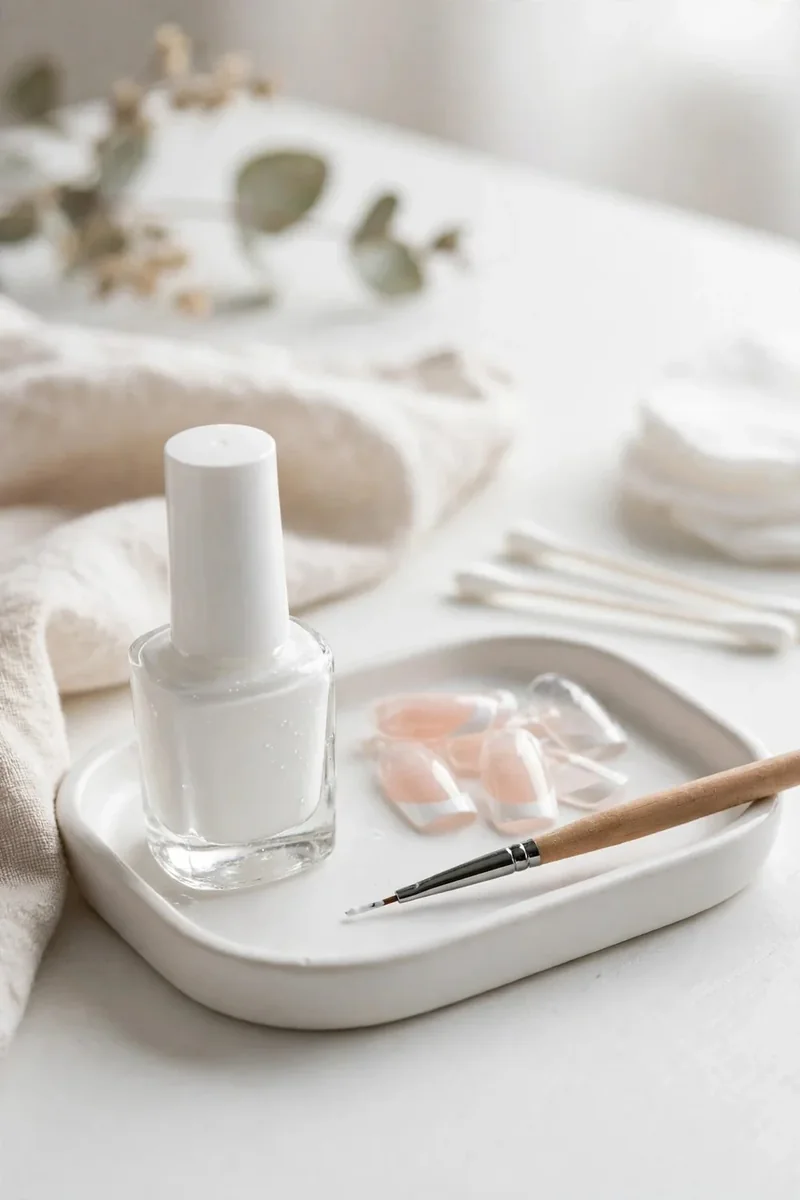
Rest your painting hand on the table. Starting at one corner of the free edge, draw a thin curve about 2 mm wide into the center. Lift. Repeat from the other corner so the two lines meet in the middle.
Rough edges are fine at this stage. Aim for a thin line, since thick is hard to fix. If the brush feels too wide, wipe one side on the bottle neck, or use a liner brush.
⚠️ Heads Up
Rest your wrist on the table while you paint. A floating hand shakes, and that shake shows up in the line.
Sharpen the line with a cleanup brush

This is where your French starts to look salon neat. Dip the small flat brush in remover and blot it on a cotton pad. Glide it along the inside of the white line, shaving off the extra in one slow curve.
Blot again after every nail, or white polish will smear into the pink.
Let the white tips dry
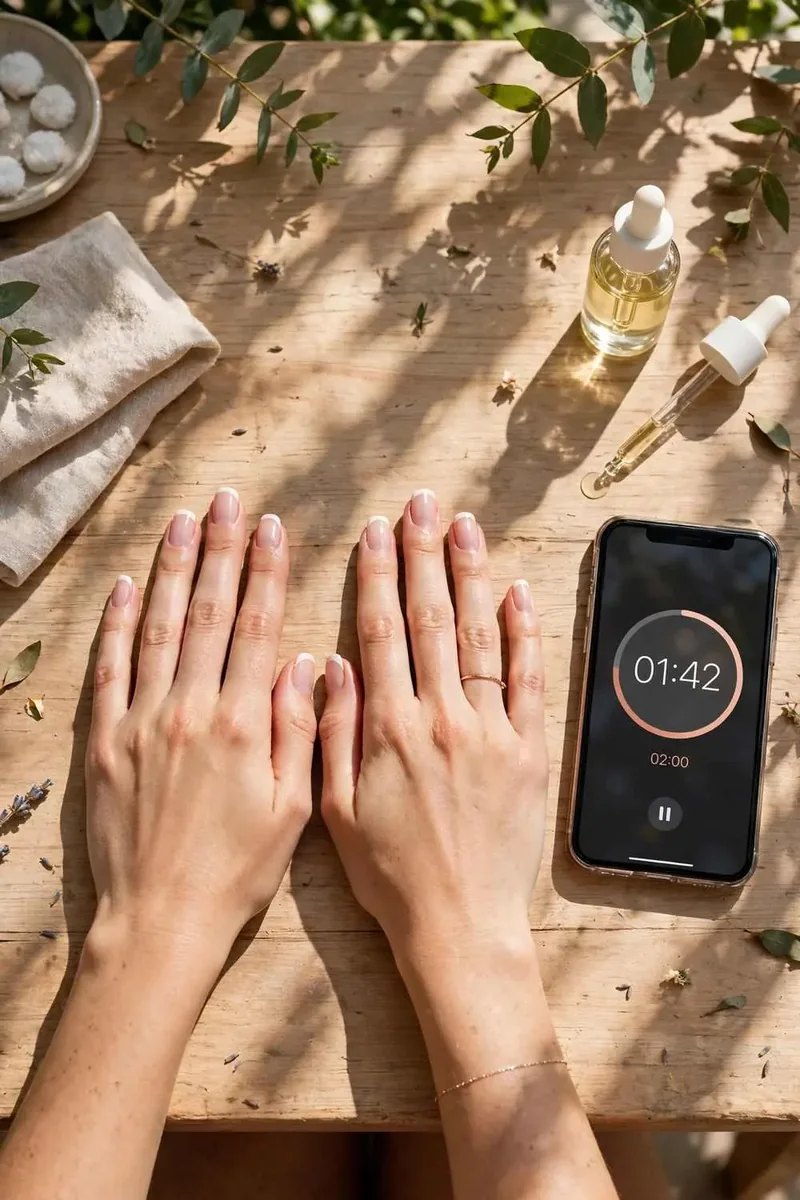
Patience protects all the work you have done. Top coat dragged over wet white will pull streaks through the pink. Set a timer for 5 minutes, keep your hands on the table, and resist the urge to test a nail.
Seal each nail with top coat
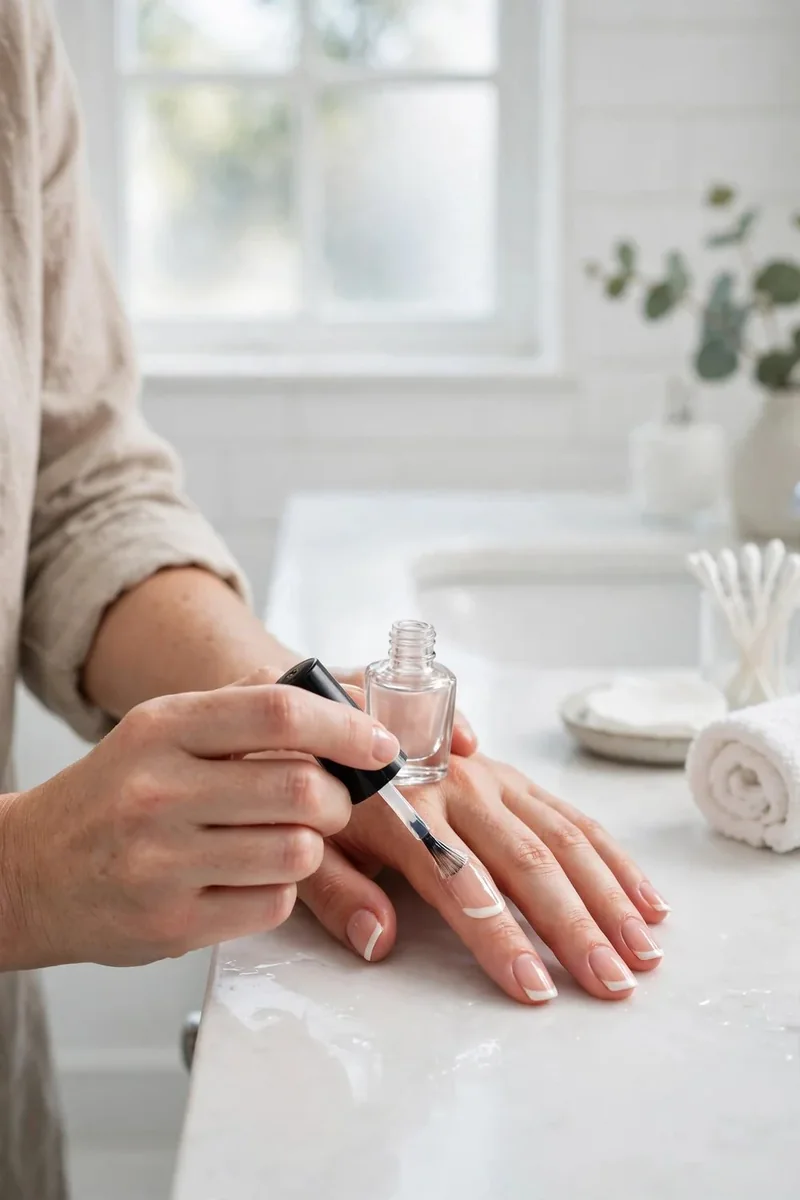
Load the brush well so it glides, and float it over the nail without pressing down. Run a thin line along the very edge of the tip too. Sealing that edge helps stop chips where your nail meets the world, like keyboards and can tabs.
Rub in oil once the nails dry
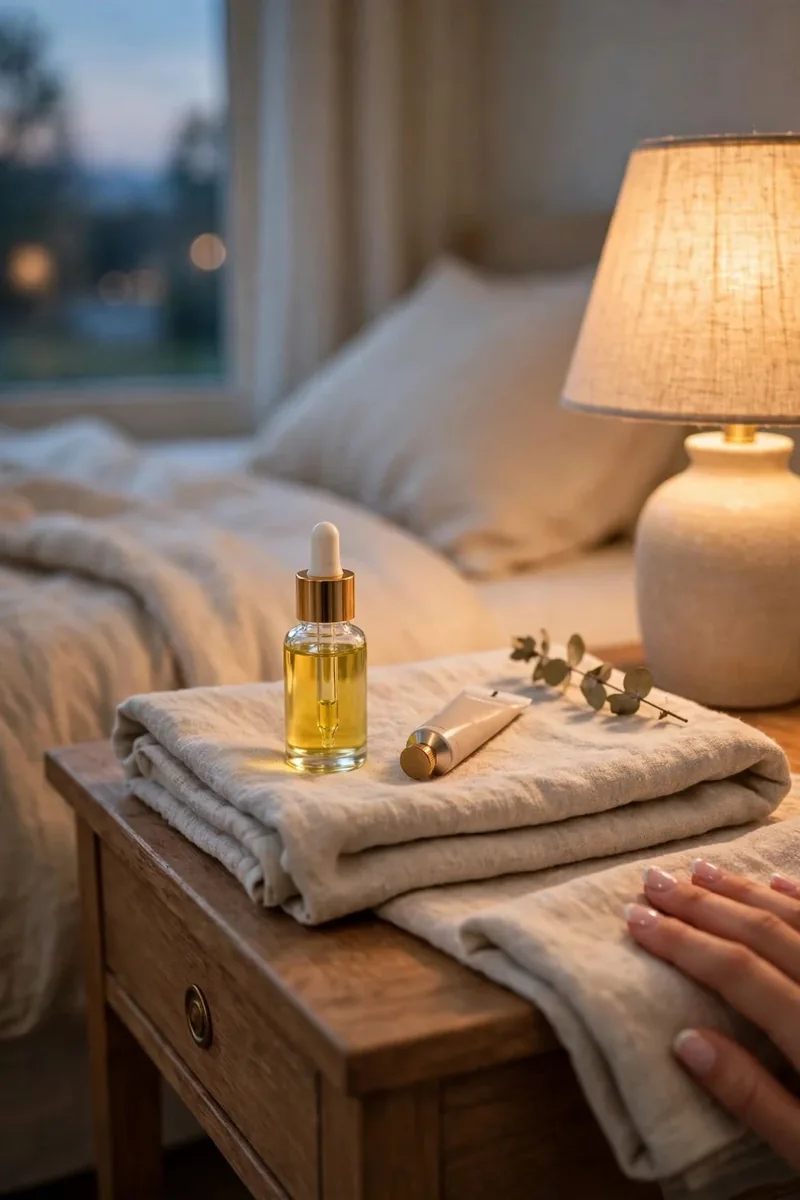
Wait 20 minutes before anything rough, and treat your nails gently for the next few hours, since polish can stay soft under a dry surface. Finish with a drop of cuticle oil or hand cream. Hydrated skin around a white tip makes the whole manicure look fresher.
Fix It Fast
| If This Happens | Try This |
|---|---|
| The white line looks thick | Shave it thinner with the cleanup brush before top coat. |
| White streaks show after top coat | Wait longer next time and float the brush with more top coat on it. |
| One tip sits higher than the others | Check all ten nails with hands side by side before you seal them. |
| The polish chips within a day or two | Clean nails with remover before base coat and seal the free edge. |
Beginner Questions
Do I need a French tip guide or tape?
No. Guides can help, but polish can bleed under them. The cleanup brush gives you more control.
How wide should the white tip be?
Keep it thin on short nails, about 2 mm. A thin tip makes short nails look longer.
Can I use gel polish for this?
Yes, but the steps change. Each gel layer needs curing in a lamp, so follow your gel’s label.
What if I only have one white polish with a wide brush?
Wipe one side of the brush on the bottle neck, or pour a drop on foil and paint with a thin liner.
Quick Reference Card
What You Need
Remover, cotton pads, file, orange stick, base coat, sheer pink polish, white polish, small flat brush, top coat, oil.
Steps
You Did It
You now have a clean, thin French tip made at your own table.
Your line will get faster with each set, so keep that cleanup brush handy.
French tips at home look even better with soft nail shapes, so that is a good next thing to practise.
Save this guide to your French Tip Nail Ideas board for your next nail night.